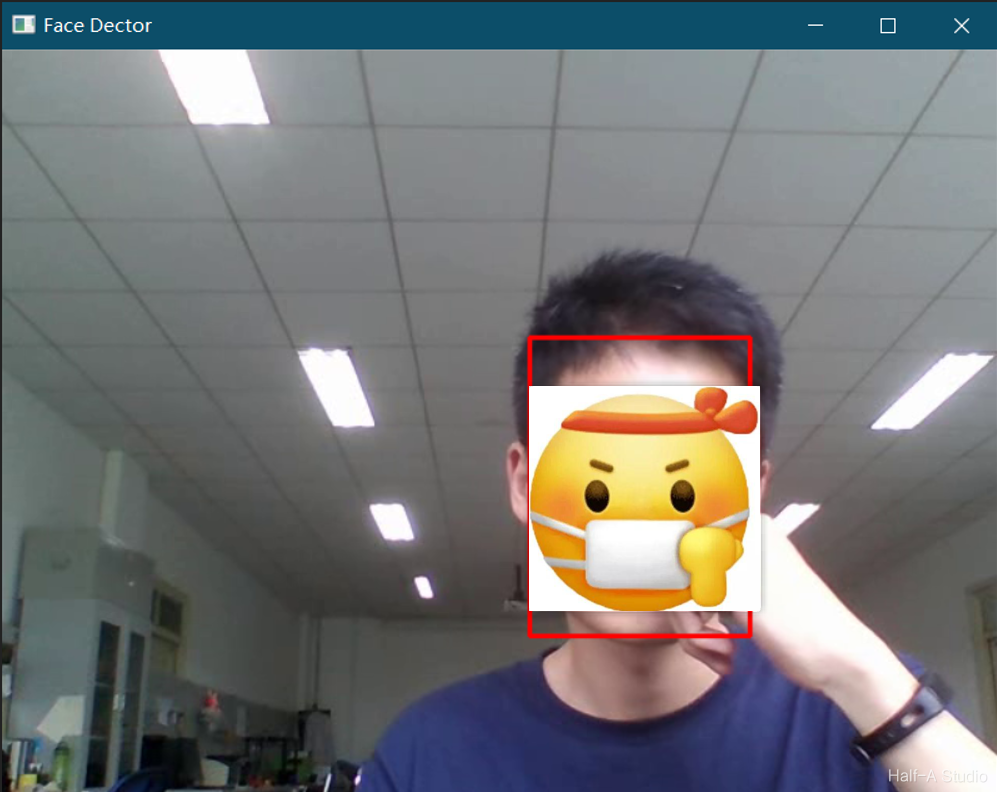
本文的目标是实现对于摄像头内的人脸进行实时检测。
一、文件准备
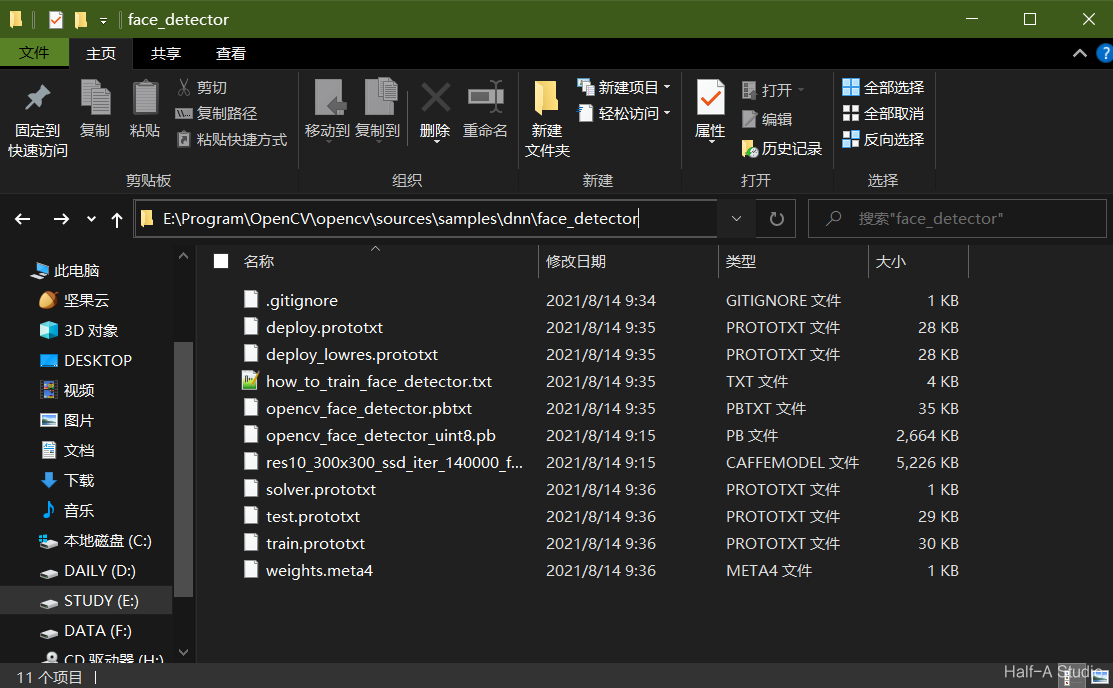
首先需要到opencv的github网站上下载opencv/samples/dnn/face_detector/中所有的文件,并覆盖到本地的...\opencv\sources\samples\dnn\face_detector这个目录中。然后用记事本打开weights.meta4文件,下载其中两个url对应的文件。
由于下载过程可能需要科学上网,因此我将所需要的文件打包 face_detector.zip,大家将压缩包解压后将里面所有文件复制到本地目录...\opencv\sources\samples\dnn\face_detector中即可。

二、程序设计
2.1 主要函数
1. blobFromImage()
1
2
3
4
5
6
7
8
| blobFromImage(InputArray image,
double scalefactor=1.0,
const Size& size = Size(),
const Scalar& mean = Scalar(),
bool swapRB = false,
bool crop = false,
int ddepth = CV_32F
)
|
2. net.forward()
1
| Mat probs = net.forward();
|
其输出有四个维度
- 第一个维度:所有图像中每个图像的index
- 第二个维度:当前图像是第几个批次batchid,第几张图imageid
- 第三个维度:框的个数;
- 第四个维度:每个框有七个值,前两个是类型和dst,第三个是置信度,最后四个是矩形的左上角和右下角
2.2 示例程序
1
2
3
4
5
6
7
8
9
10
11
12
13
14
15
16
17
18
19
20
21
22
23
24
25
26
27
28
29
30
31
32
33
34
35
36
37
38
39
40
41
42
43
44
45
46
47
48
49
| void MyDemo::faceDetector_Demo() {
VideoCapture capture(0);
Mat frame;
std::string root_dir = "E:/Program/OpenCV/opencv/sources/samples/dnn/face_detector/";
dnn::Net net = dnn::readNetFromTensorflow(root_dir+"opencv_face_detector_uint8.pb", root_dir+"opencv_face_detector.pbtxt");
while (capture.isOpened()) {
capture.read(frame);
flip(frame, frame, 1);
if (frame.empty()) {
break;
}
Mat blob = dnn::blobFromImage(frame, 1.0, Size(300, 300), Scalar(104, 177, 123), false, false);
net.setInput(blob);
Mat probs = net.forward();
Mat detectionMat(probs.size[2], probs.size[3], CV_32F, probs.ptr());
for (int i = 0; i < detectionMat.rows; i++) {
float confidence = detectionMat.at<float>(i, 2);
if (confidence > 0.6) {
int x1 = static_cast<int>(detectionMat.at<float>(i, 3) * frame.cols);
int y1 = static_cast<int>(detectionMat.at<float>(i, 4) * frame.rows);
int x2 = static_cast<int>(detectionMat.at<float>(i, 5) * frame.cols);
int y2 = static_cast<int>(detectionMat.at<float>(i, 6) * frame.rows);
Rect box(x1, y1, x2 - x1, y2 - y1);
rectangle(frame, box, Scalar(0, 0, 255), 2, 8, 0);
}
}
imshow("Face Dector", frame);
char k = waitKey(33);
if (k == 'q') {
break;
}
}
|


