在正文开始之前,首先要知道屏幕中 (0, 0) 坐标点在左上角,最大坐标在右下角。
一、基本图形的绘制
1. 矩形
OpenCV中绘制矩形的函数为 rectangle() 。
void rectangle(InputOutputArray img, Rect rec, const Scalar& color, int thickness = 1, int lineType = LINE_8, int shift = 0);| 参数 | 作用 |
|---|---|
| InputOutputArray img | 要绘制的目标图像 |
| Rect rec | rect类对象 |
| const Scalar& color | 线条的颜色 |
| int thickness = 1 | 正数表示线条宽度,-1表示填充矩形 |
| int lineType = LINE_8 | 线条的类型 |
| int shift = 0 | 坐标点的小数点位数 |
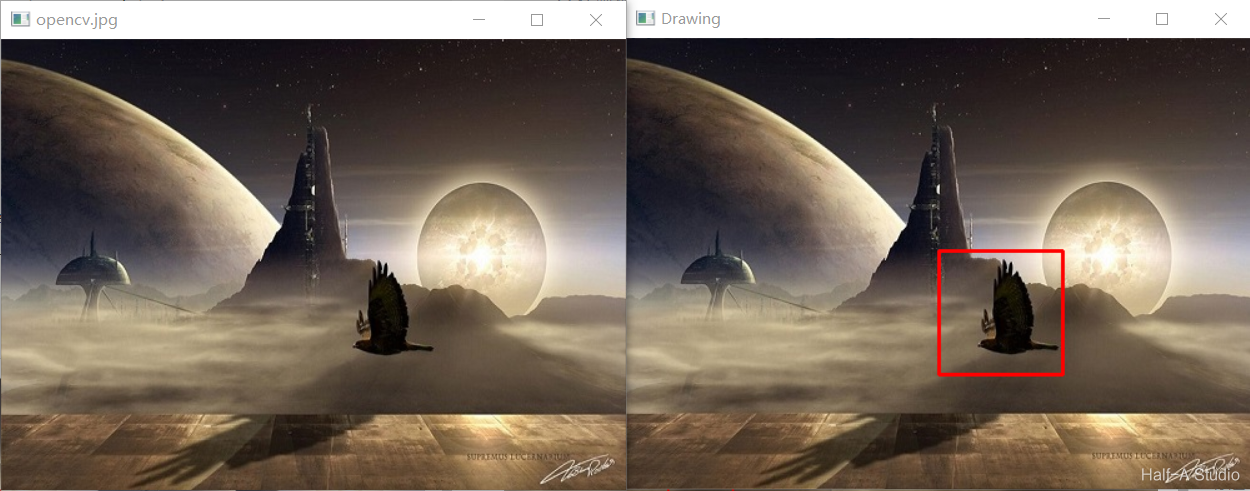
绘制矩形的示例程序如下:
void MyDemo::drawing_Demo(Mat& image) {
	//绘制矩形
	Rect rect;
	rect.x = 250;	//左上端点x坐标
	rect.y = 170;	//左上端点x坐标
	rect.width = 100;	//宽度
	rect.height = 100;	//高度
	rectangle(image, rect, Scalar(0, 0, 255), 2, 8, 0);
	imshow("Drawing", image);
}
2. 圆形
OpenCV中绘制圆形的函数为 rectangle() 。
void cv::circle (InputOutputArray img, Point center, int radius, const Scalar &color, int thickness=1, int lineType=LINE_8, int shift=0);| 参数 | 作用 |
|---|---|
| InputOutputArray img | 要绘制的目标图像 |
| Point center | 圆心坐标 |
| int radius | 圆的半径 |
| const Scalar &color | 圆的颜色 |
| int thickness=1 | 正数表示线条宽度,-1表示填充圆 |
| int lineType = LINE_8 | 线条的类型 |
| int shift = 0 | 坐标点的小数点位数 |
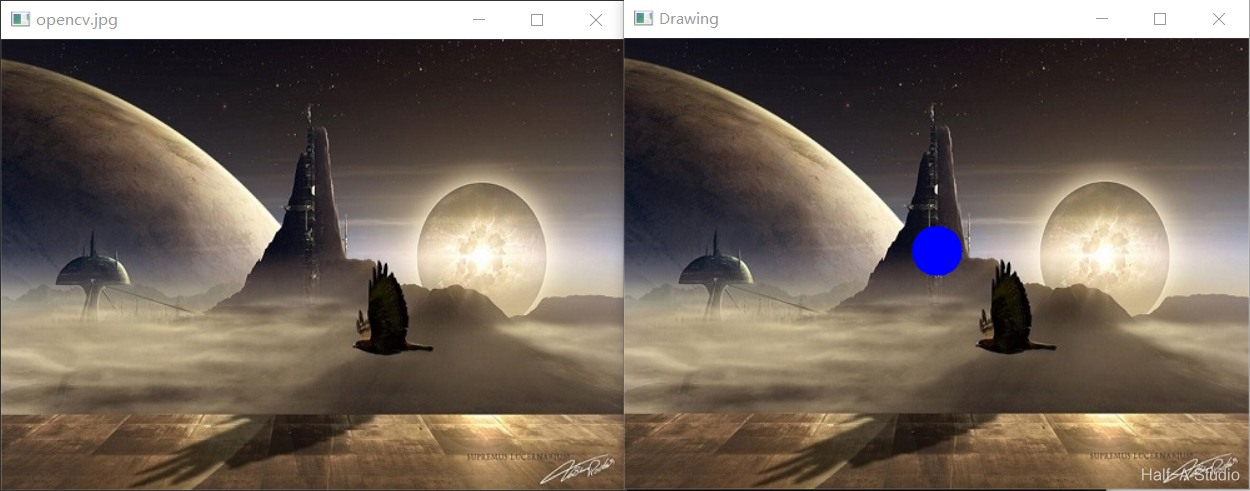
绘制圆形的示例程序如下:
void MyDemo::drawing_Demo(Mat& image) {
	//绘制圆
	circle(image, Point(250, 170), 20, Scalar(255, 0, 0), -1, 8, 0);
	imshow("Drawing", image);
}
3. 直线
OpenCV中绘制直线的函数为 rectangle() 。
void cv::line(InputOutputArray img, Point pt1, Point pt2, const Scalar &color, int thickness=1, int lineType=LINE_8, int shift=0);| 参数 | 作用 |
|---|---|
| InputOutputArray img | 要绘制的目标图像 |
| Point pt1r | 端点1的坐标 |
| Point pt2 | 端点2的坐标 |
| const Scalar &color | 线条的颜色 |
| int thickness=1 | 线条宽度 |
| int lineType = LINE_8 | 线条的类型 |
| int shift = 0 | 坐标点的小数点位数 |
绘制圆形的示例程序如下:
void MyDemo::drawing_Demo(Mat& image) {
	//绘制直线
	line(image, Point(250, 170), Point(350, 270), Scalar(0, 255, 0), 2, LINE_AA, 0);
	imshow("Drawing", image);
}
4. 椭圆
OpenCV中绘制椭圆的函数为 ellipse() 。
void ellipse(Mat&img, const RotatedRect&box, const Scalar& color, int thickness=1, int lineType=8);| 参数 | 作用 |
|---|---|
| Mat&img | 要绘制的目标图像 |
| const RotatedRect&box | 椭圆类 |
| const Scalar &color | 椭圆的颜色 |
| int thickness=1 | 正数表示线条宽度,-1表示填充圆 |
| int lineType = LINE_8 | 线条的类型 |
其中椭圆类RotatedRect的属性如下(示例):
RotatedRect rrt;	//创建对象
rrt.center = Point(100, 200);	//椭圆中心点
rrt.size = Size(100, 200);		//椭圆大小(横轴,纵轴长度)
rrt.angle = 0;		//旋转角度
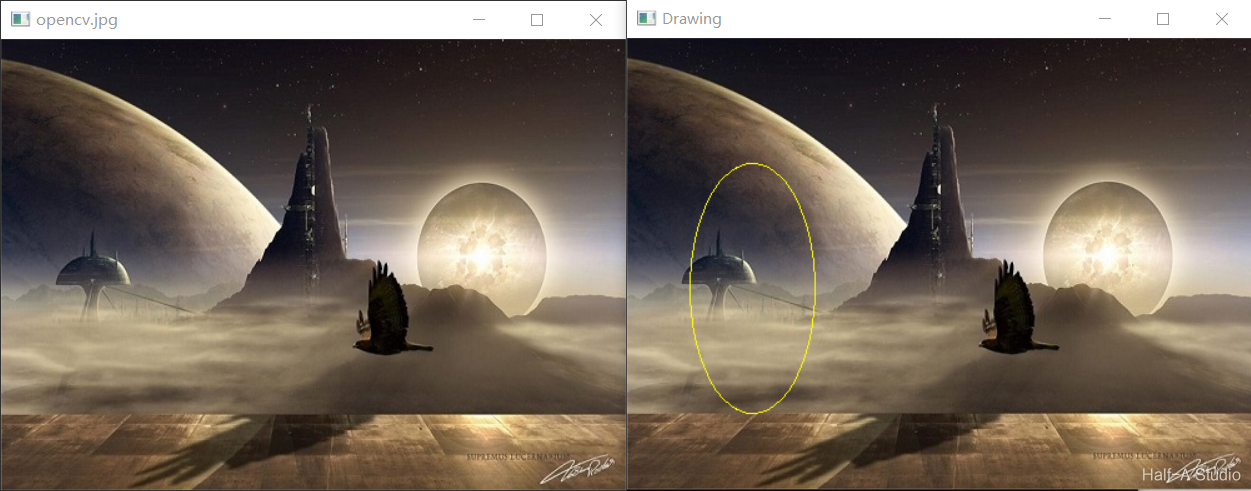
绘制圆形的示例程序如下:
void MyDemo::drawing_Demo(Mat& image) {
	//绘制椭圆
	RotatedRect rrt;
	rrt.center = Point(100, 200);
	rrt.size = Size(100, 200);
	rrt.angle = 0;
	ellipse(image, rrt, Scalar(0, 255, 255), 1, 8);
	imshow("Drawing", image);
}
二、多边形绘制方法
多边形绘制的本质是定义一个由多个点组成的点集,以此连接点集中的各个点,从而形成多边形。
2.1 多边形边框
绘制多边形的边框使用到的函数是 ploylines() 。
void cv::polylines(
		InputOutputArray	img,
		InputArrayOfArrays	pts,
		bool	isClosed,
		const Scalar & color,
		int		thickness = 1,
		int		lineType = LINE_8,
		int		shift = 0
)| 参数 | 作用 |
|---|---|
| img | 要绘制的目标图像 |
| pts | 提前构造的点集 |
| isClosed | 多边形是否是封闭图形 |
| color | 多边形边框的颜色 |
| thickness | 线条宽度(只能为正数) |
| lineType | 线条的类型 |
| shift | 坐标点的小数点位数 |
示例程序:绘制五边形
void MyDemo::polyDrawing_Demo() {
	//创建画布
	Mat bg = Mat::zeros(Size(512, 512), CV_8UC3);

	//创建五个点,作为多边形五个顶点
	Point p1(100, 100);
	Point p2(350, 100);
	Point p3(450, 300);
	Point p4(250, 450);
	Point p5(80, 200);

	//将五个点依次添加到点集中
	std::vector<Point> pts;
	pts.push_back(p1);
	pts.push_back(p2);
	pts.push_back(p3);
	pts.push_back(p4);
	pts.push_back(p5);

	//绘制多边形边框
	polylines(bg, pts, true, Scalar(0, 255, 255), 3, LINE_AA, 0);
	imshow("Poly Drawing!", bg);
}
其中
pts.push_back用于将点加入到点集数组中,用于不知道点集数量的情况。本程序已知共五个点,因此也可以使用如下的代码创建点集:
	std::vector<Point> pts(5);
	pts[0] = p1;
	pts[1] = p2;
	pts[2] = p3;
	pts[3] = p4;
	pts[4] = p5;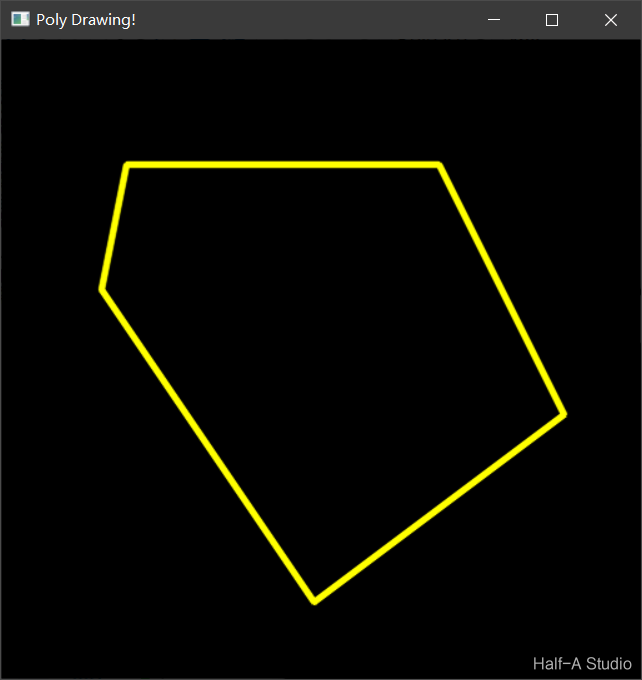
2.2 多边形填充
绘制填充的多边形使用到的函数是 fillPoly() 。
void cv::fillPoly(
		InputOutputArray	img,
		InputArrayOfArrays	pts,
		const Scalar & color,
		int		lineType = LINE_8,
		int		shift = 0
)| 参数 | 作用 |
|---|---|
| img | 要绘制的目标图像 |
| pts | 提前构造的点集 |
| color | 多边形边框的颜色 |
| lineType | 线条的类型 |
| shift | 坐标点的小数点位数 |
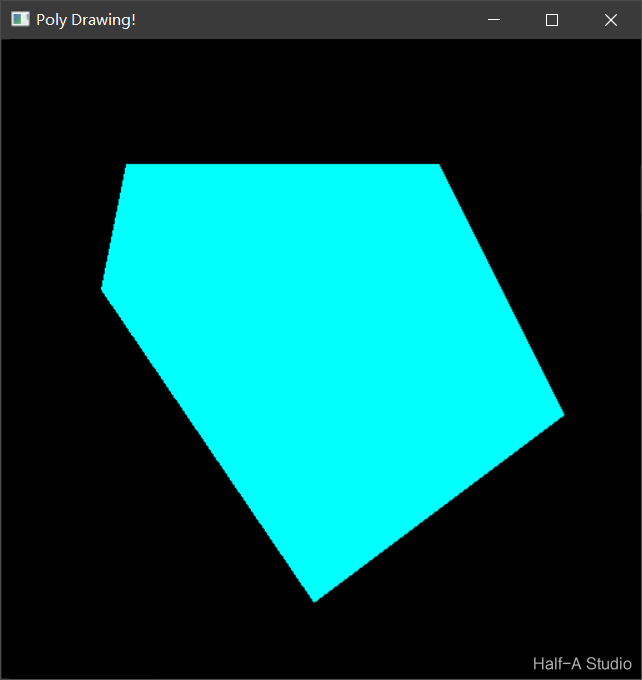
示例程序:绘制填充的五边形
void MyDemo::polyDrawing_Demo() {
	//创建画布
	Mat bg = Mat::zeros(Size(512, 512), CV_8UC3);

	//创建五个点,作为多边形五个顶点
	Point p1(100, 100);
	Point p2(350, 100);
	Point p3(450, 300);
	Point p4(250, 450);
	Point p5(80, 200);

	//将五个点依次添加到点集中
	std::vector<Point> pts;
	pts.push_back(p1);
	pts.push_back(p2);
	pts.push_back(p3);
	pts.push_back(p4);
	pts.push_back(p5);

	//绘制封闭的五边形
	fillPoly(bg, pts, Scalar(255, 255, 0), 8, 0);
	imshow("Poly Drawing!", bg);
}
2.3 绘制多个多边形
绘制多个多边形使用到的函数是 drawContours() 。
void drawContours(
	InputOutputArray 	image,
	InputArrayOfArrays 	contours,
	int 	contourIdx,
	const Scalar& color,
	int 	thickness=1,
	int 	lineType=8,
	InputArray 	hierarchy=noArray(),
	int 		maxLevel=INT_MAX,
Point offset=Point() )| 参数 | 作用 |
|---|---|
| img | 要绘制的目标图像 |
| contours | 输入的轮廓组,每一组轮廓由点vector构成 |
| contourIdx | 画第几个轮廓,如果该参数为负值,则画全部轮廓 |
| color | 线条的颜色 |
| thickness | 线条宽度,负值或CV_FILLED表示填充轮廓内部 |
| lineType | 线条的类型 |
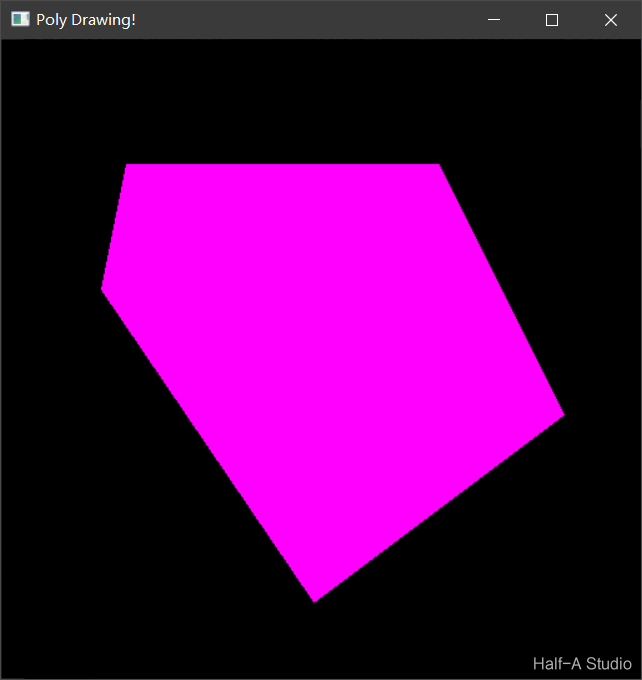
示例程序:绘制一个五边形
void MyDemo::polyDrawing_Demo() {
	//创建画布
	Mat bg = Mat::zeros(Size(512, 512), CV_8UC3);

	//创建五个点,作为多边形五个顶点
	Point p1(100, 100);
	Point p2(350, 100);
	Point p3(450, 300);
	Point p4(250, 450);
	Point p5(80, 200);

	//将五个点依次添加到点集中
	std::vector<Point> pts;
	pts.push_back(p1);
	pts.push_back(p2);
	pts.push_back(p3);
	pts.push_back(p4);
	pts.push_back(p5);

	//添加点集到contours
	//(相当于contours是点集的集合)
	std::vector<std::vector<Point>> contours;
	contours.push_back(pts);

	//绘制多边形
	drawContours(bg, contours, -1, Scalar(255, 0, 255), -1);
	imshow("Poly Drawing!", bg);
}
评论