Contents
I. Preparation
1. Install the Elementor Plugin
Go to the WordPress admin dashboard, search for the Elementor plugin, and install it.
If the installation fails, you can download the installation package from the official website, then upload and install it manually. See this article for installation instructions. Download: https://cn.wordpress.org/plugins/elementor/
2. Install a Theme
This example uses the Astra theme. Go to the WordPress admin dashboard, search for the Astra theme, and install it.
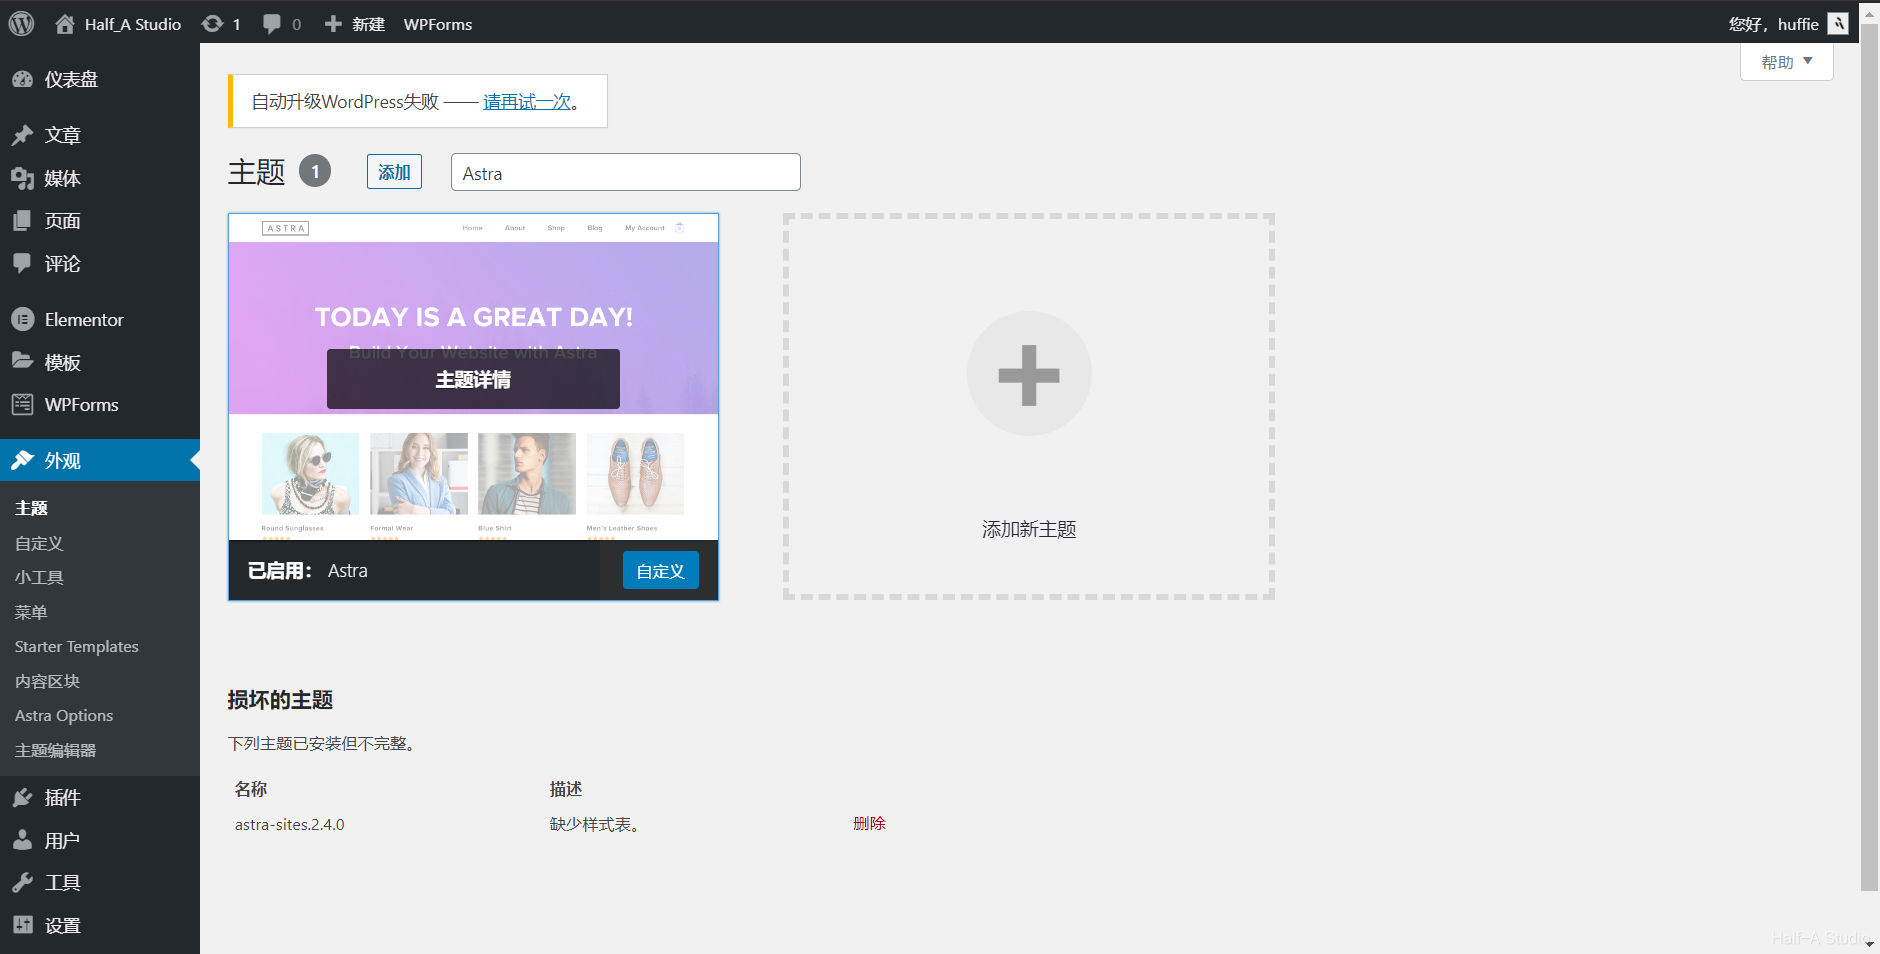
3. Install Supporting Plugins
Depending on the theme, you may need to install different supporting plugins before you can import a website template. The plugin required by the Astra theme is Starter Templates.

II. Import a Template
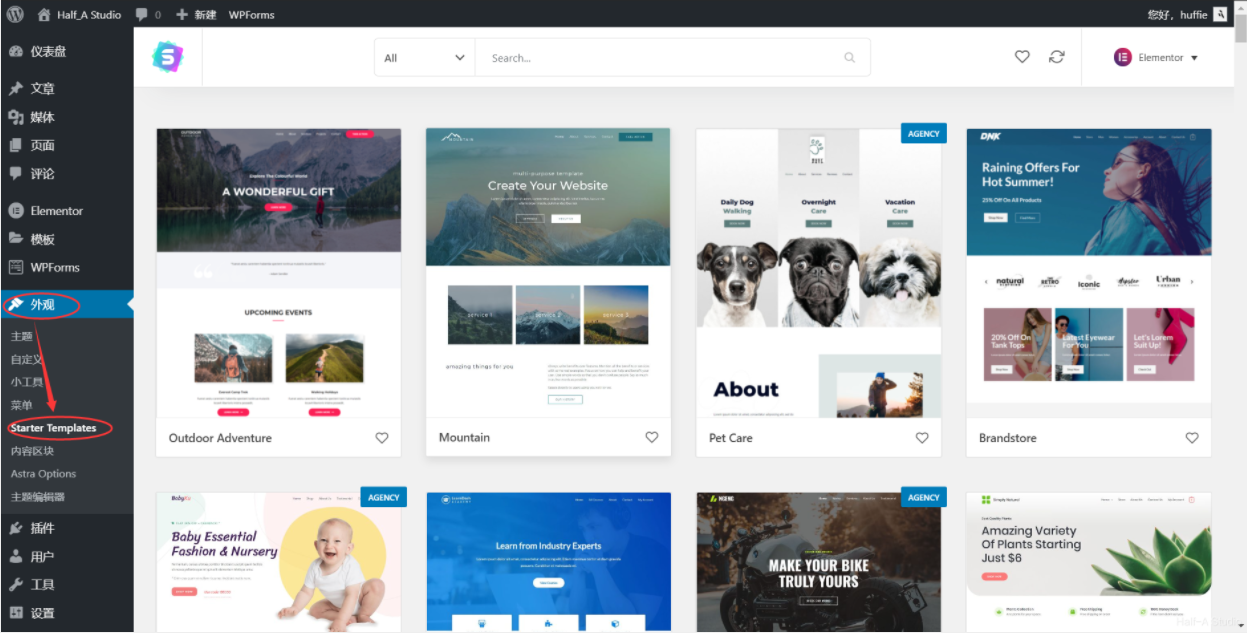
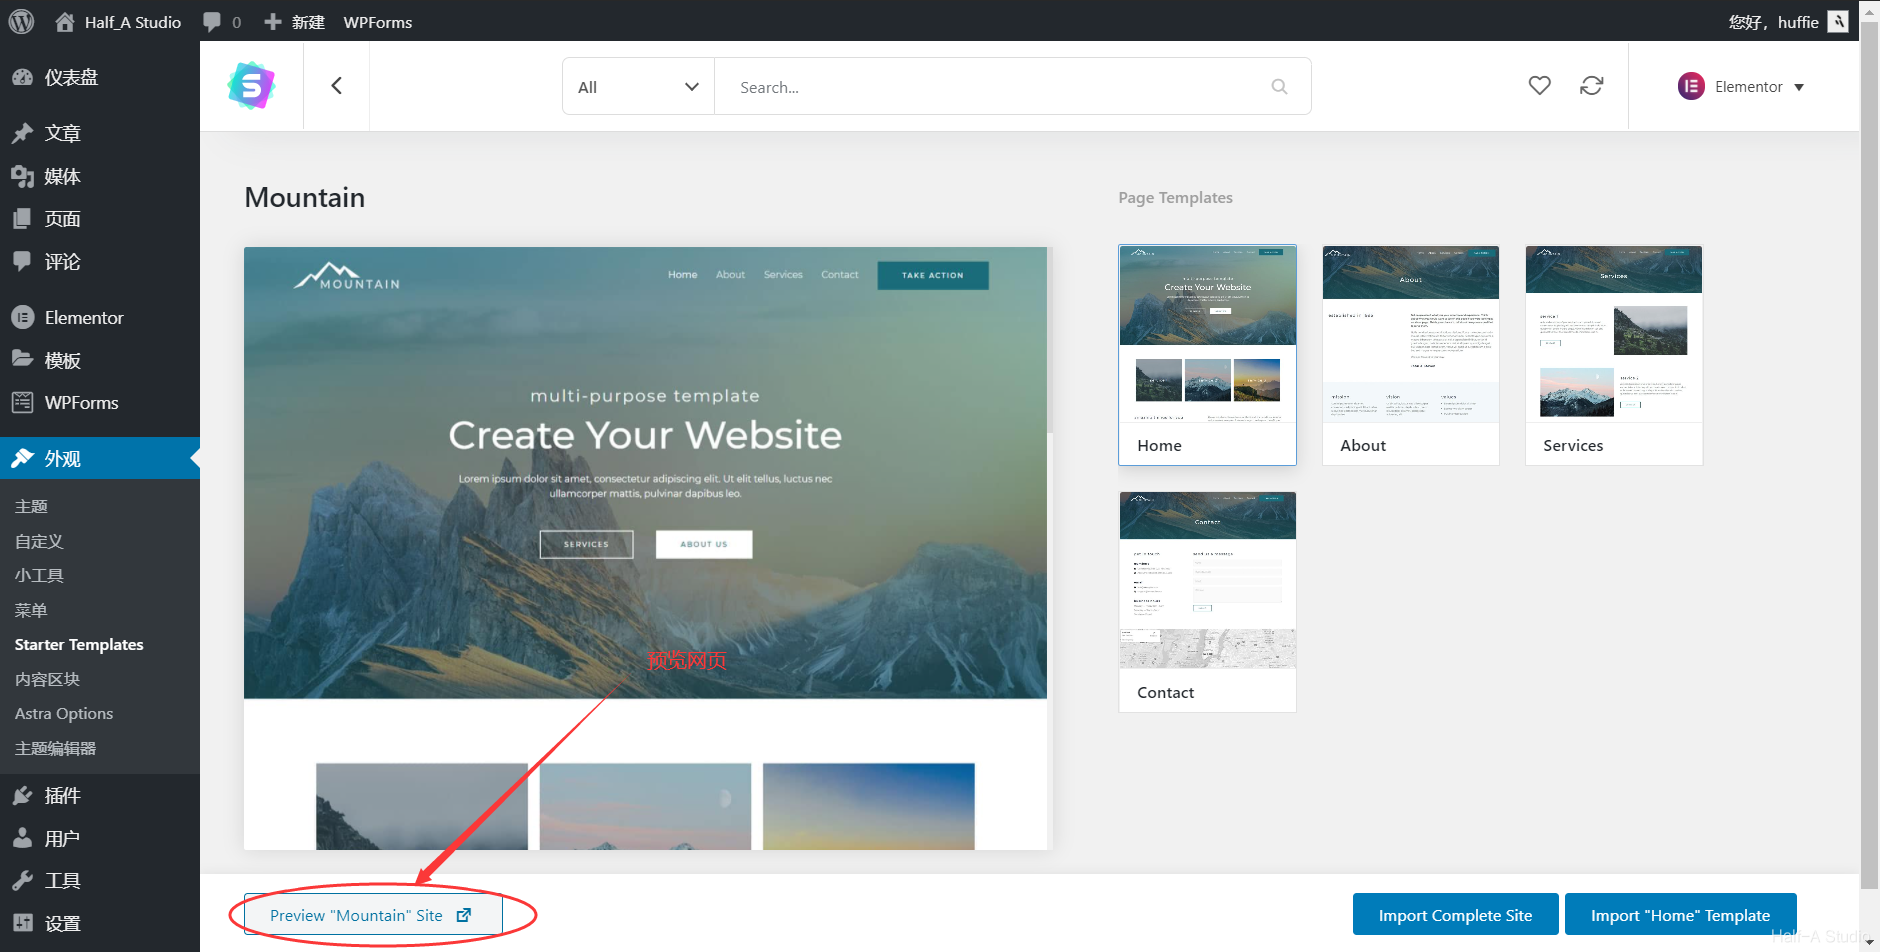
Click Appearance > Starter Templates to view some of Astra’s website templates. Here, you can choose a template that suits your website’s focus (click Details to preview the page) and import it into your website.
III. Visual Editing
1. Change the Website Logo and Site Identity
(1) Open your website and click Edit with Elementor at the top to enter the Elementor editor.
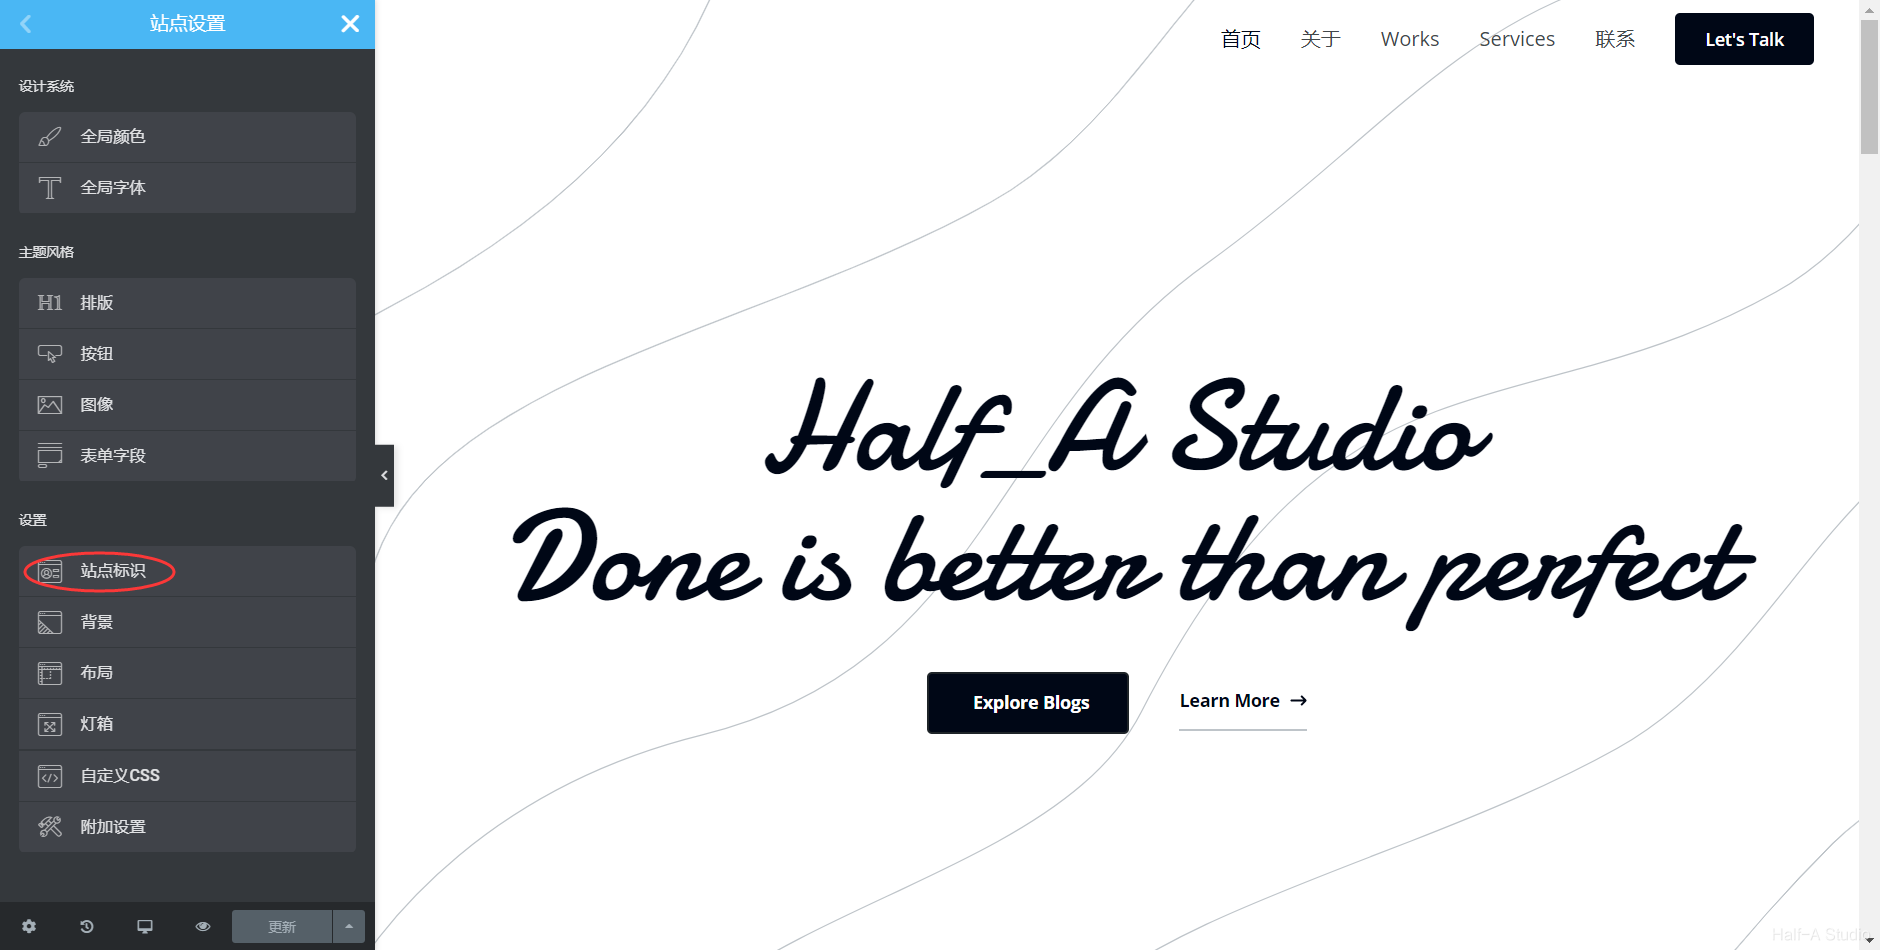
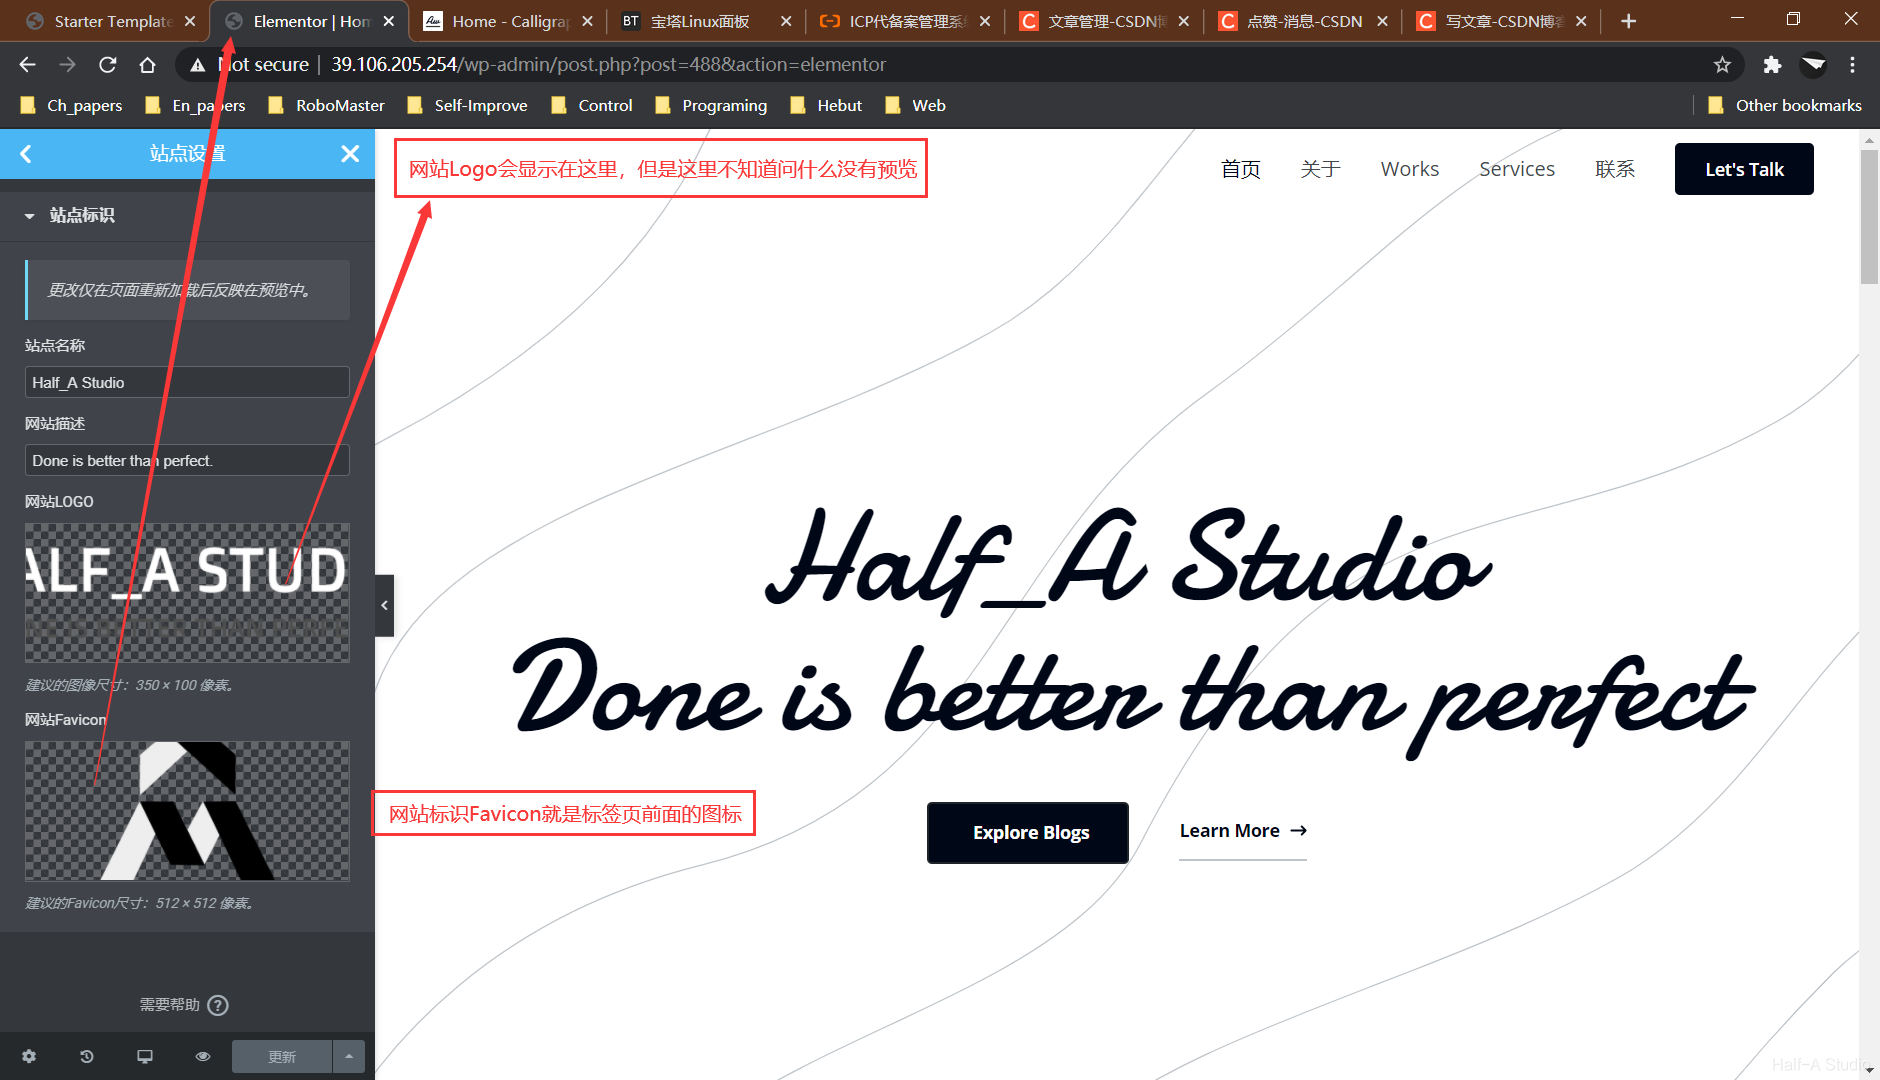
 (2) Click in the upper-left corner, then go to Site Settings > Site Identity to change the website’s logo and site identity.

2. Change the Content
Elementor is a modular editor. It assembles a website from top to bottom using different sections. Each section is divided into one or more columns where you can add different widgets.
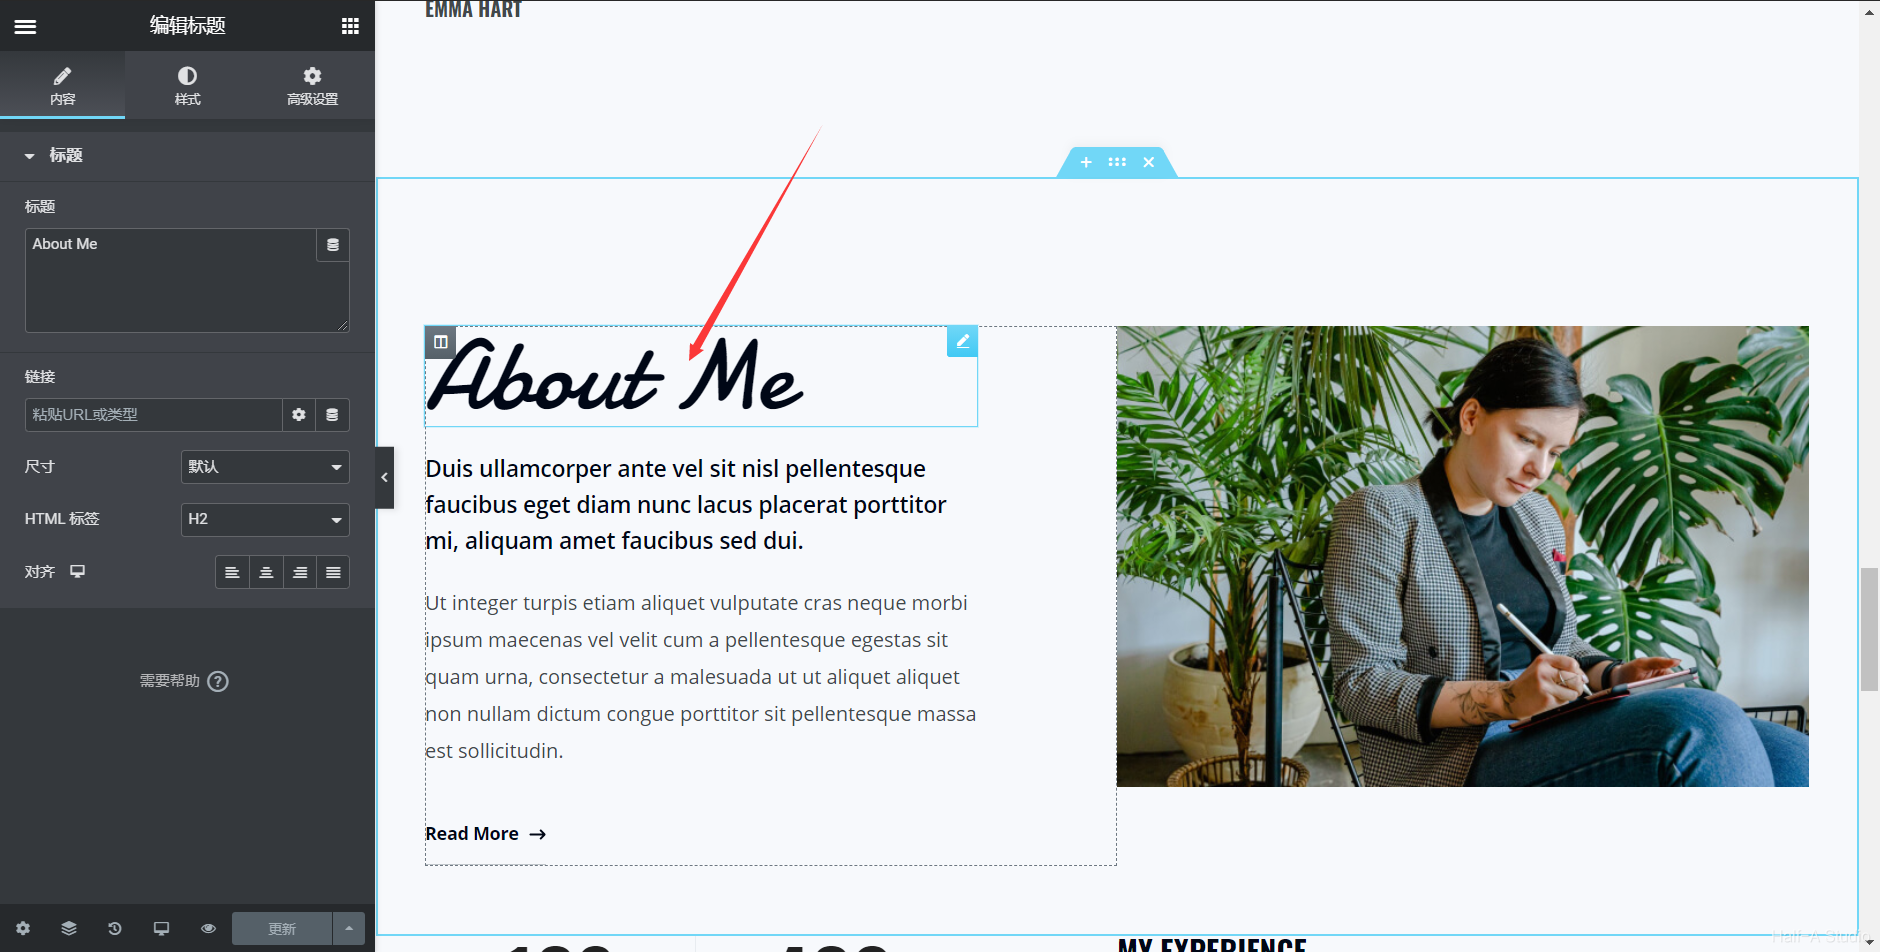
(1) Change text: Hover over the text you want to change and click it to edit it directly, or change it in the editing panel on the left.
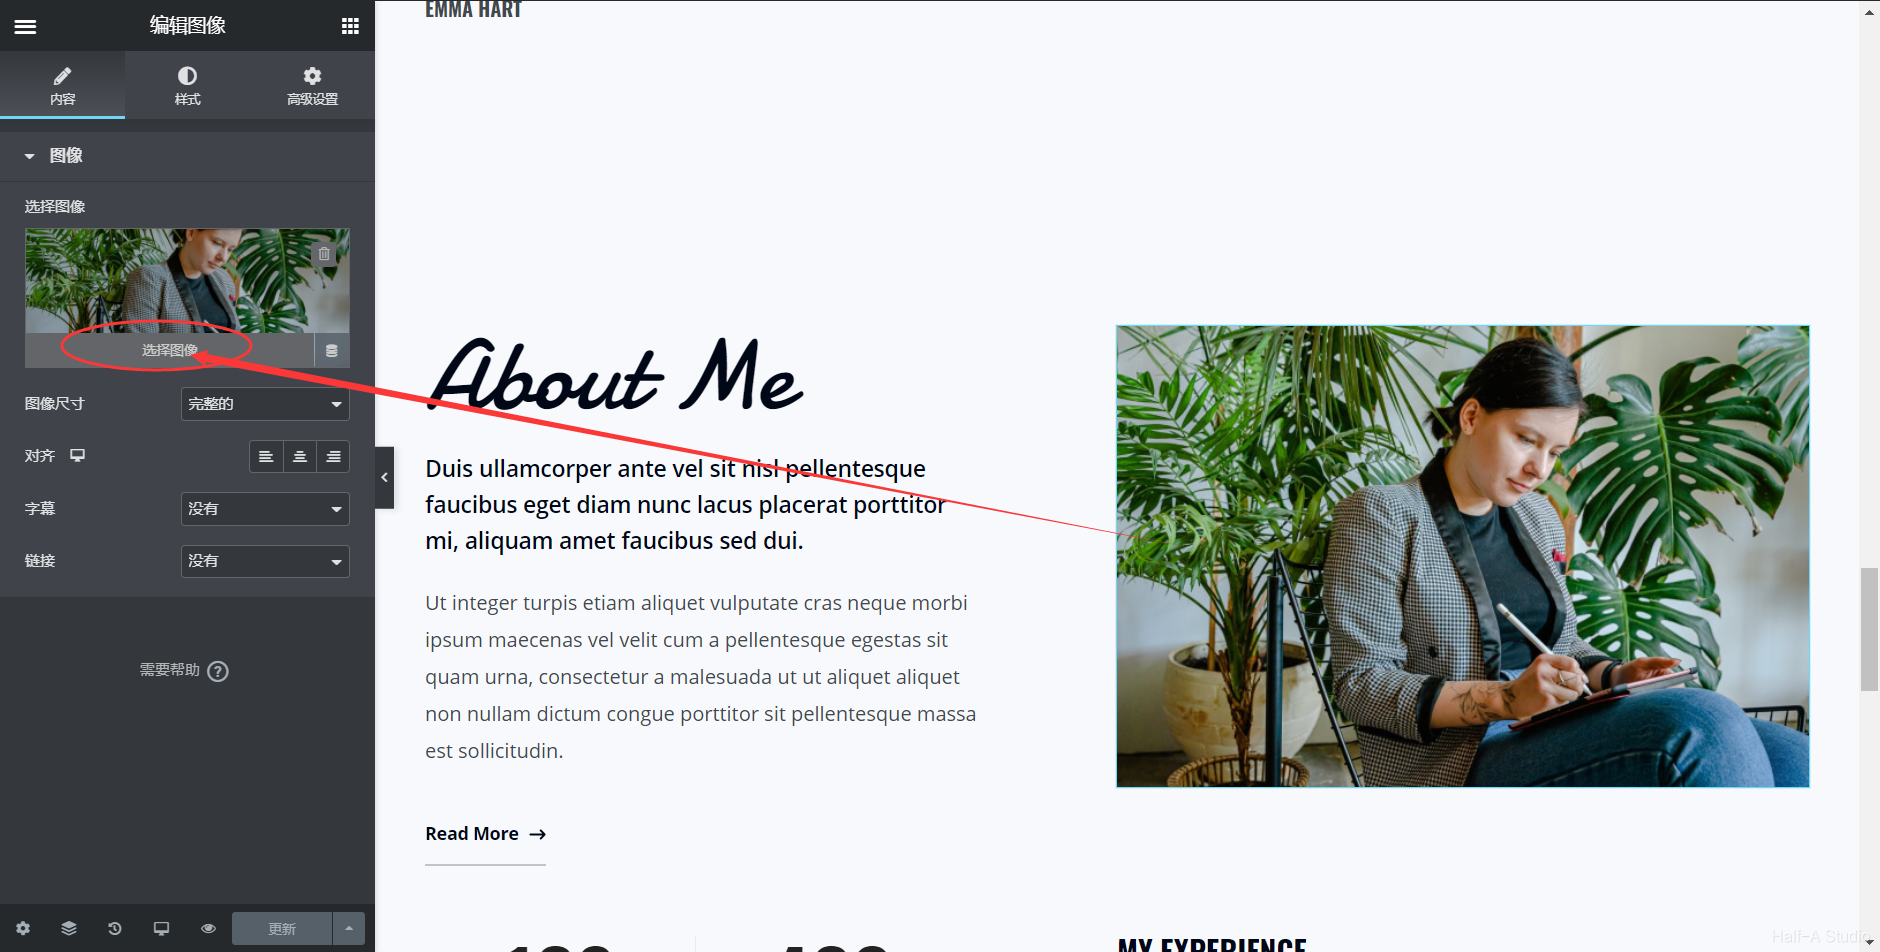
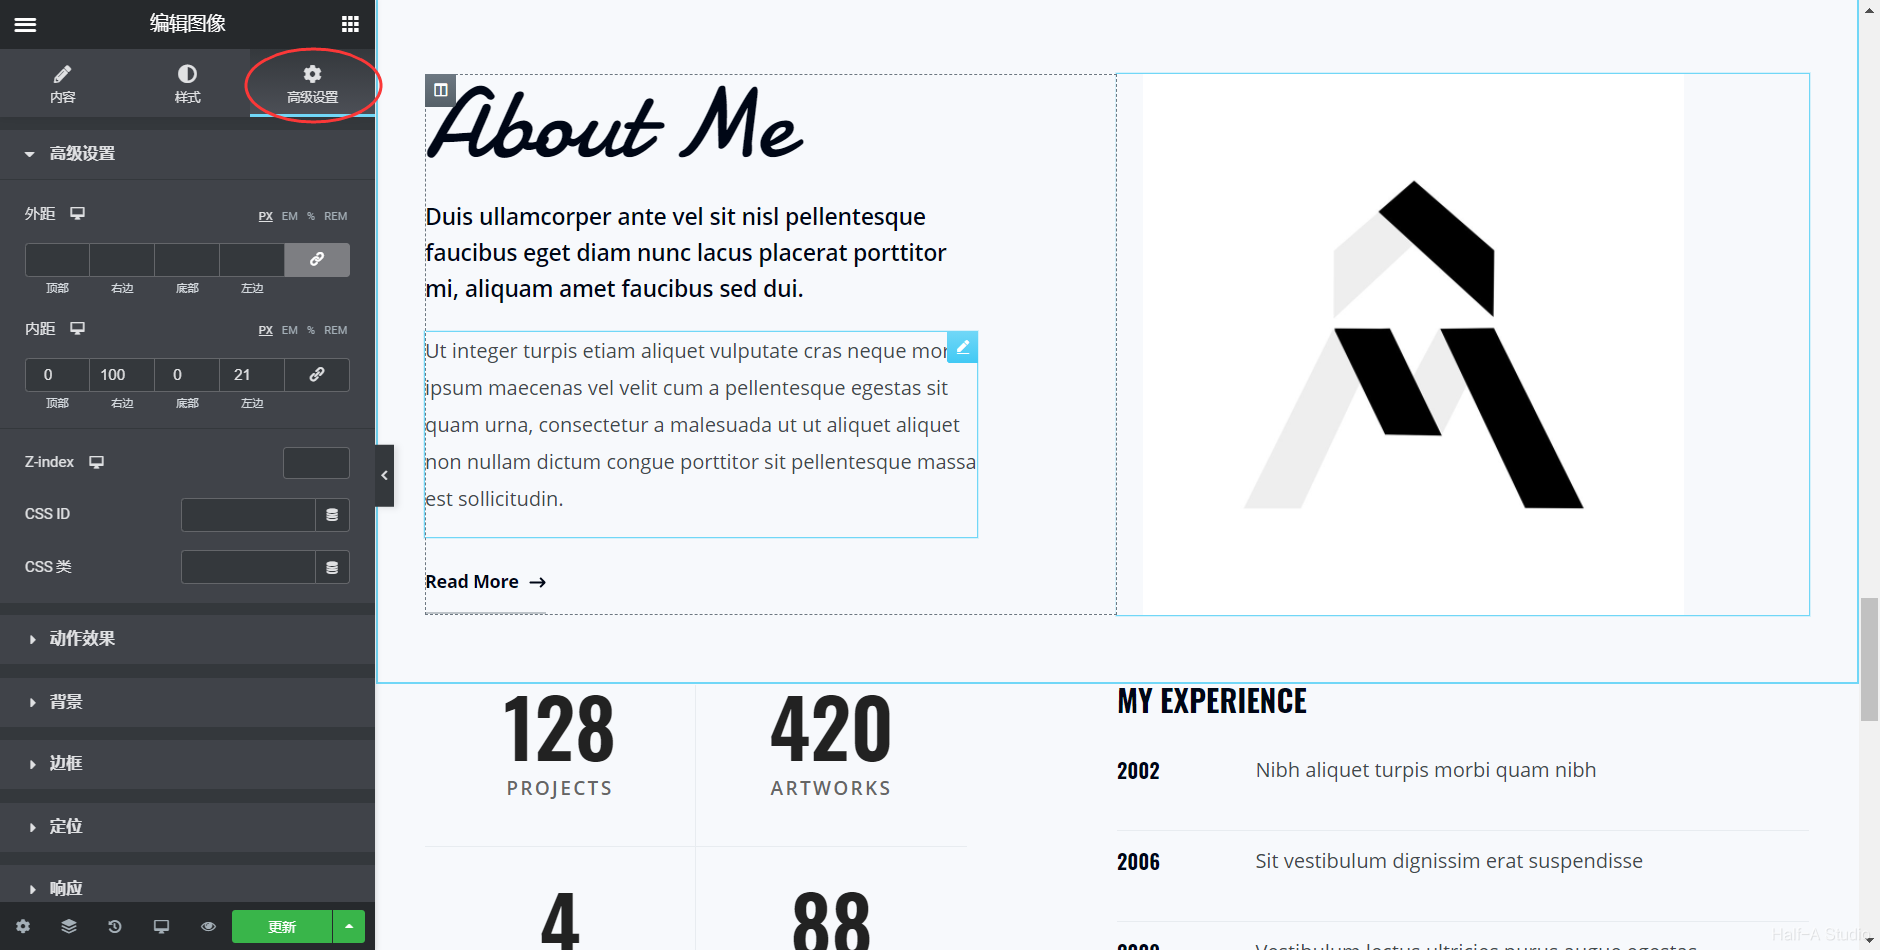
 (2) Replace an image: Click the image you want to change, and the corresponding options will appear in the editing panel on the left. Here, you can replace the image by choosing an existing image from the Media Library or uploading one. You can also adjust the image size and alignment below. More settings are available under Advanced.
 (3) Change an icon: Again, click the icon you want to change. Using the → in Read More→ as an example, you can select an existing icon from the Icon Library on the left or upload your own icon.

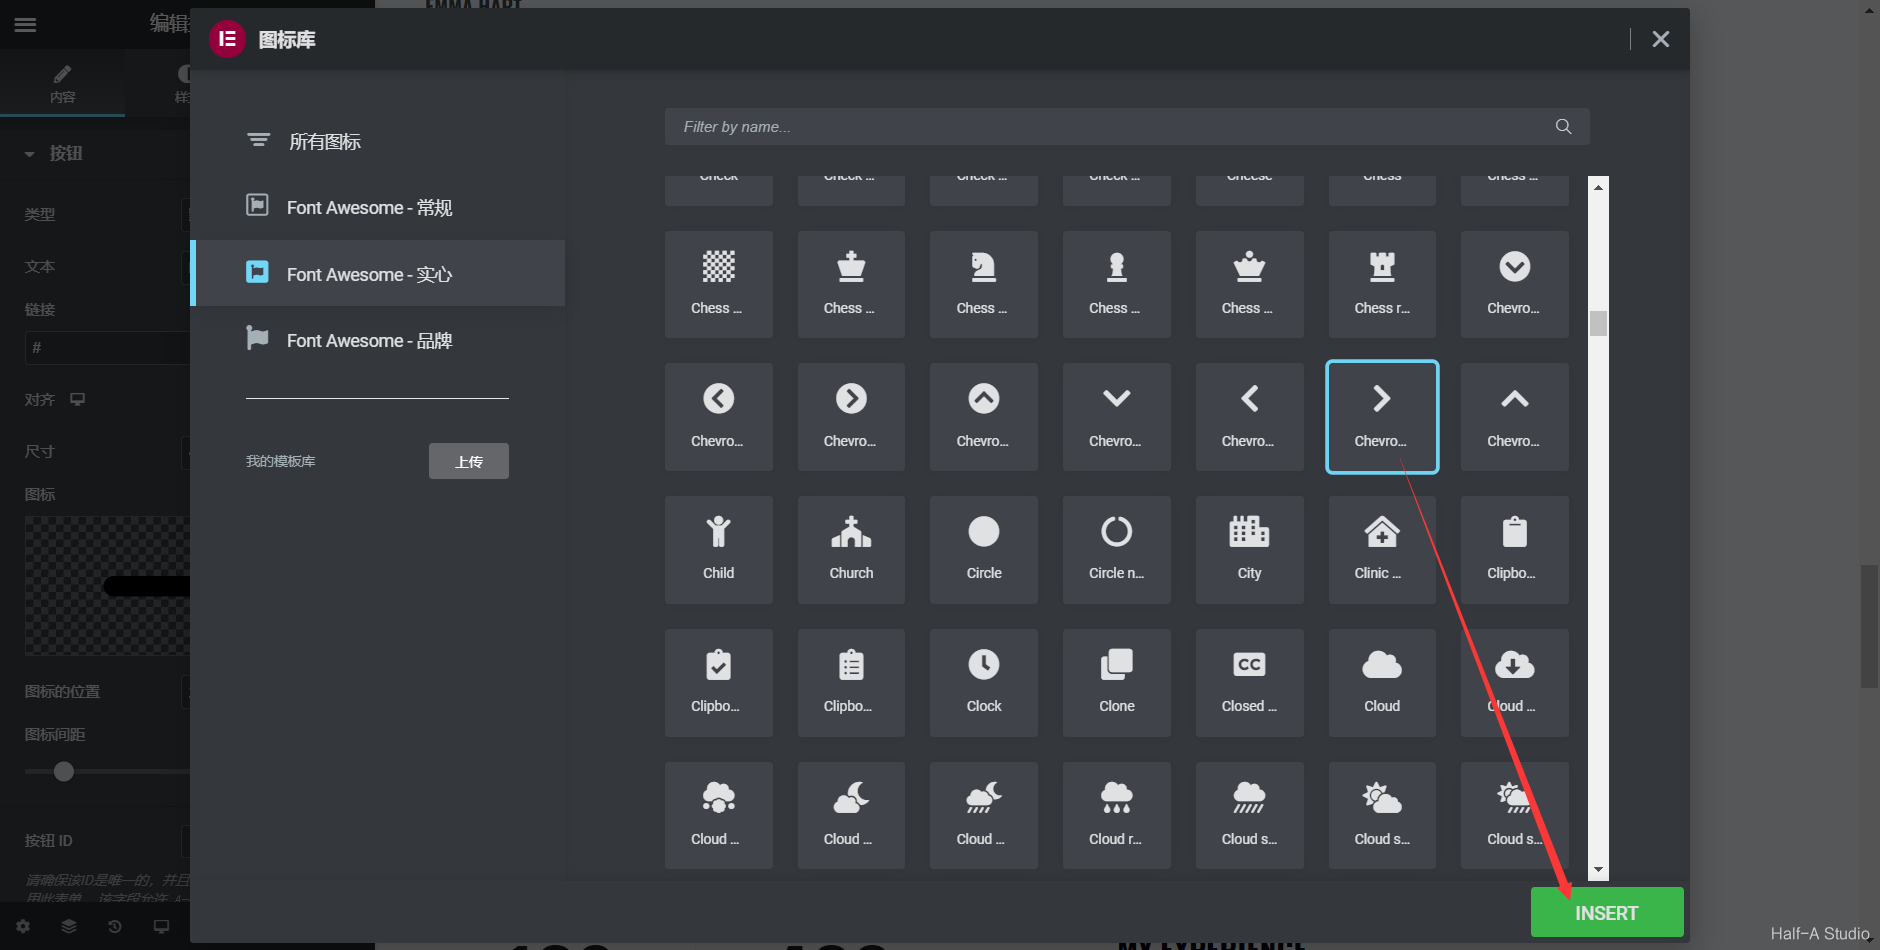
3. Change the Layout
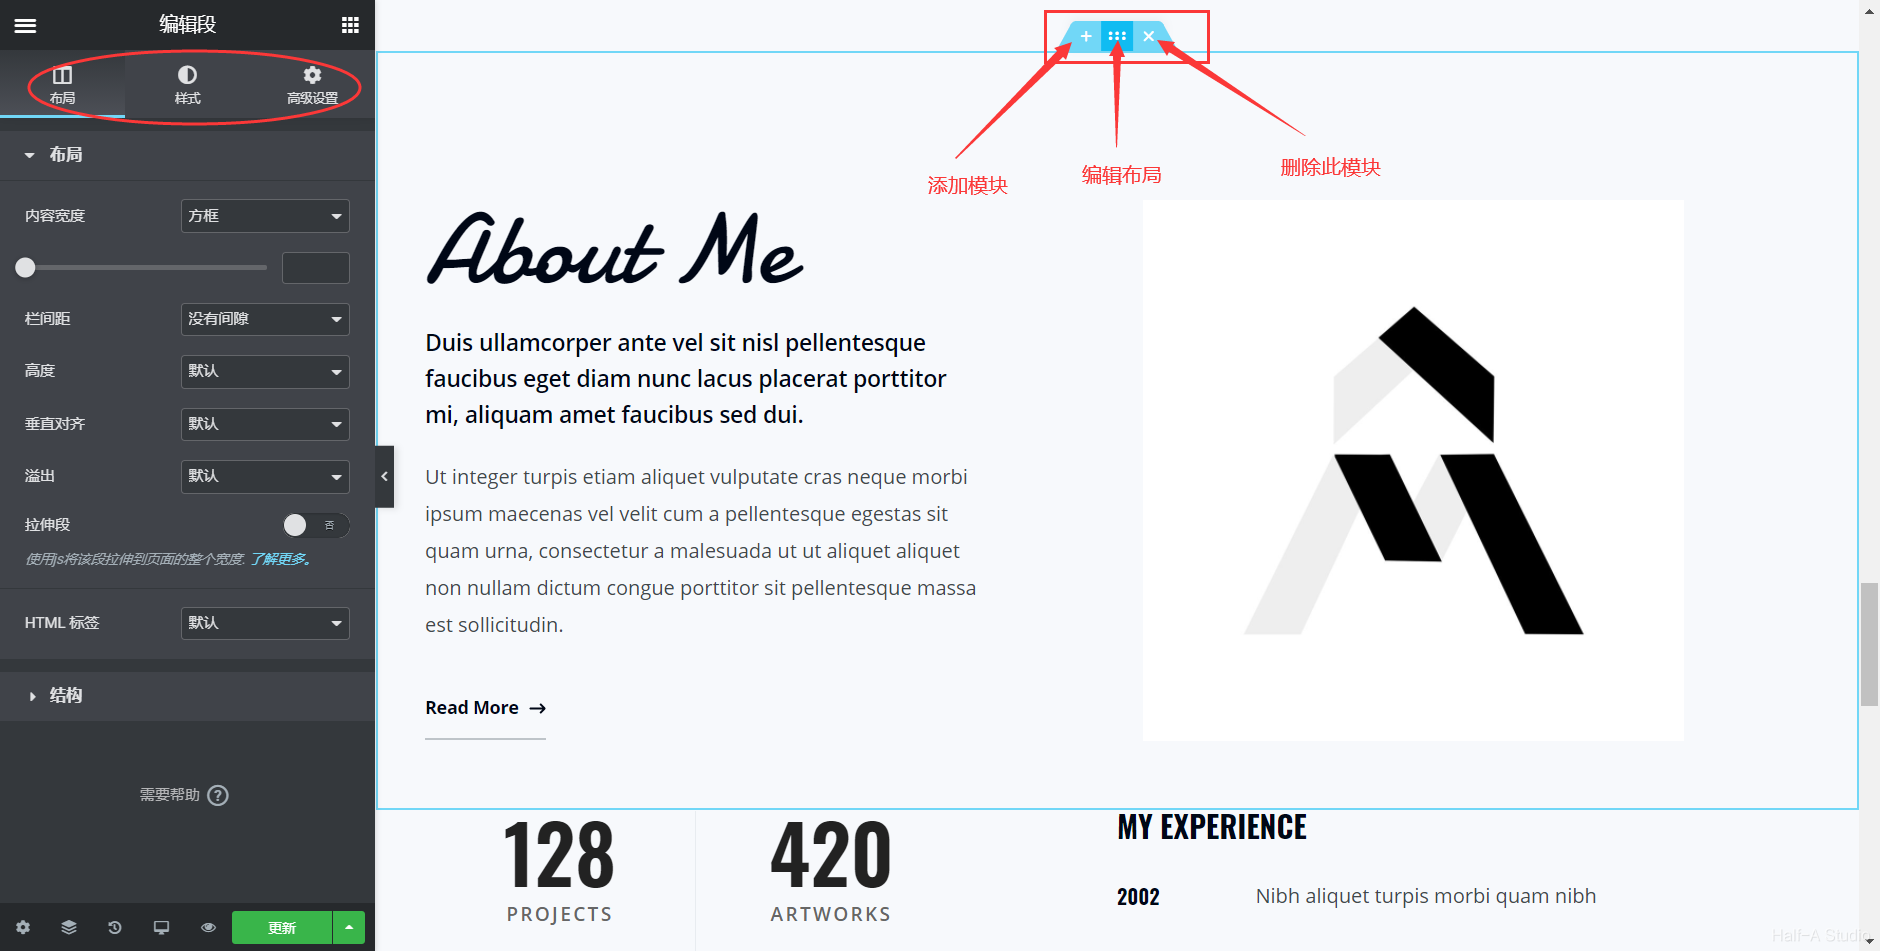
(1) Click the section handle at the top center of a section. In the panel on the left, you can change the section’s layout (margins and alignment), structure (number of columns), and more.
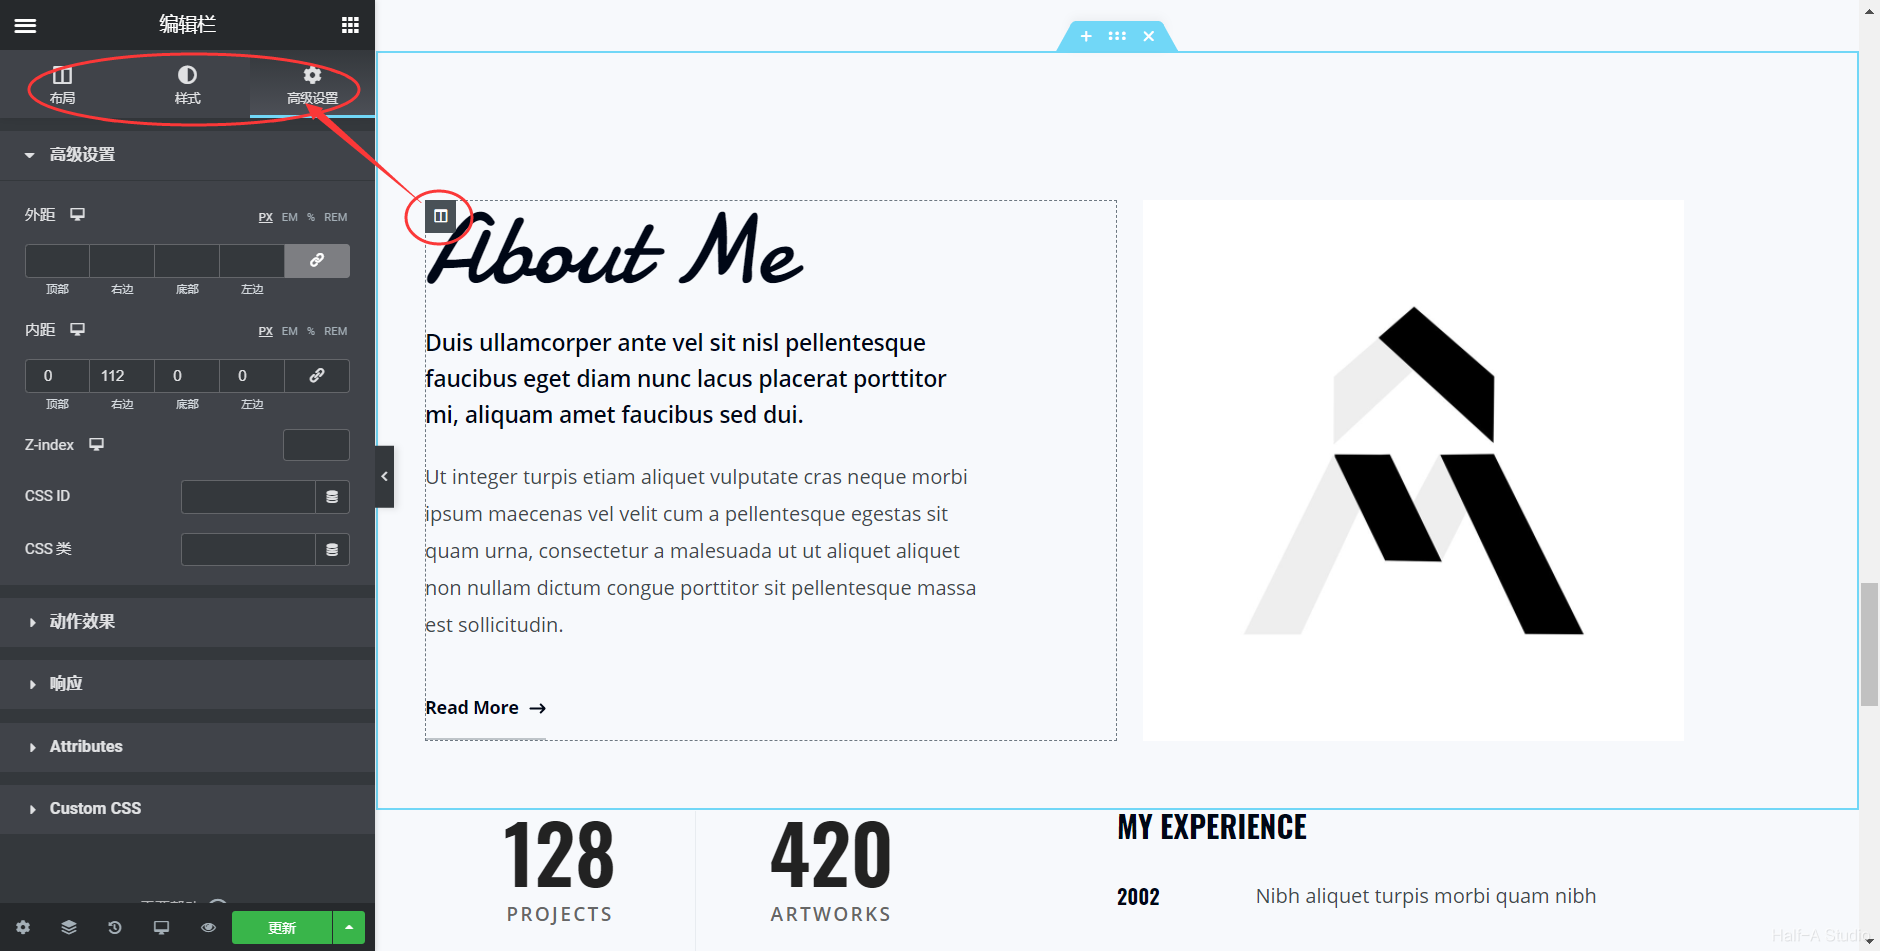
 (2) Click the column handle in the upper-left corner of each column within a section to change the layout of the individual columns.
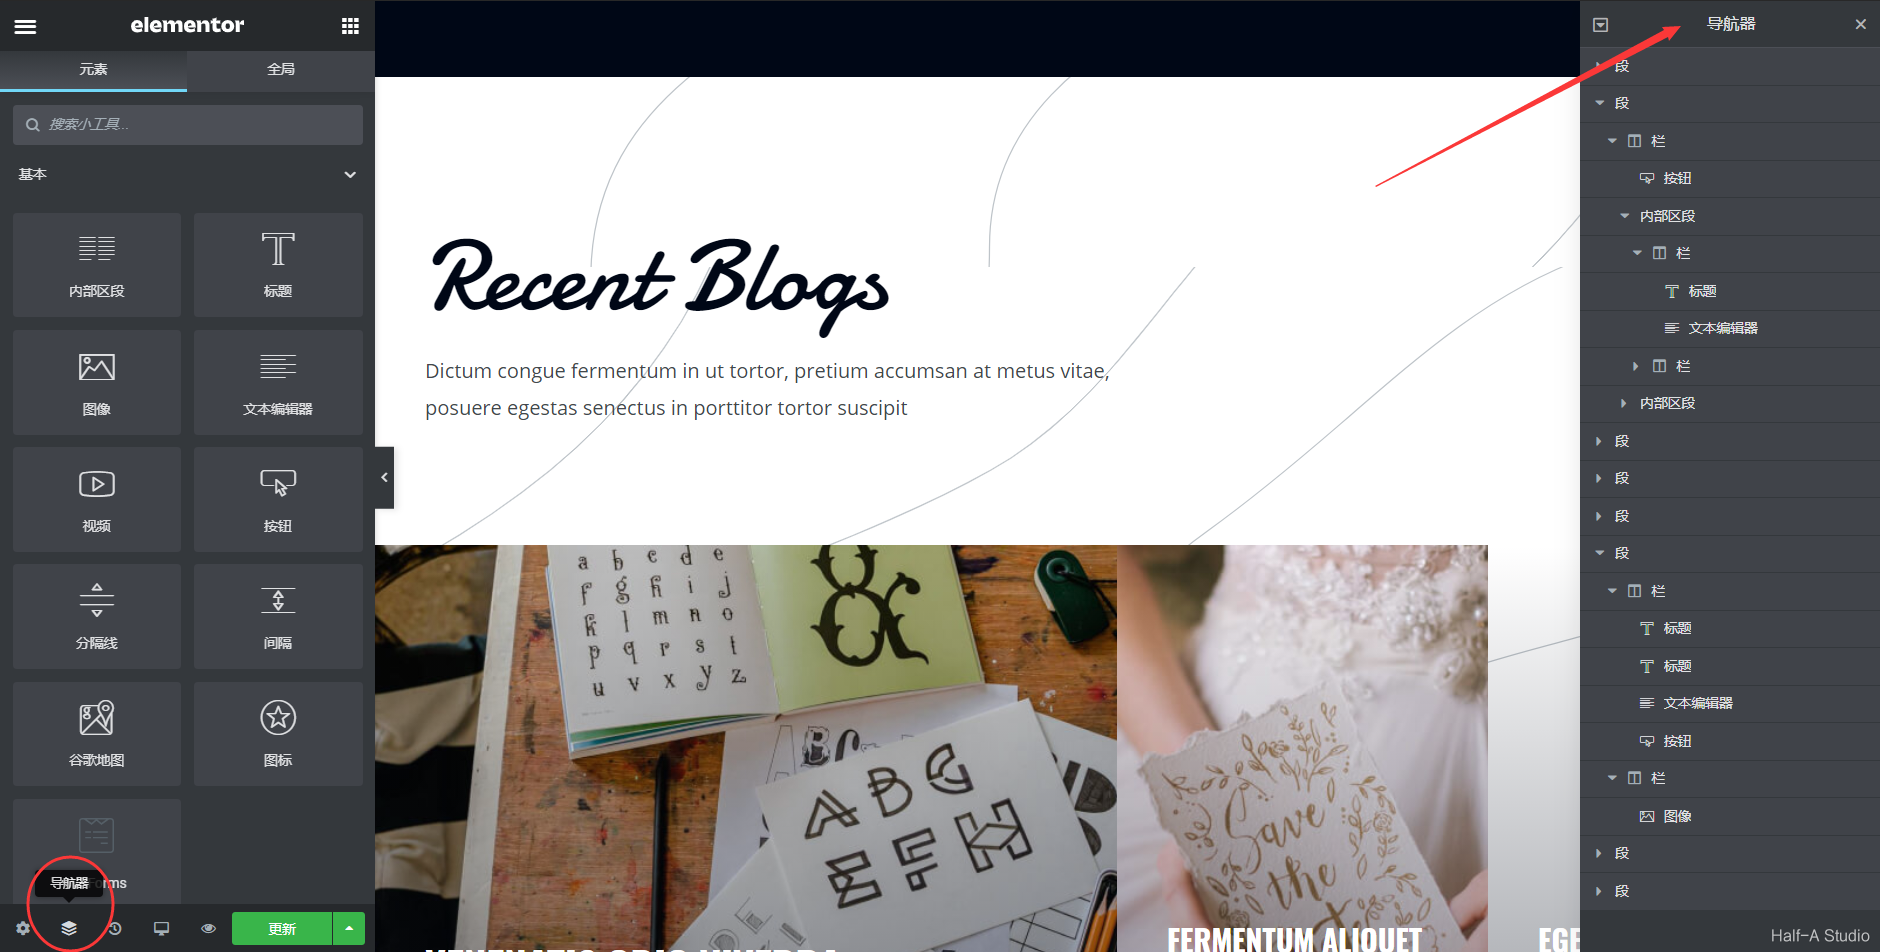
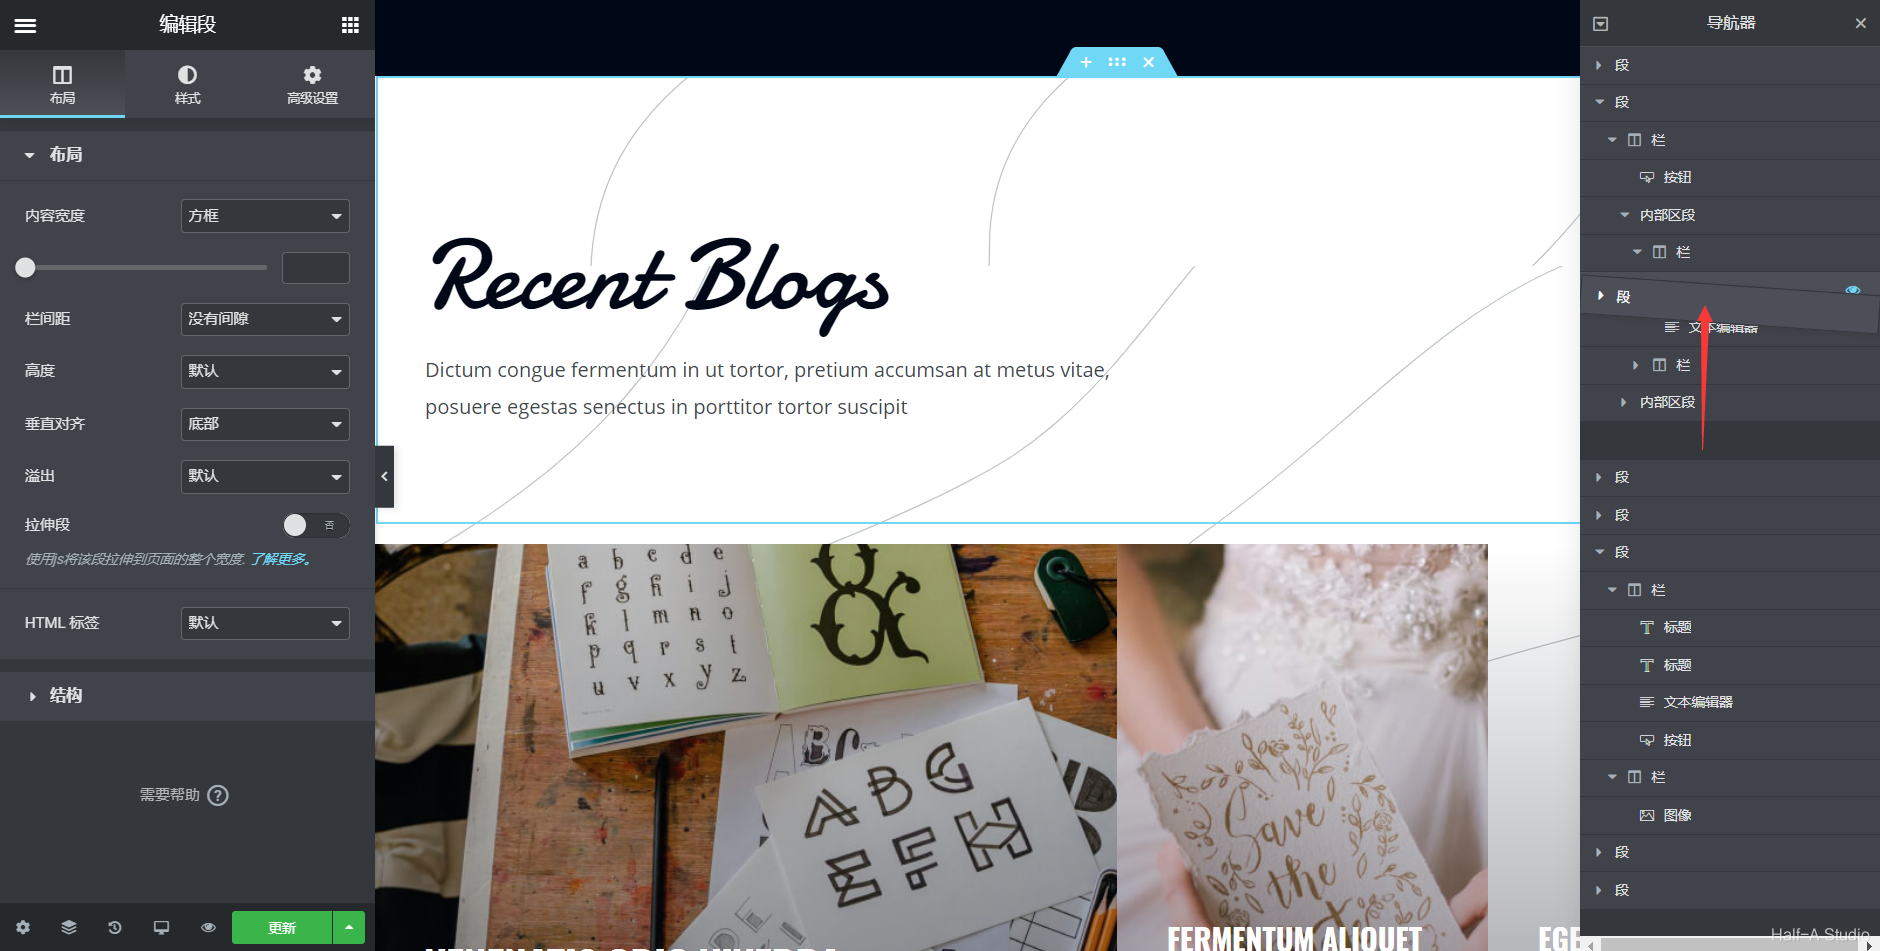
 (3) To change a section’s position, click Navigator at the bottom of the Elementor editing panel. An outline of the website will appear on the right. Drag the corresponding section directly to reorder it.
4. Add a Section
(1) Scroll to the bottom of the page or click the + above a section to add a section.
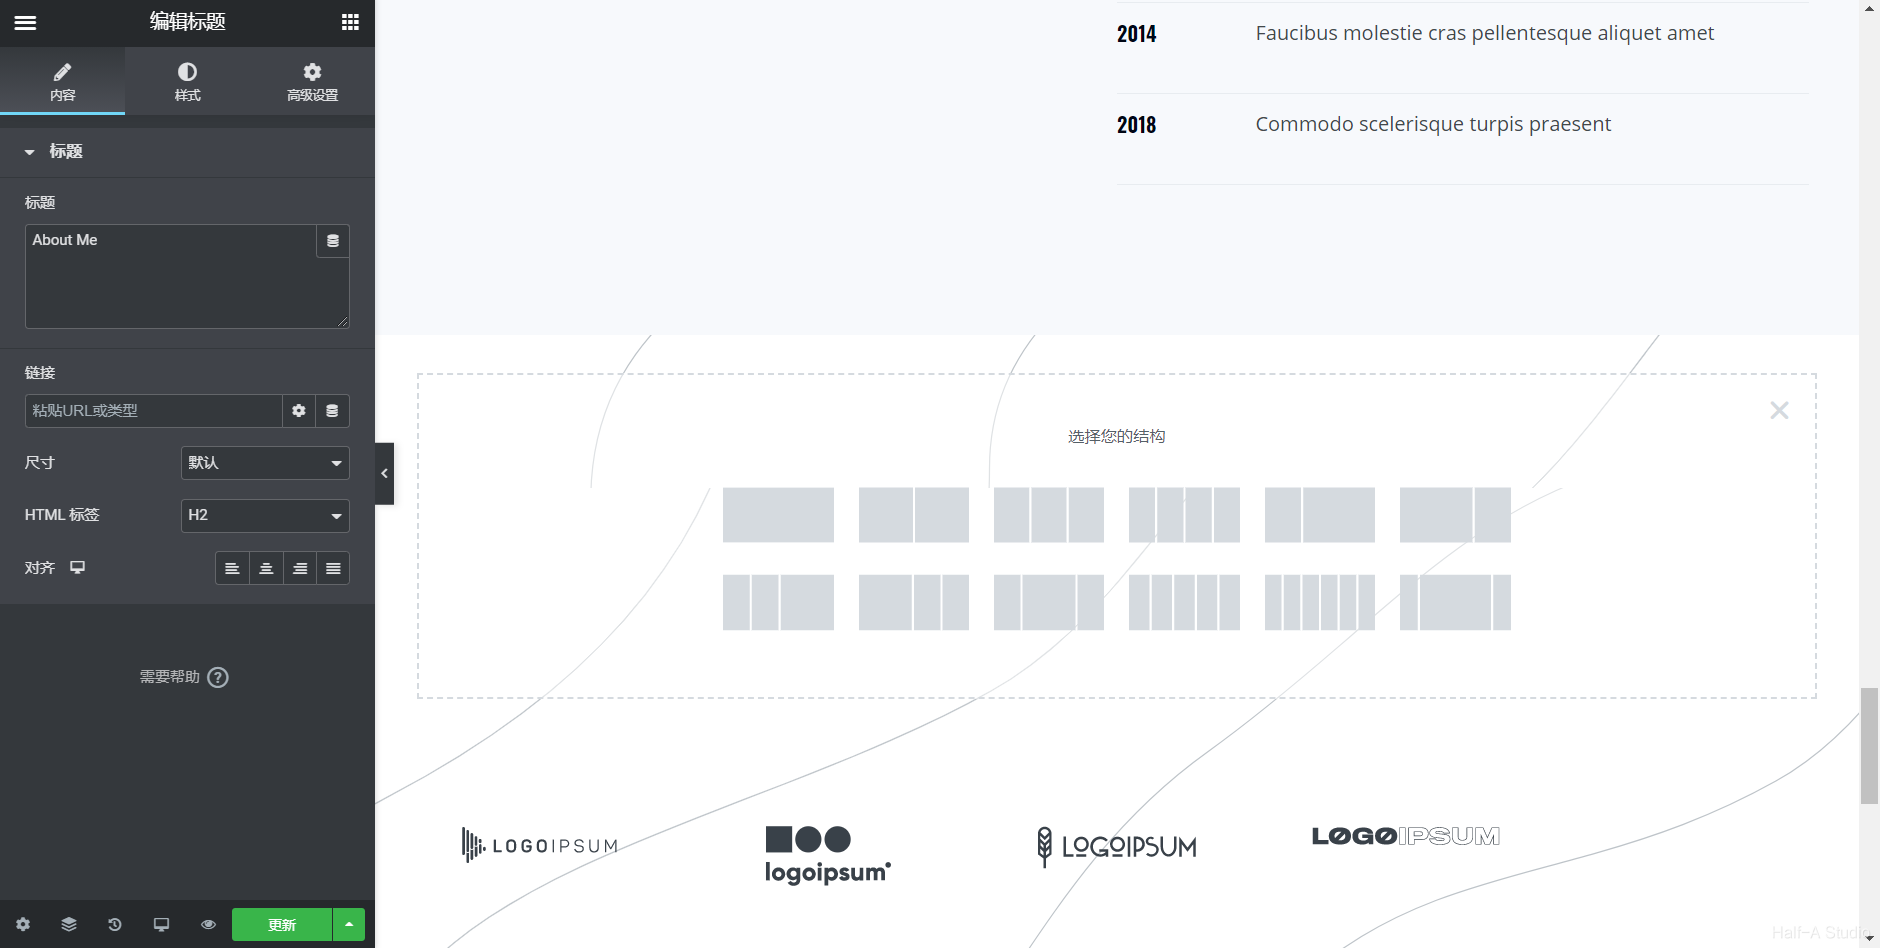
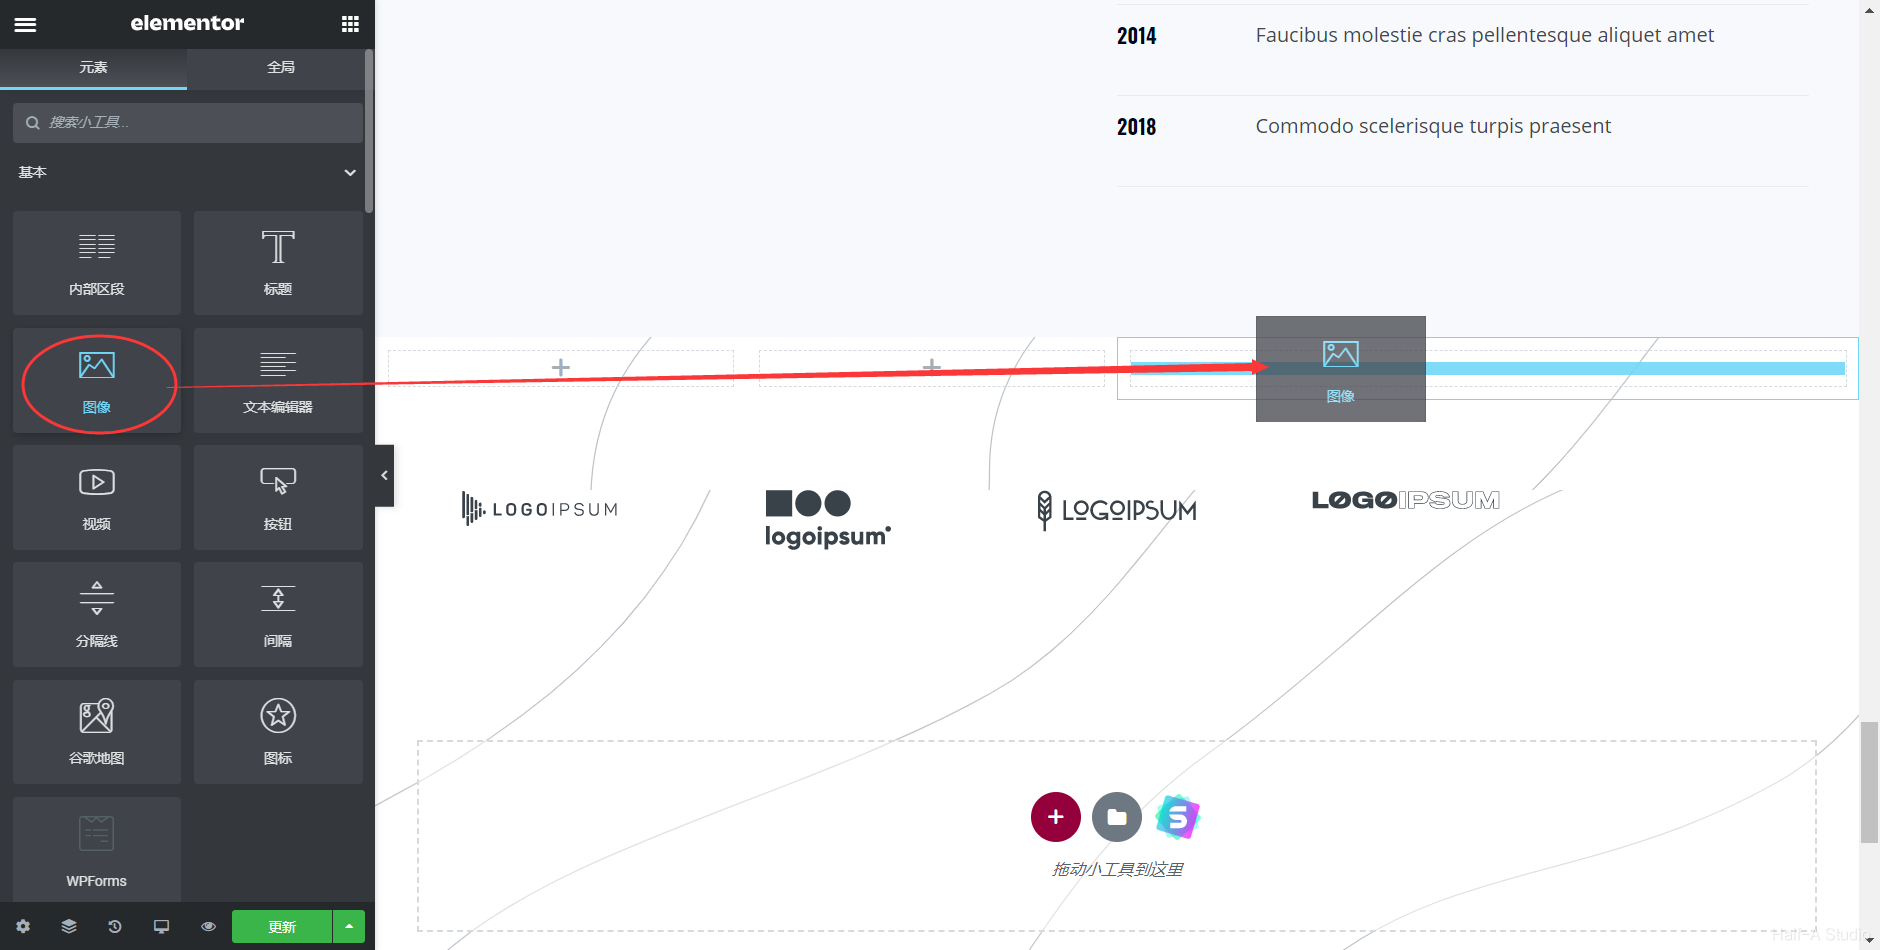
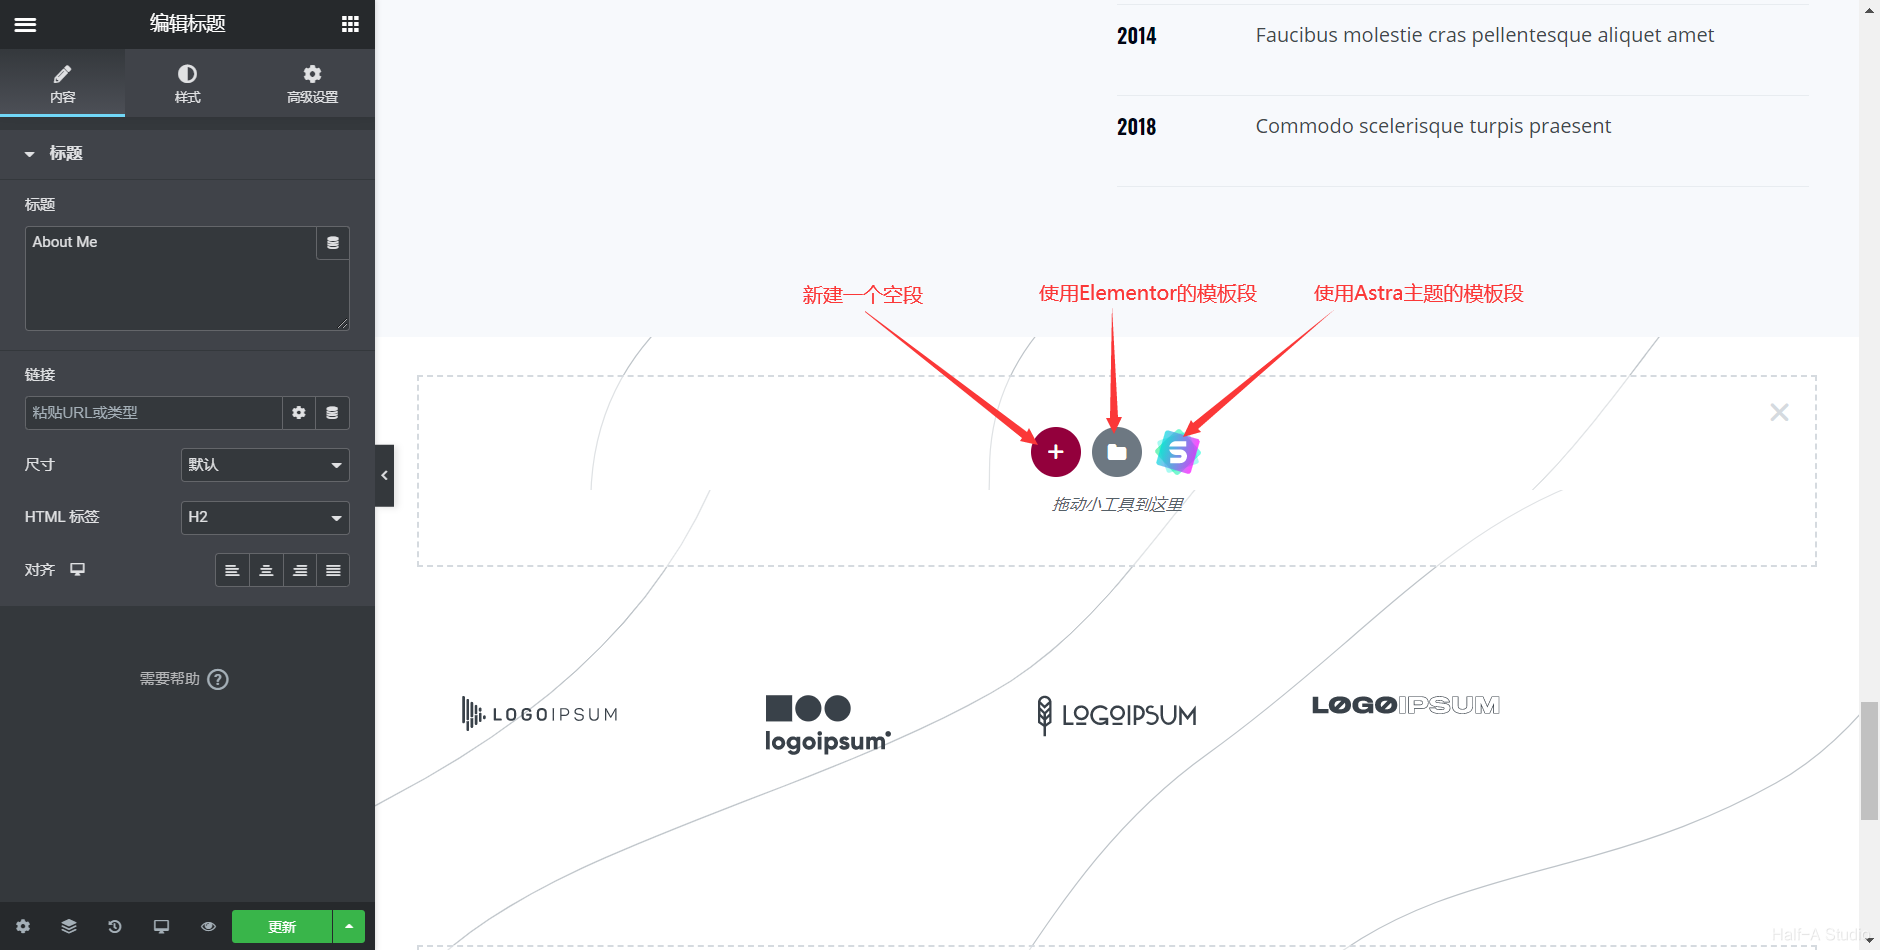 (2) Add a new section: Choose the number and arrangement of columns, then drag the widgets you need from the Elementor editing panel on the left directly into each column.
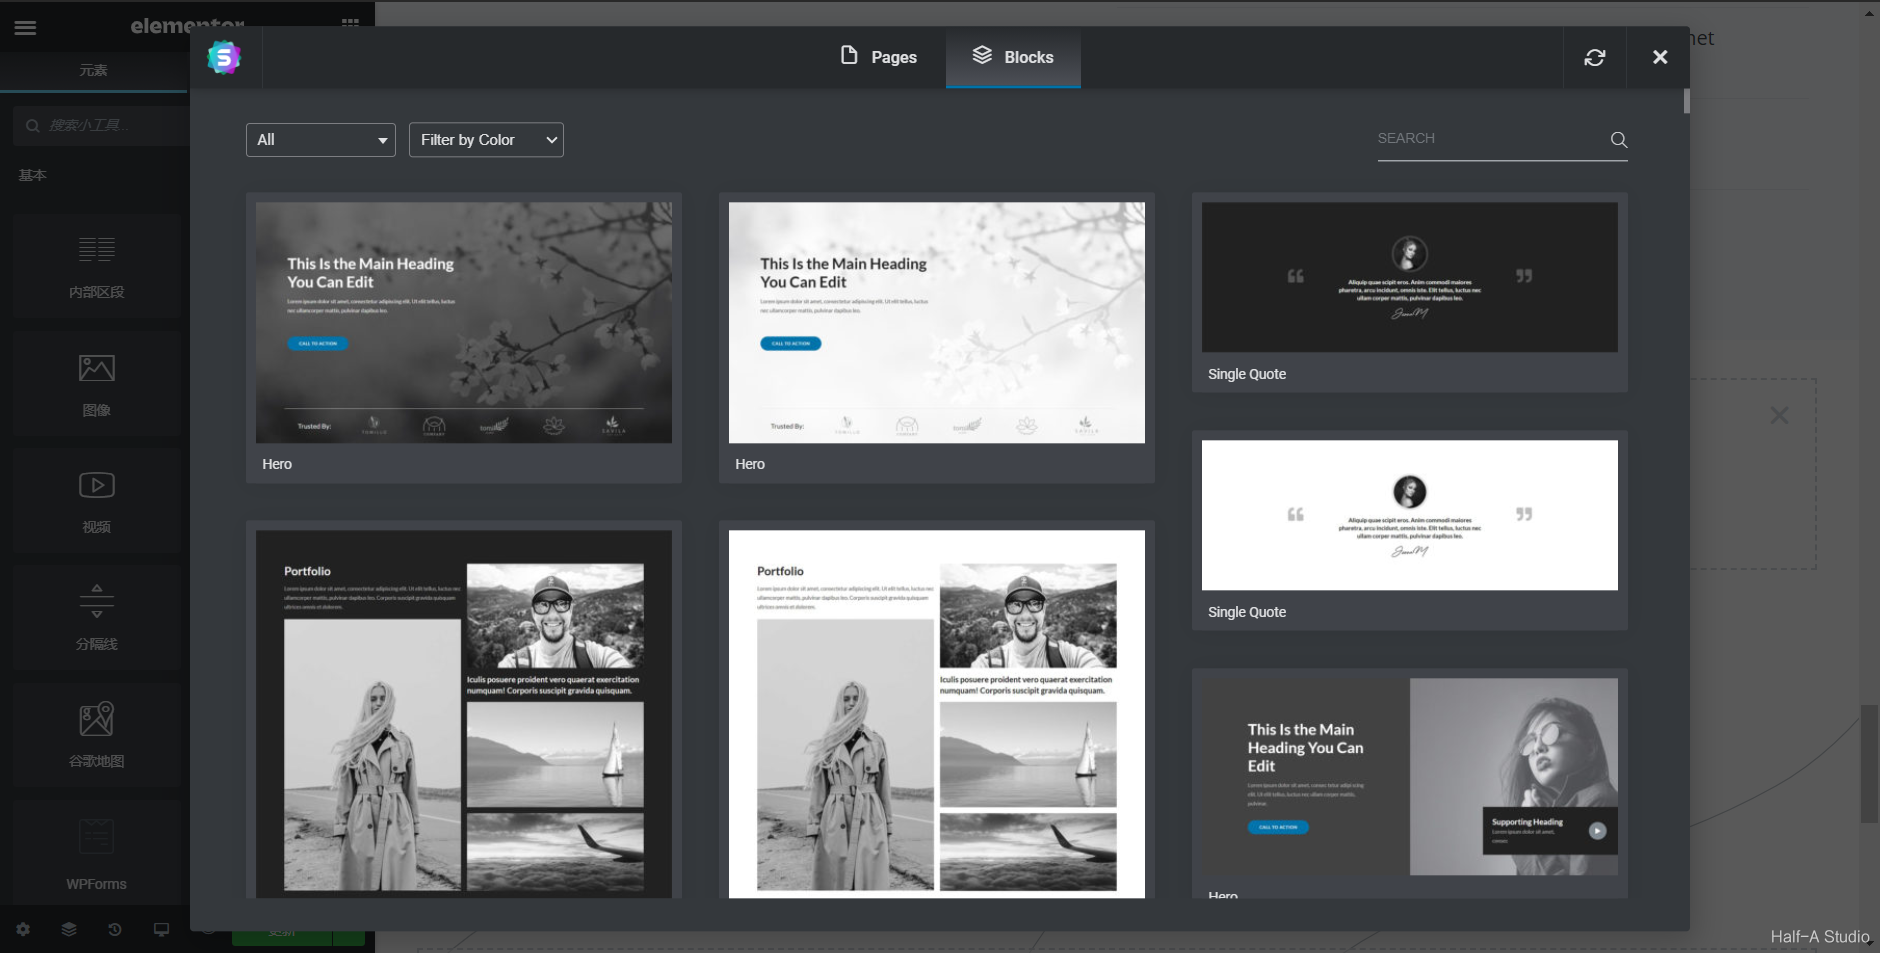
 (3) Use an Elementor template: Here, you can select a template category in the upper-left corner. For example, I want to add an About block. Once you have chosen one, simply insert it.
 (4) Some themes also have their own built-in widgets, which can be added in a similar way.
IV. Change the Website Navigation
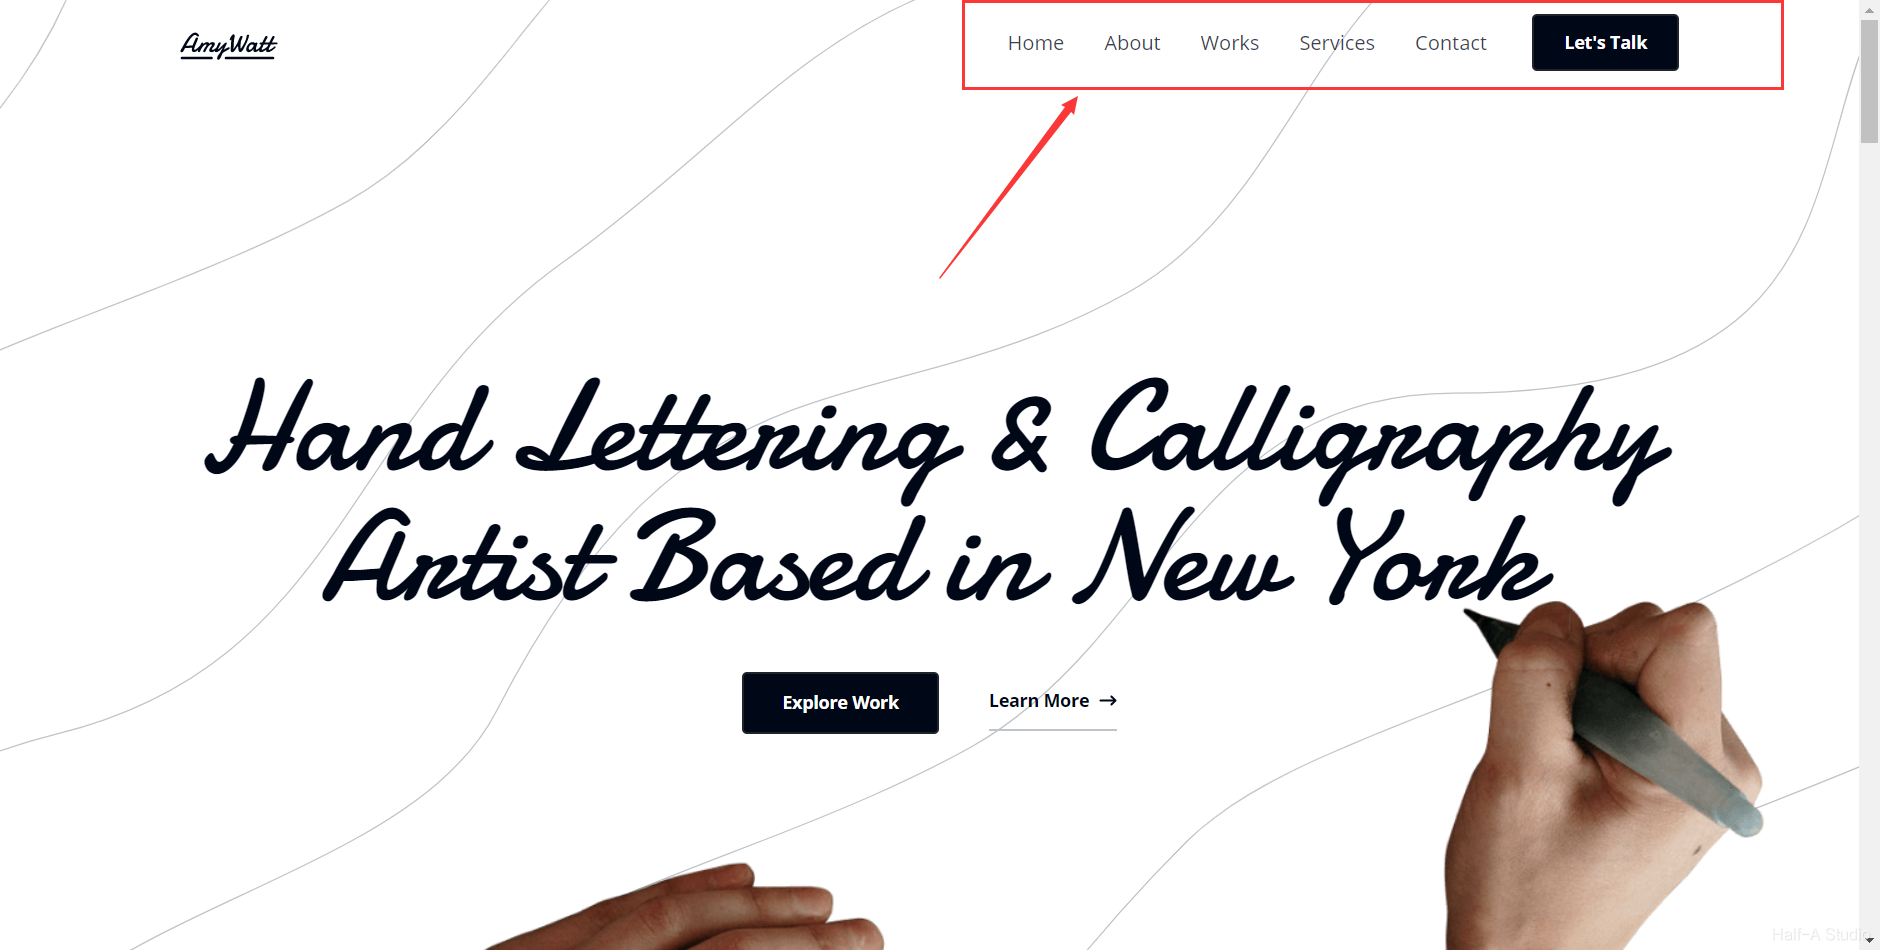
The website navigation is the row of navigation buttons at the very top of the website. You can change it under Appearance > Menus in the WordPress admin dashboard. You can select different pages to add to the navigation menu, change the order of the navigation menu, or change the parent-child relationships between pages to create drop-down menus.

Comments