目录
此方案已经弃用,更好的方案是使用xrdp远程连接,十分方便。
参考记录 Ubuntu 安装后的系统配置的2.1节
前言
我是在树莓派4B上安装的Ubuntu20.10,想通过VNC实现远程桌面连接,进行接下来的试验。 但是在网上搜索了许多关于VNC连接的博客,也尝试了各种方法,但总是出现各种问题,要么连接不上,要么连接上了就黑屏灰屏,总之出现了各种问题,重装了n次系统,最终找到了一种实现的方法。 注:已经试验过Ubunt18.04、Ubuntu20.04与Ubuntu20.10,均正常实现
Windows端
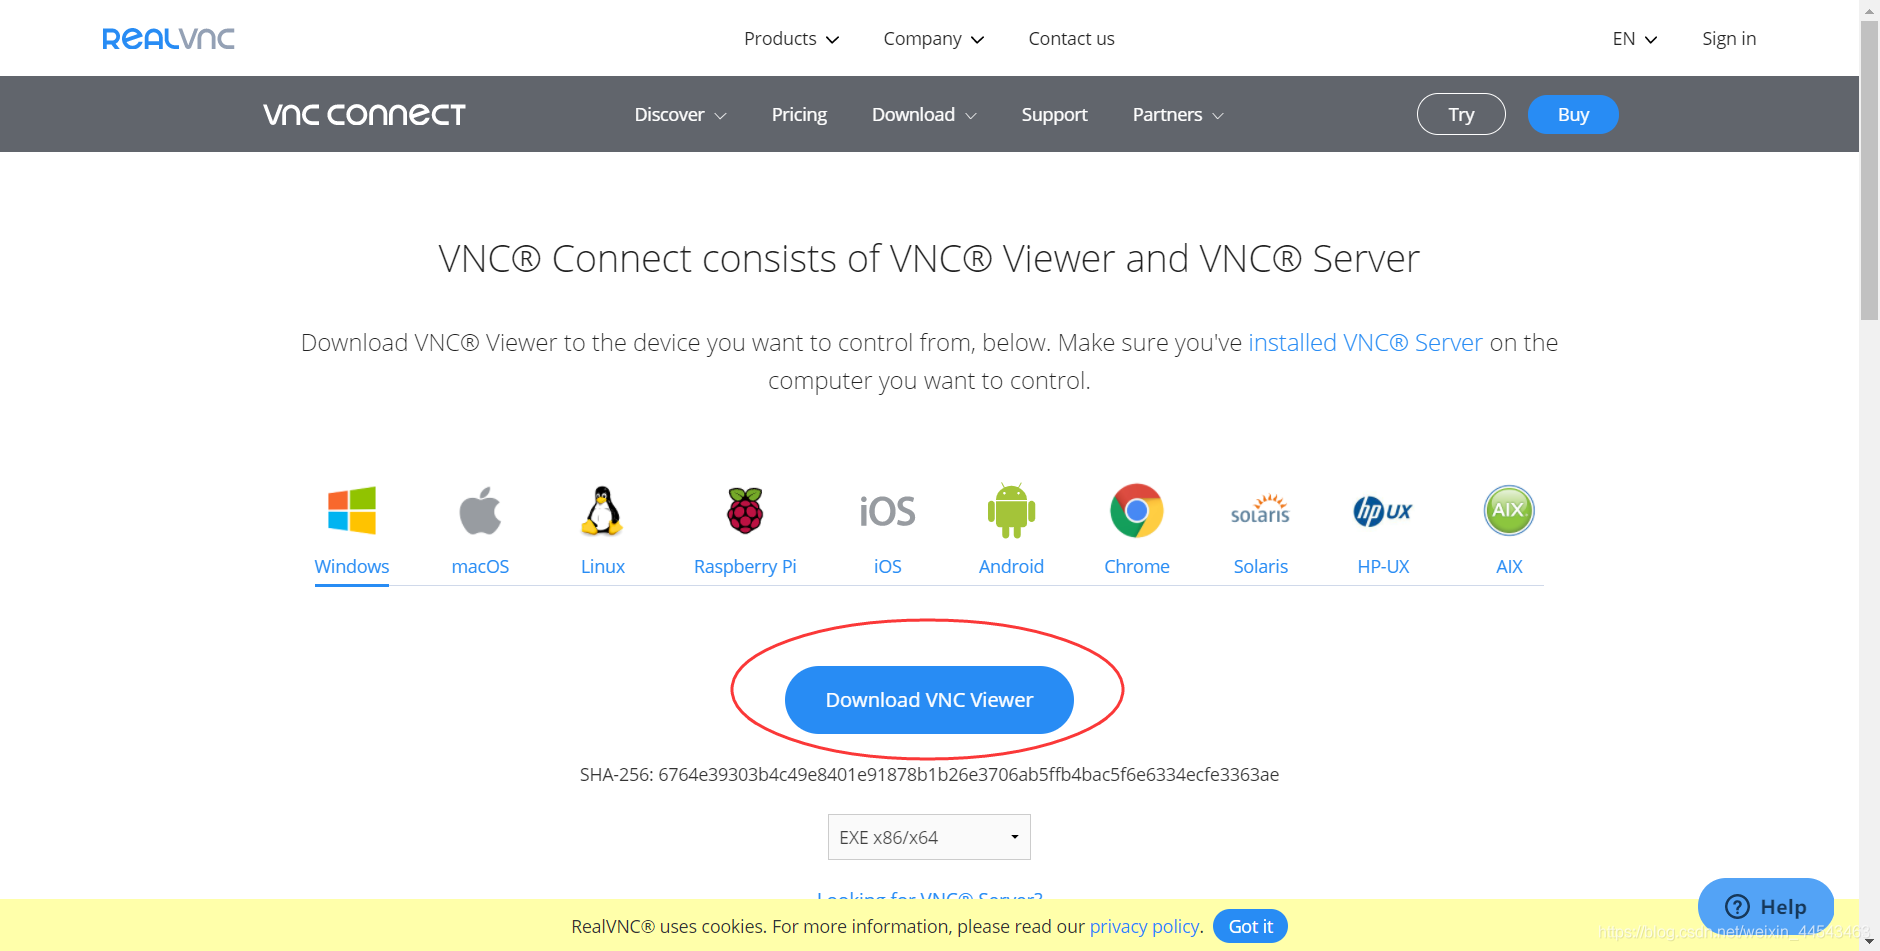
安装VNC Viewer,进入其VNC Viewer官网下载安装。
Ubuntu端
进行VNC设置之前,需要有图形界面,没有的可以执行以下代码安装图形界面
sudo apt install ubuntu-desktop
sudo apt-get install gnome-panel gnome-settings-daemon metacity nautilus gnome-terminal
sudo reboot #重启即可看到图形界面
1. 安装x11vnc程序
sudo apt-get install x11vnc2. 安装lightdm
因为使用的是gnome图形界面,为了保证x11vnc与图形界面的兼容性,这里需要安装lightdm
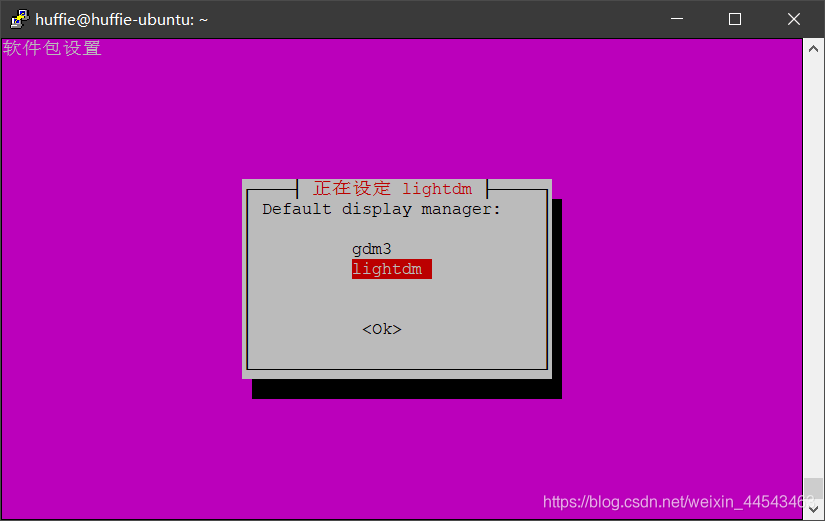
sudo apt-get install lightdm安装过程中会跳出一个界面,选择lightdm即可
3. 创建配置目录
sudo mkdir -pv /home/【USERNAME】/.vnc其中的**【USERNAME】替换成你的用户名
4. 生成当前用户的VNC连接密码
sudo x11vnc -storepasswd 【Password】 /home/【USERNAME】/.vnc/passwd其中的**【Password】处设置连接VNC时的密码,【USERNAME】**替换成你的用户名

5. 生成VNC配置文件
cat>x11vnc.service<<EOF
[Unit]
Description=Start x11vnc at startup.
After=multi-user.target

[Service]
Type=simple
ExecStart=/usr/bin/x11vnc -auth guess -forever -loop -noxdamage -repeat -rfbauth /home/【USERNAME】/.vnc/passwd -rfbport 5900 -shared

[Install]
WantedBy=multi-user.target
EOF配置文件生成后将其移动到/lib/systemd/sydtem/目录下
sudo mv x11vnc.service /lib/systemd/system/x11vnc.service修改权限为root
sudo chown root:root /lib/systemd/system/x11vnc.service6. 重新加载服务配置文件
sudo systemctl daemon-reload执行以下命令可以查看服务开启情况
sudo systemctl list-unit-files | grep x11vnc
7. 开机启动VNC服务
sudo systemctl enable x11vnc.service8. 重启系统
因为之前安装了lightdm图形管理程序,所以需要重启一下系统
sudo reboot9. 查看一下监听端口
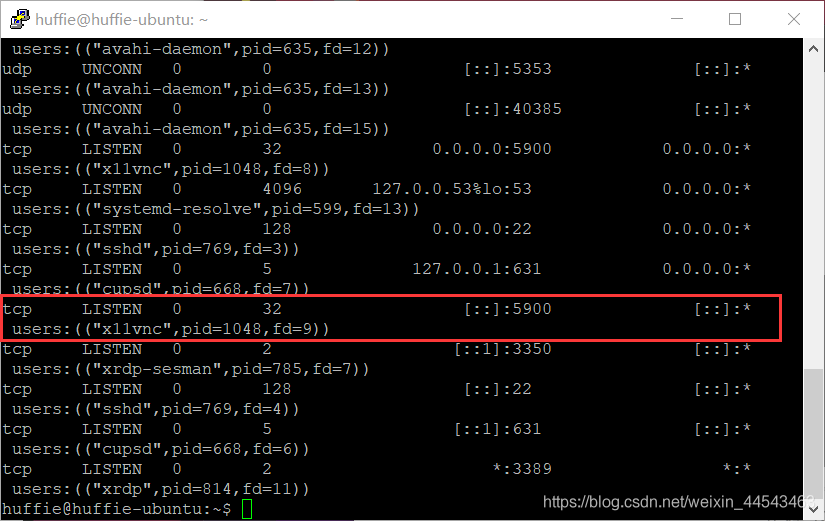
sudo ss -tunlp可以看到x11vnc的监听端口已经打开了
10. 共享剪切板
由于VNC Viewer只能控制鼠标键盘,想要复制bug查询,或者复制代码的话,很不方便。
安装下面的软件
sudo apt install autocutsel然后使用下面的命令打开
autocutsel或者将这条命令加入到开机自启动里面(在开始-Startu Applications里面可以设置)

远程连接
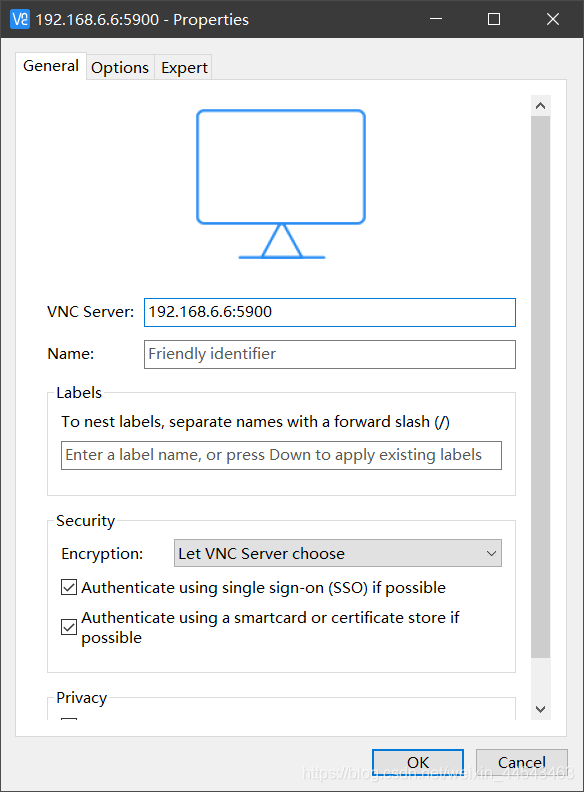
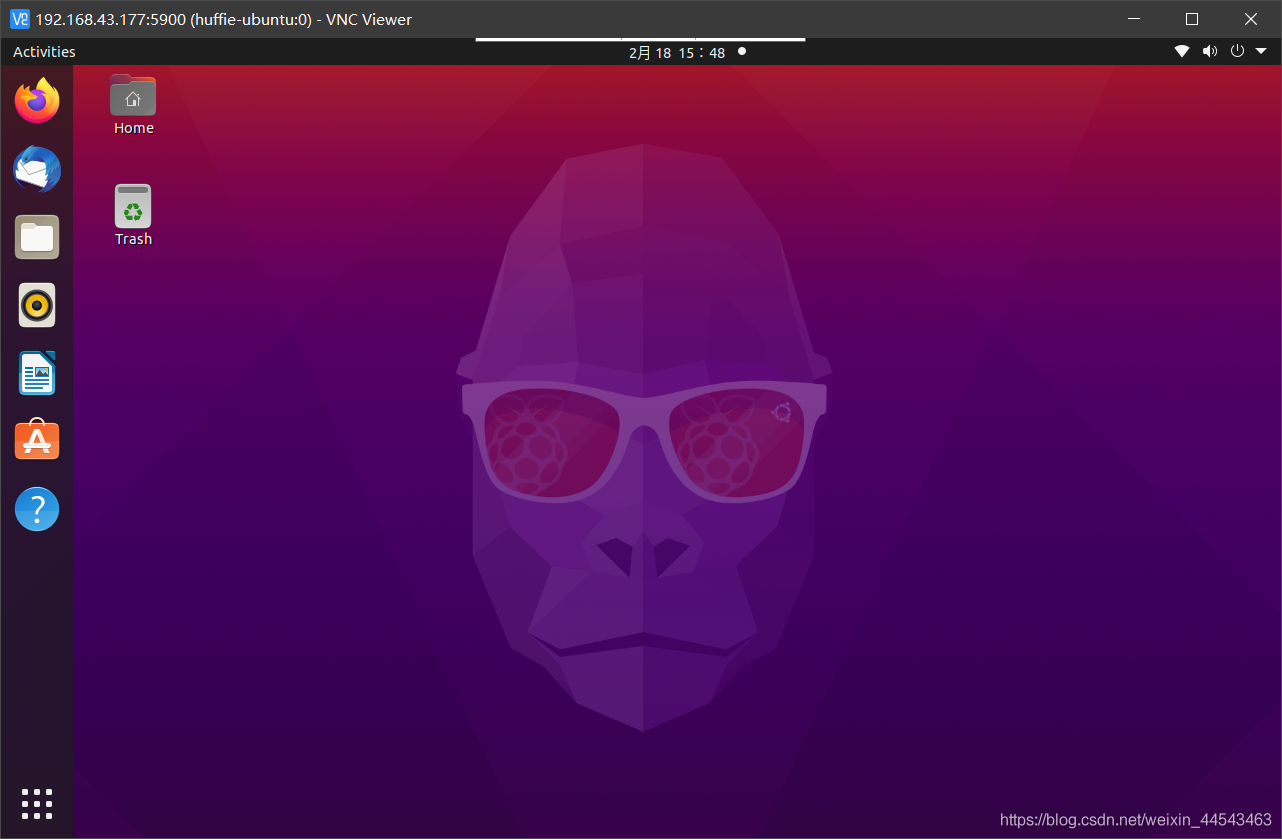
打开windows端的VNC Viewer,输入IP地址:5900即192.168.6.6:5900进行远程连接,密码是之前设置的密码。
解决不插显示器的远程桌面
安装xserver-xorg-video-dummy,做一个虚拟的显示器
sudo apt update
sudo apt install xserver-xorg-video-dummy
具体配置只要复制粘贴就可以了:
cd /usr/share/X11/xorg.conf.d
sudo vim xorg.conf
建立xorg.conf文件,粘贴如下内容:
Section "Device"
    Identifier "DummyDevice"
    Driver "dummy"
    VideoRam 256000
EndSection

Section "Screen"
    Identifier "DummyScreen"
    Device "DummyDevice"
    Monitor "DummyMonitor"
    DefaultDepth 24
    SubSection "Display"
        Depth 24
        Modes "1920x1080_60.0"
    EndSubSection
EndSection

Section "Monitor"
    Identifier "DummyMonitor"
    HorizSync 30-70
    VertRefresh 50-75
    ModeLine "1920x1080" 148.50 1920 2448 2492 2640 1080 1084 1089 1125 +Hsync +Vsync
EndSection
然后重启即可。配置的1080分辨率的虚拟显示器和直接连接的物理机器一样
评论