Contents
- Preface
- On Windows
- On Ubuntu
- 1. Install x11vnc
- 2. Install lightdm
- 3. Create the configuration directory
- 4. Generate the VNC connection password for the current user
- 5. Generate the VNC configuration file
- 6. Reload the service configuration files
- 7. Enable VNC at boot
- 8. Reboot the system
- 9. Check the listening ports
- 10. Shared clipboard
- Remote connection
- Remote desktop without a connected display
This approach has been deprecated. A better option is to use xrdp for remote access, which is very convenient.
See Section 2.1 in Ubuntu Post-Install System Configuration
Preface
I installed Ubuntu20.10 on a Raspberry Pi 4B and wanted to use VNC for remote desktop access so I could continue my experiments. I searched online for many blog posts about VNC connections and tried various methods, but I kept running into problems—sometimes I could not connect at all, and sometimes I connected only to get a black or gray screen. In short, I ran into all kinds of issues and reinstalled the system many times before I finally found a method that works. Note: I have tested this on Ubunt18.04, Ubuntu20.04, and Ubuntu20.10, and it works on all of them.
On Windows
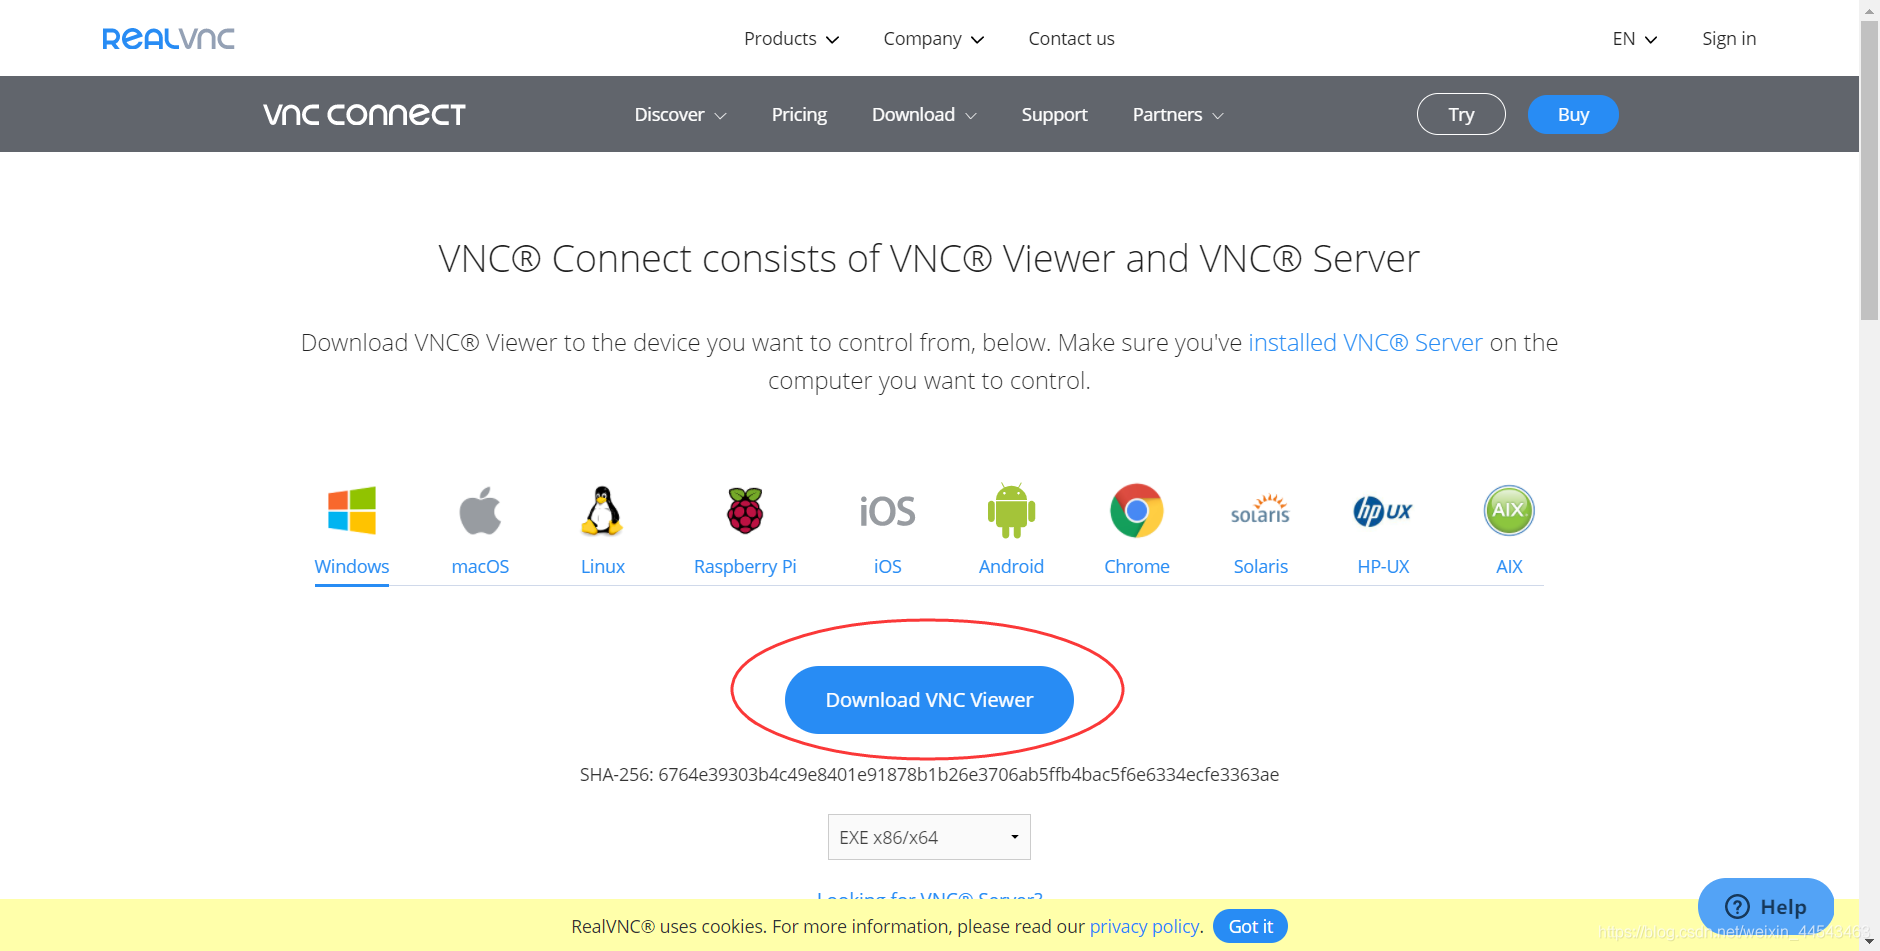
Install VNC Viewer. Go to the VNC Viewer website to download and install it.
On Ubuntu
Before configuring VNC, you need a graphical desktop environment. If you do not have one, run the following commands to install it.
sudo apt install ubuntu-desktop
sudo apt-get install gnome-panel gnome-settings-daemon metacity nautilus gnome-terminal
sudo reboot #重启即可看到图形界面
1. Install x11vnc
sudo apt-get install x11vnc2. Install lightdm
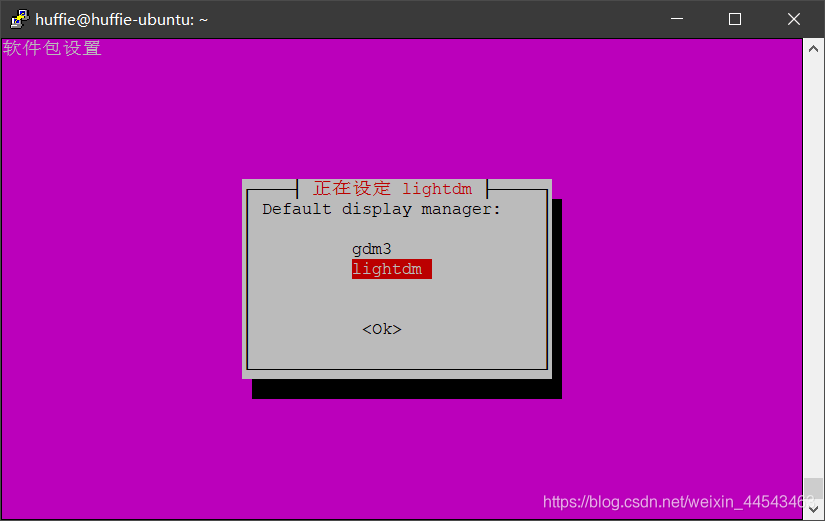
Because the setup uses the GNOME desktop environment, you need to install lightdm to ensure compatibility between x11vnc and the graphical interface.
sudo apt-get install lightdmDuring installation, a dialog will appear. Select lightdm.
3. Create the configuration directory
sudo mkdir -pv /home/【USERNAME】/.vncReplace 【USERNAME】 with your username.
4. Generate the VNC connection password for the current user
sudo x11vnc -storepasswd 【Password】 /home/【USERNAME】/.vnc/passwdSet the VNC connection password at 【Password】, and replace 【USERNAME】 with your username.

5. Generate the VNC configuration file
cat>x11vnc.service<<EOF
[Unit]
Description=Start x11vnc at startup.
After=multi-user.target

[Service]
Type=simple
ExecStart=/usr/bin/x11vnc -auth guess -forever -loop -noxdamage -repeat -rfbauth /home/【USERNAME】/.vnc/passwd -rfbport 5900 -shared

[Install]
WantedBy=multi-user.target
EOF
After generating the configuration file, move it to the /lib/systemd/sydtem/ directory.
sudo mv x11vnc.service /lib/systemd/system/x11vnc.serviceChange the permissions to root.
sudo chown root:root /lib/systemd/system/x11vnc.service6. Reload the service configuration files
sudo systemctl daemon-reloadRun the following command to check whether the service is enabled.
sudo systemctl list-unit-files | grep x11vnc
7. Enable VNC at boot
sudo systemctl enable x11vnc.service8. Reboot the system
Because lightdm was installed earlier, reboot the system.
sudo reboot9. Check the listening ports
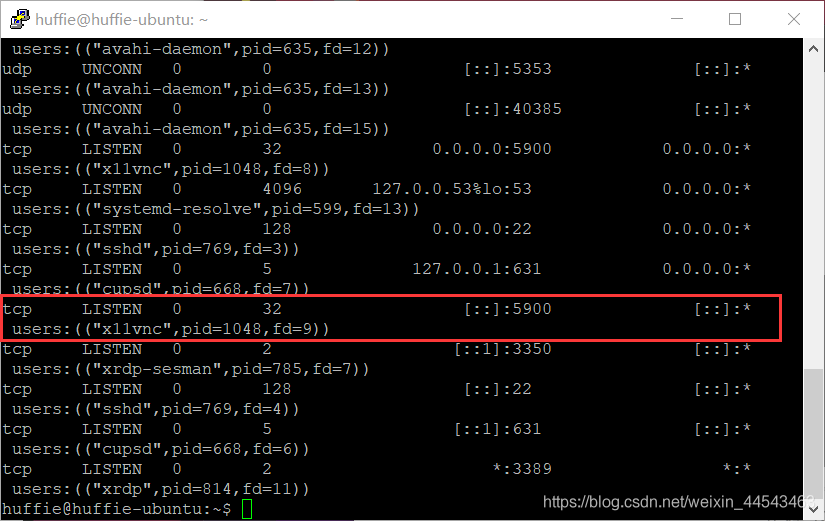
sudo ss -tunlpYou should see that the x11vnc listening port is open.
10. Shared clipboard
Because VNC Viewer can only control the mouse and keyboard, copying bug lookup or copying code is inconvenient.
Install the following package.
sudo apt install autocutselThen start it with the following command.
autocutselOr add this command to startup applications (you can configure this under Start → Startu Applications).

Remote connection
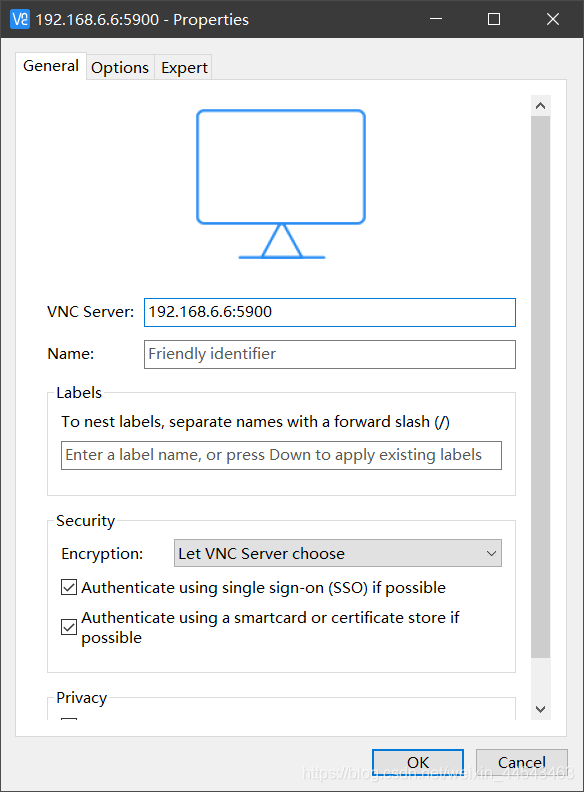
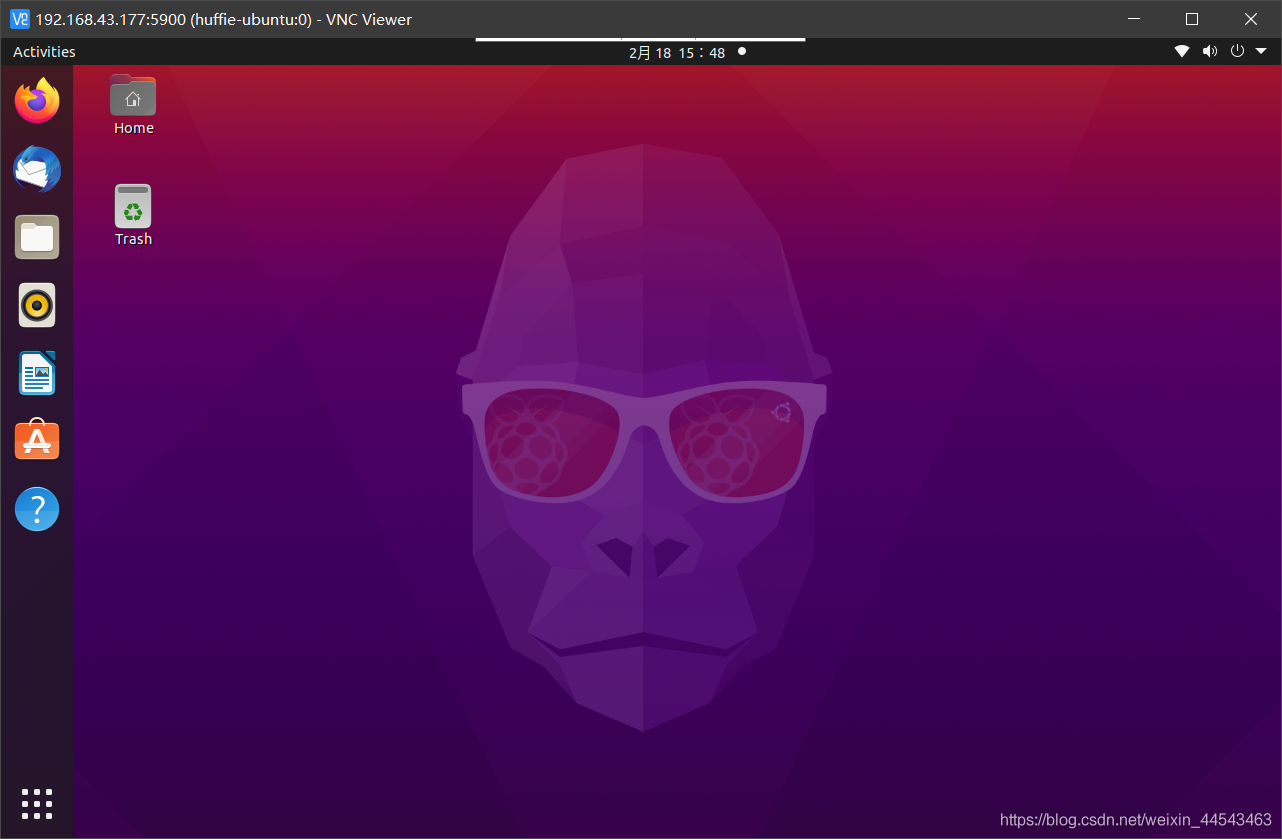
Open VNC Viewer on Windows, enter the IP address:5900, i.e. 192.168.6.6:5900, and connect remotely. Use the password you set earlier.
Remote desktop without a connected display
Install xserver-xorg-video-dummy to create a virtual display.
sudo apt update
sudo apt install xserver-xorg-video-dummy
For the configuration, you can just copy and paste:
cd /usr/share/X11/xorg.conf.d
sudo vim xorg.conf
Create the xorg.conf file and paste the following content:
Section "Device"
    Identifier "DummyDevice"
    Driver "dummy"
    VideoRam 256000
EndSection

Section "Screen"
    Identifier "DummyScreen"
    Device "DummyDevice"
    Monitor "DummyMonitor"
    DefaultDepth 24
    SubSection "Display"
        Depth 24
        Modes "1920x1080_60.0"
    EndSubSection
EndSection

Section "Monitor"
    Identifier "DummyMonitor"
    HorizSync 30-70
    VertRefresh 50-75
    ModeLine "1920x1080" 148.50 1920 2448 2492 2640 1080 1084 1089 1125 +Hsync +Vsync
EndSection
Then reboot. The configured 1080-resolution virtual display works the same as a directly connected physical machine.
Comments