Contents
I. Environment Setup
(1) COLMAP
Visit the COLMAP official website, open the download page, and download the COLMAP application.
(2) OpenMVS
You can download the OpenMVS source code and compile it yourself. If you feel that compiling OpenMVS may take some time, you can also download the precompiled executable directly.
GitHub source code: https://github.com/cdcseacave/openMVS Executable: https://github.com/cdcseacave/openMVS_sample
II. Reconstructing a Dense Point Cloud with COLMAP
- Create a new folder. Inside it, create an images folder and an empty Database.db file. Make sure the file path does not contain Chinese characters. Place the images to be reconstructed in the images folder. More images will take longer to reconstruct, while too few images may cause the reconstruction to fail. Here, I use 96 images as an example to generate dense point cloud 05.
This article uses the DTU dataset for testing.
Requirements for a self-built dataset:
- Whenever possible, use a DSLR or professional digital camera to collect data. If you use a phone, use one with a single camera to collect the data.
- Whenever possible, collect data in an environment with rich textures, and avoid environments with highly reflective materials such as glass walls, tiles, and waxed floors.
- Whenever possible, choose a brightly lit environment where lighting conditions do not change drastically. An indoor environment is preferable. For example, in an indoor living room, turn on the main lights to supplement the lighting.
- Collect as many images as possible around the object or environment being reconstructed, and control the shutter speed during collection to avoid blurring.
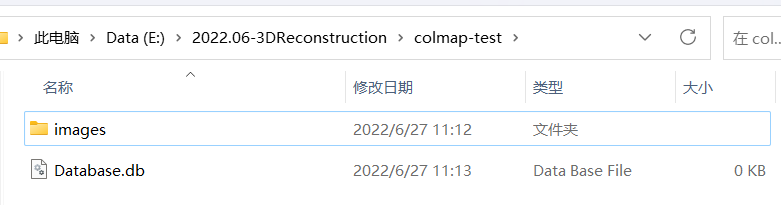
- Open the COLMAP application (COLMAP.bat), click File-New Project, click open in the Database field, select the Database.db file you just created, select the images folder you just created in the Images field, and click save.

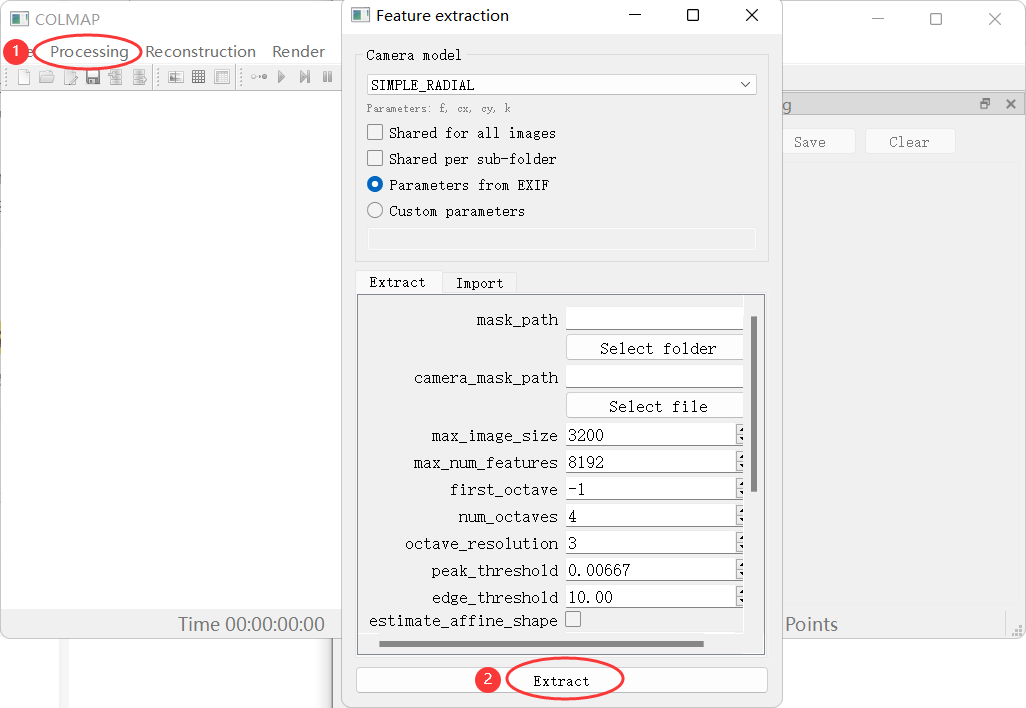
- Click Processing-Feature Extraction, keep the default parameters, click Extract, and wait for the program to finish. You can see log output on the right.
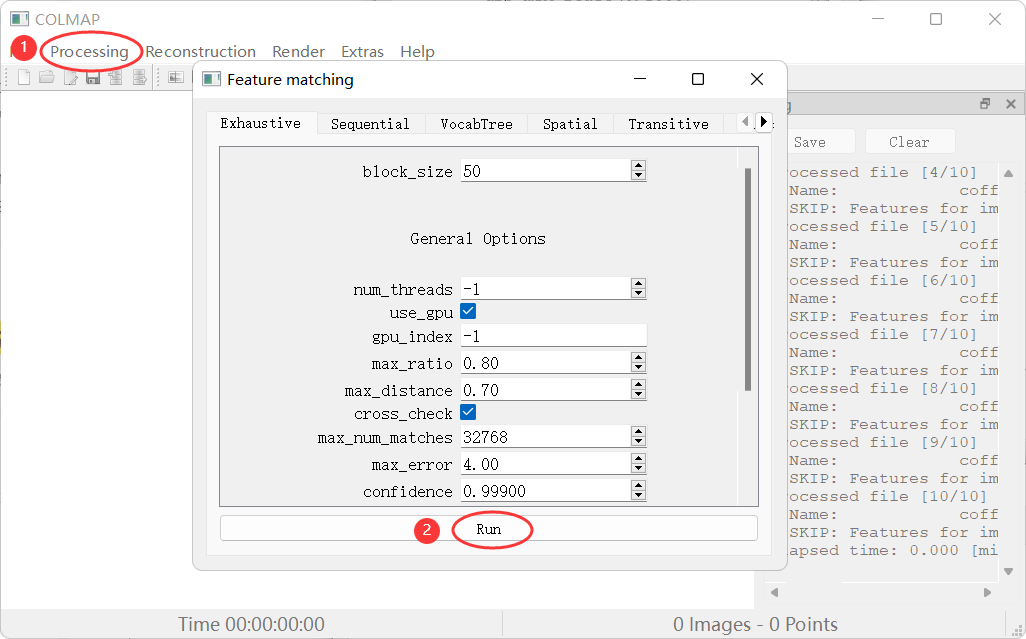
- Click Processing-Feature matching, keep the default parameters, click Run, and wait for the program to finish. You can see log output on the right.
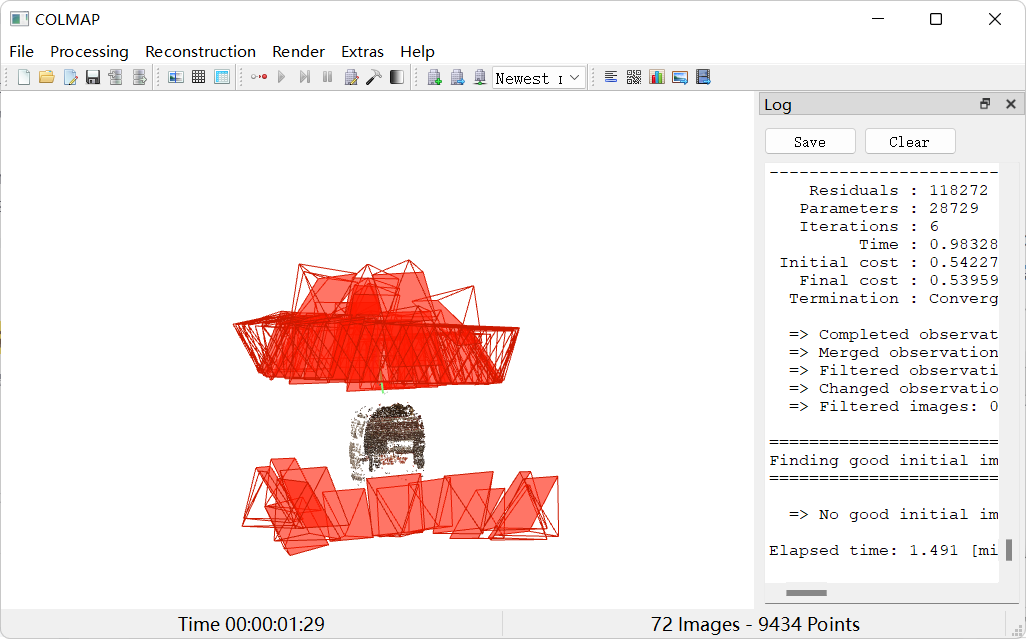
- Click Reconstruncion-Start reconstruction and wait for it to finish to obtain the reconstruction result.
- In the same parent directory as the previous images folder, create a new folder named dense. Click Reconstruncion-Dense reconstrction, click select, and choose the dense folder you just created to save the dense point cloud results. Click Undistorion, Stereo, and Fusion in sequence and wait for them to finish.
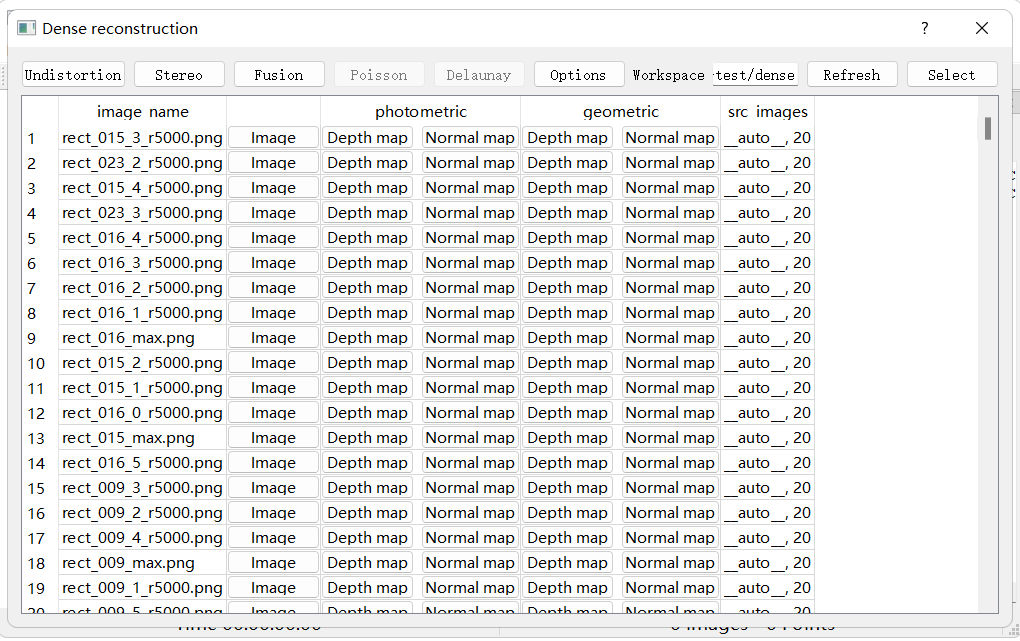
-
In the application, click File-export model as txt and select the sparse folder under the dense folder. Because OpenMVS zhi-supports the txt format, you need to convert the reconstructed files to txt files.
-
Check whether the camera model in camera.txt is Pinhole. If not, directly change it to pinhole. Regardless of what you selected previously, you can simply change it here.
III. Reconstructing a Mesh Model with OpenMVS
Using the precompiled openmvs_sample as an example, we need to convert the dense point cloud generated by COLMAP, along with information such as the image paths, into an OpenMVS .mvs file.
- Open a Command Prompt window, enter the bin directory under openmvs_sample, and run the command:
interfaceCOLMAP.exe -i E:\Projects\2022.06-3DReconstruction\test\dense -o E:\Projects\2022.06-3DReconstruction\test\dense\scene.mvs --image-folder E:\Projects\2022.06-3DReconstruction\test\dense\images
You can see that a scene.mvs file has been generated in the dense folder (-o specifies the output file directory; by default, it is the current folder, but you can also specify another path).
- Run the following command to perform the reconstruction:
ReconstructMesh.exe -i E:\Projects\2022.06-3DReconstruction\test\dense\scene.mvs -o E:\Projects\2022.06-3DReconstruction\test\dense\mesh.mvs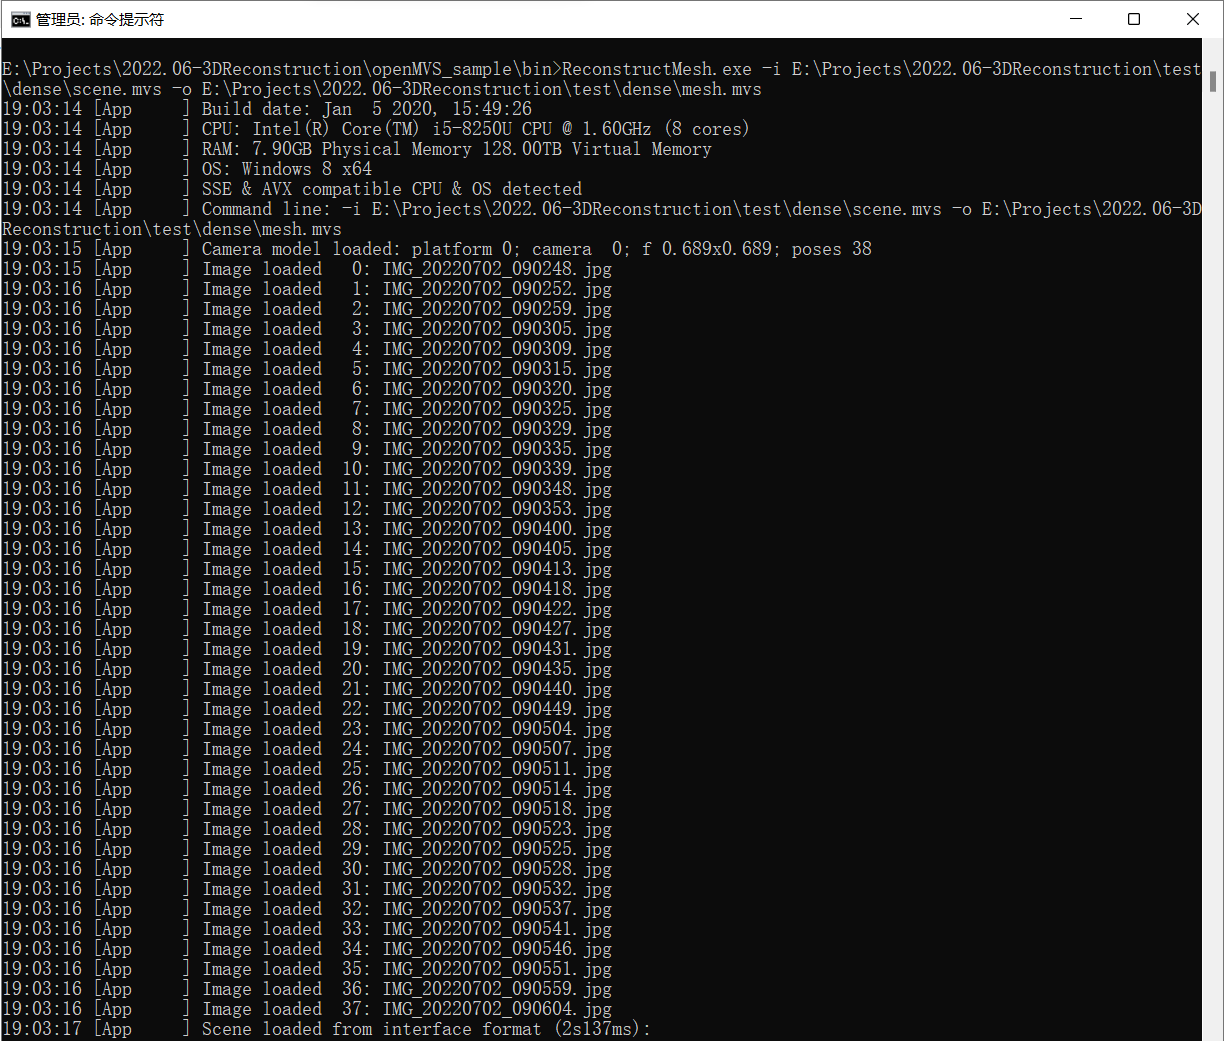
- Run the following command to add texture (this step uses a fair amount of computer resources. My computer is relatively old, and it blue-screened and restarted while running this command, so try it at your own discretion):
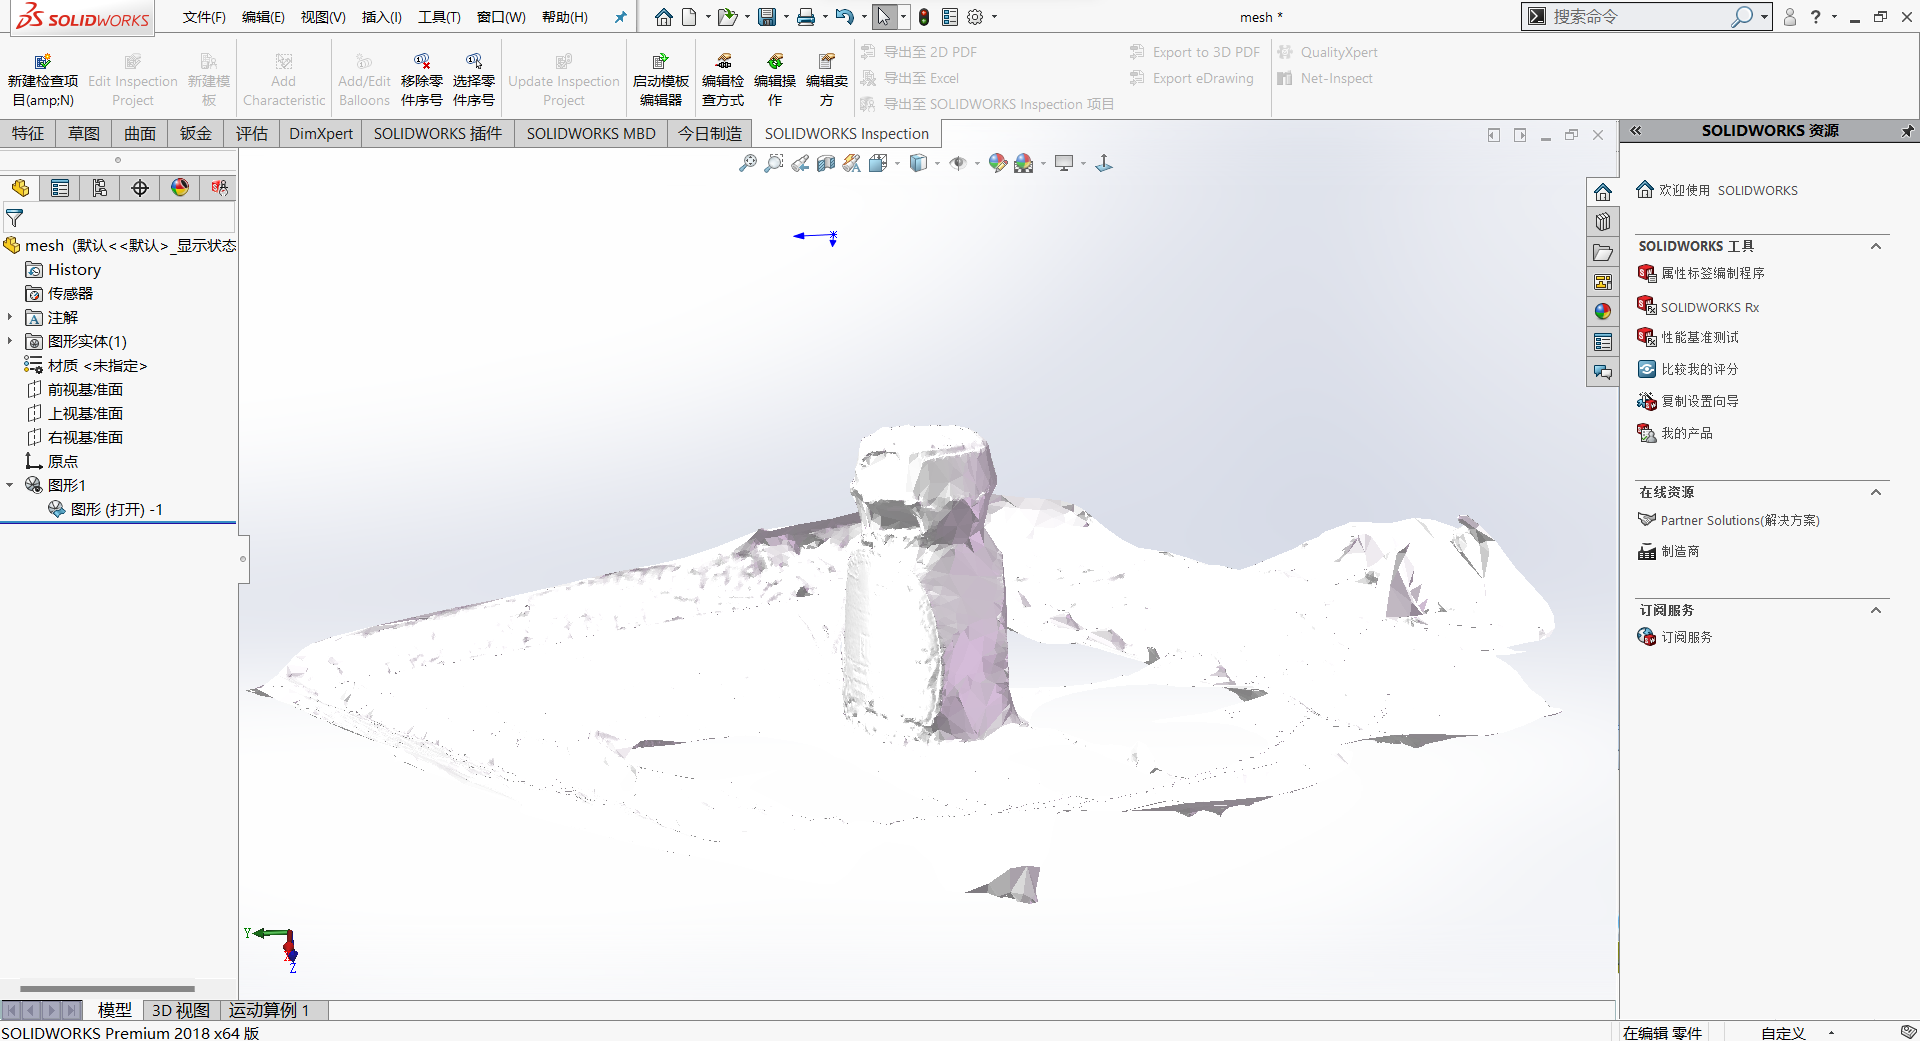
TextureMesh.exe -i E:\Projects\2022.06-3DReconstruction\test\dense\mesh.mvsYou can see that four new files have been generated in the folder. You can open the .ply file (the three-dimensional mesh model) in MeshLab. The image below shows how it looks when opened in SOLIDWORKS (without texture).
Comments