Contents
Windows Version
Set Up the Environment
(1) Create a conda environment
conda create -n nerf-ngp python=3.8
conda activate nerf-ngp
pip install commentjson imageio numpy opencv-python-headless pybind11 pyquaternion scipy tqdm
(2) Download the instant-ngp application
Project URL: https://github.com/NVlabs/instant-ngp
For a quick start, download the official instant-ngp.exe application. Choose the download that matches your graphics card:
- RTX 3000 & 4000 series, RTX A4000–A6000, and other Ampere & Ada cards
- RTX 2000 series, Titan RTX, Quadro RTX 4000–8000, and other Turing cards
- GTX 1000 series, Titan Xp, Quadro P1000–P6000, and other Pascal cards
(If these links no longer work, refer to the Installation section of the source project. If you are using Ubuntu, download the source code and build it.)
Download the appropriate version and extract the archive:
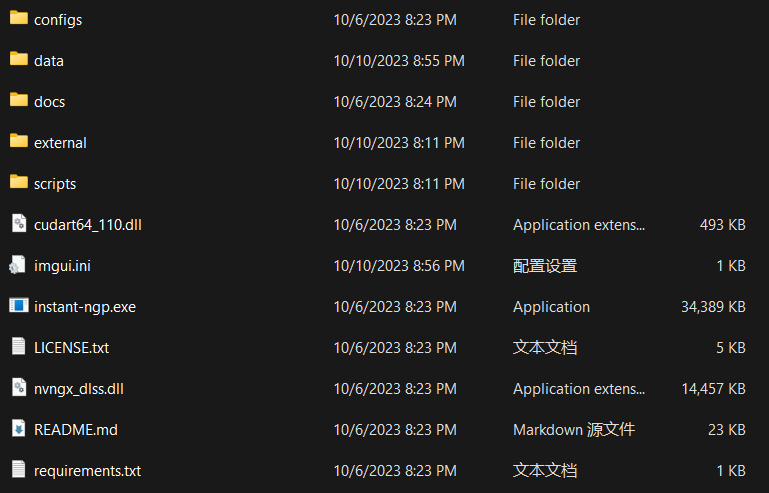
(3) Test
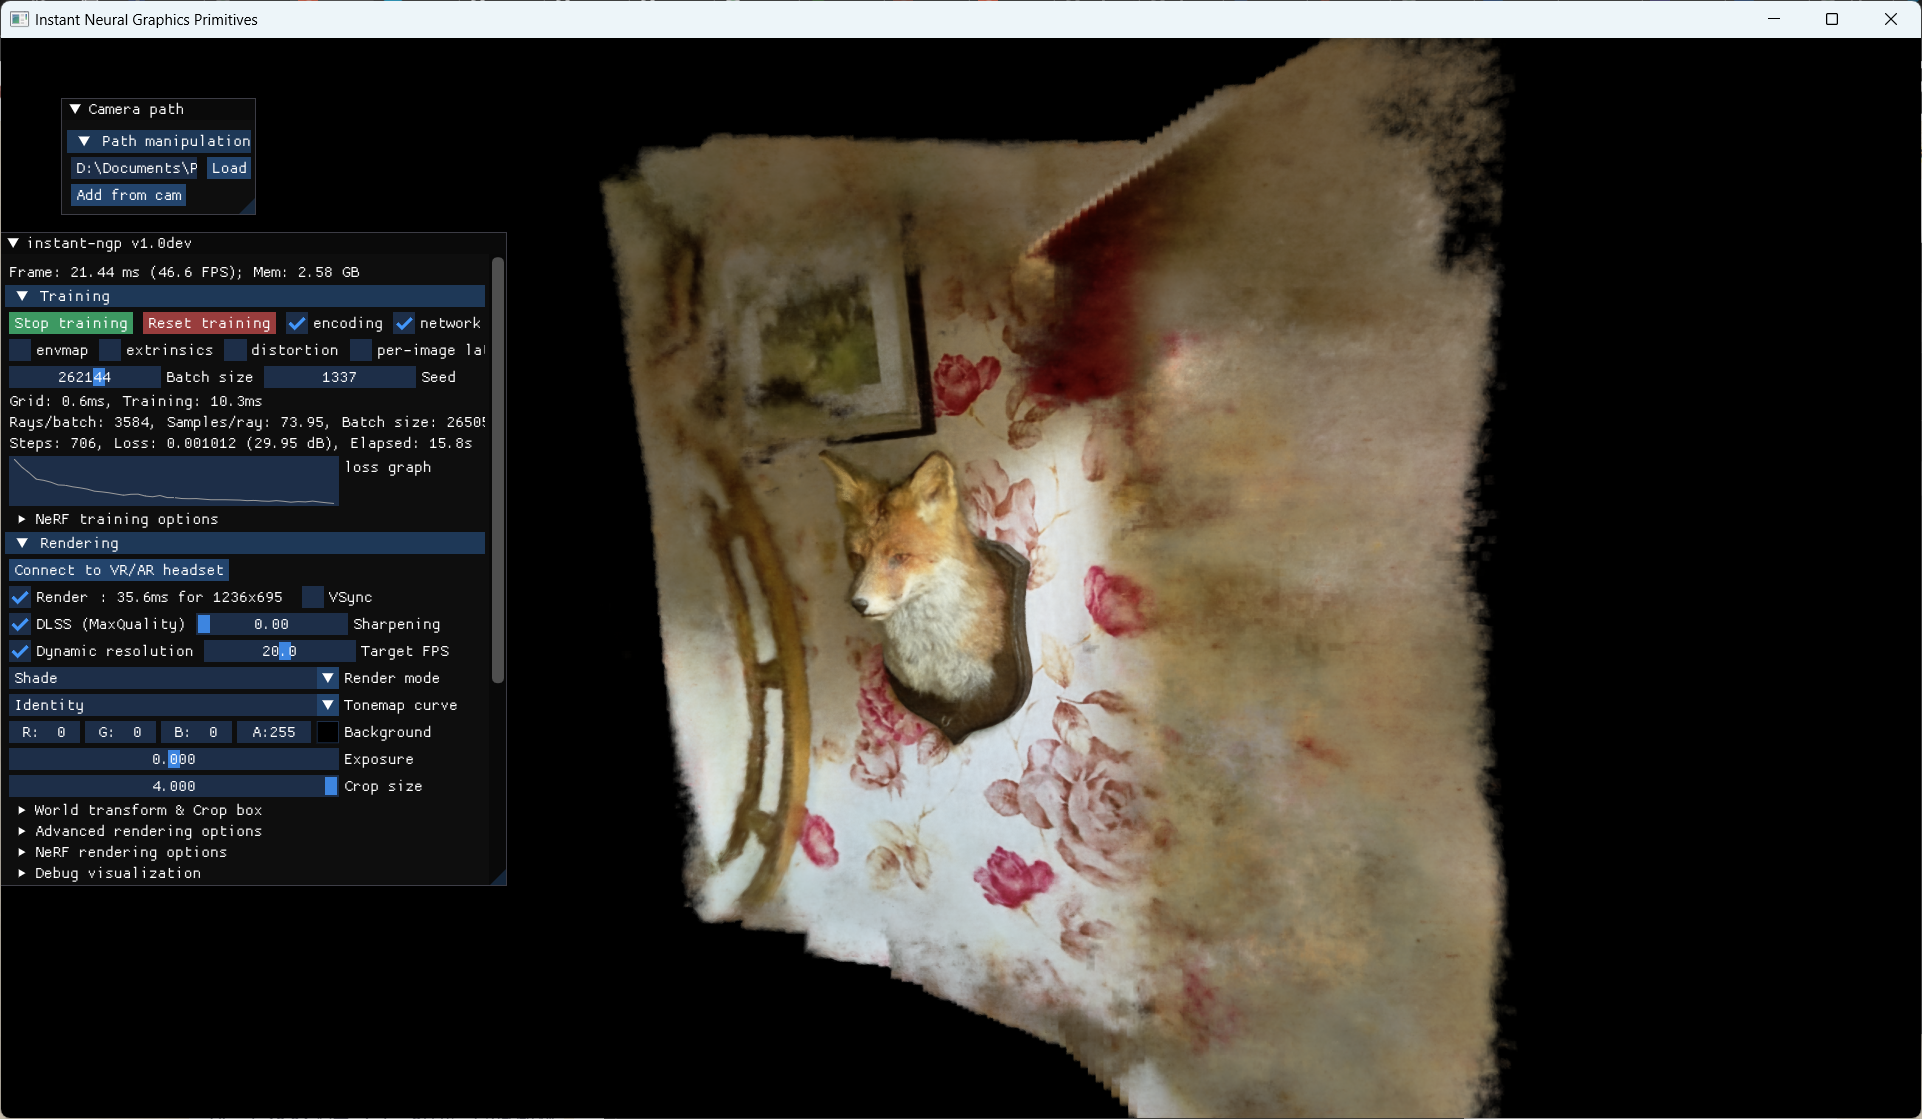
Open instant-ngp.exe, then go to data\nerf\ and drag the fox file directly into the window.
Calculate Camera Poses with COLMAP
(1) Record a video
Use a phone to record a video of the object or scene you want to reconstruct in three dimensions.
Scan as evenly as possible, and do not move the phone too quickly or shake it.
(2) Use COLMAP to calculate camera poses
Create a new folder in the project folder and place the recorded video in it.
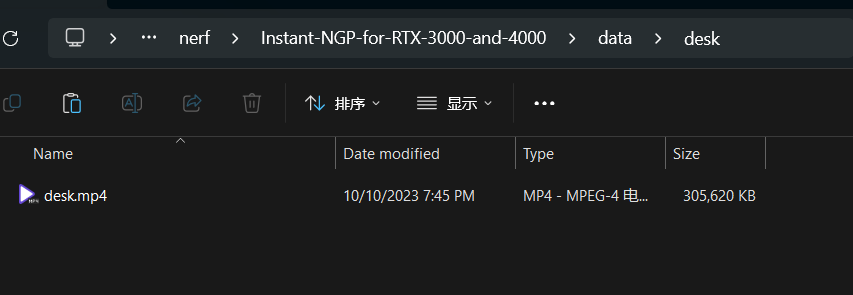
cd to the directory containing the video. Run the following command:
conda activate nerf-ngp
python ..\..\scripts\colmap2nerf.py --video_in desk.mp4 --run_colmap --overwrite
This will take a long time.
When it finishes, an image folder containing the extracted frames will appear.
Then run:
python ..\..\scripts\colmap2nerf.py --colmap_matcher exhaustive --run_colmap --aabb_scale 16 --overwriteWait for another relatively long period until it finishes.
Three-Dimensional Reconstruction with instant-ngp
Open instant-ngp.exe and drag the entire desk folder into it. That is all.
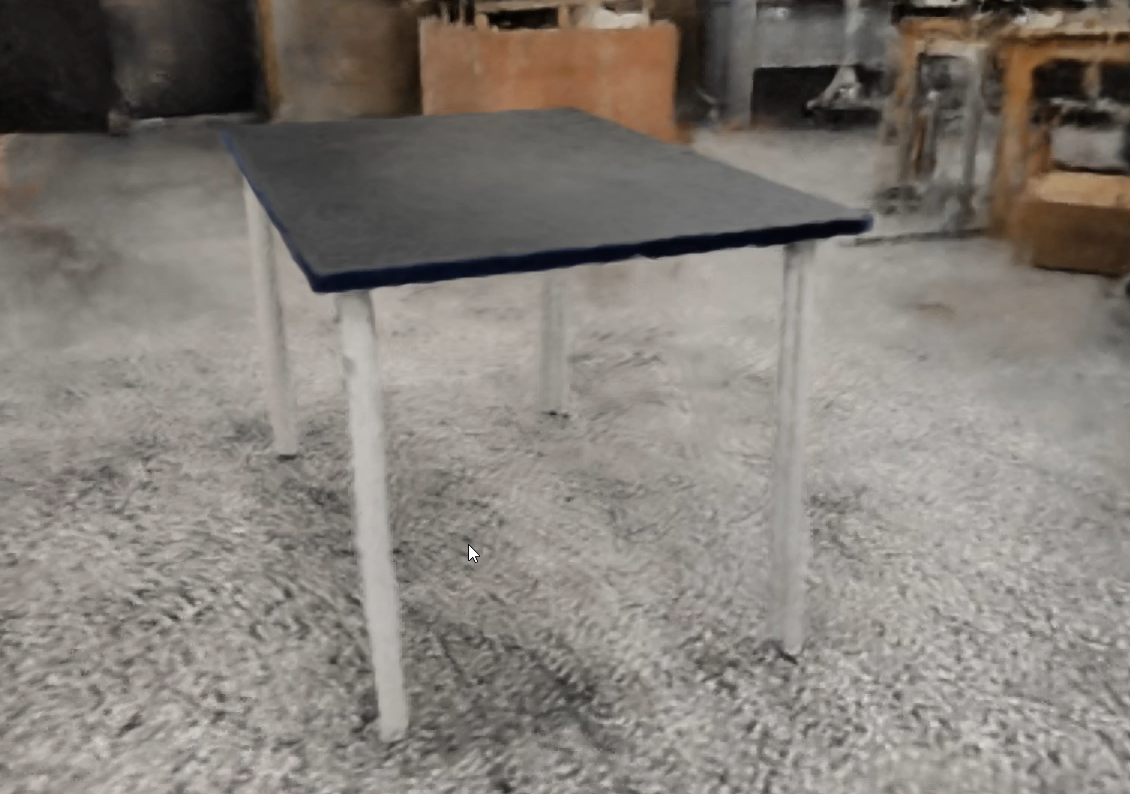
The visual result is quite good, although the exported mesh model is relatively poor.
Ubuntu Version
This method has been tested on a machine running Ubuntu 20.04 +RTX 3090Ti.
Environment Setup
First, install the following dependencies:
sudo apt-get install build-essential git python3-dev python3-pip libopenexr-dev libxi-dev libglfw3-dev libglew-dev libomp-dev libxinerama-dev libxcursor-devInstall CUDA by referring to Notes on Ubuntu Post-Installation System Configuration and Common Software Installation /4.5 CUDA.
Download the code:
git clone --recursive https://github.com/nvlabs/instant-ngp
cd instant-ngp
Compile it:
cmake . -B build -DCMAKE_BUILD_TYPE=RelWithDebInfo
cmake --build build --config RelWithDebInfo -j
Demo Test
Run the executable below to start nerf:
./instant-ngpFrom data/nerf/fox, drag the transform.json file directly into the GUI to begin training.
Custom Dataset
Create a conda environment:
conda create -n nerf-ngp python=3.8
conda activate nerf-ngp
pip install commentjson imageio numpy opencv-python-headless pybind11 pyquaternion scipy tqdm
Place your recorded video in the instant-ngp/script directory.
Run the following program to generate the transform.json file:
cd scripts
colmap2nerf.py --video_in 文件名.mp4 --video_fps 1 --run_colmap --aabb_scale 16
Drag the generated transform.json file directly into the instant-ngp GUI to render it.
Comments