Contents
This project contains two packages, used for Gazebo simulation and keyboard motion control, respectively. The original package files are as follows: diff_wheeled_robot_control : https://huffie.lanzouw.com/iXilxvdqola diff_wheeled_robot_gazebo: https://huffie.lanzouw.com/ixG3uvdqoyd
Prerequisites: If this is your first time using Gazebo, install the following packages before using it: (This example uses Noetic. If you use a different ROS version, replace the version segment in the command accordingly.)
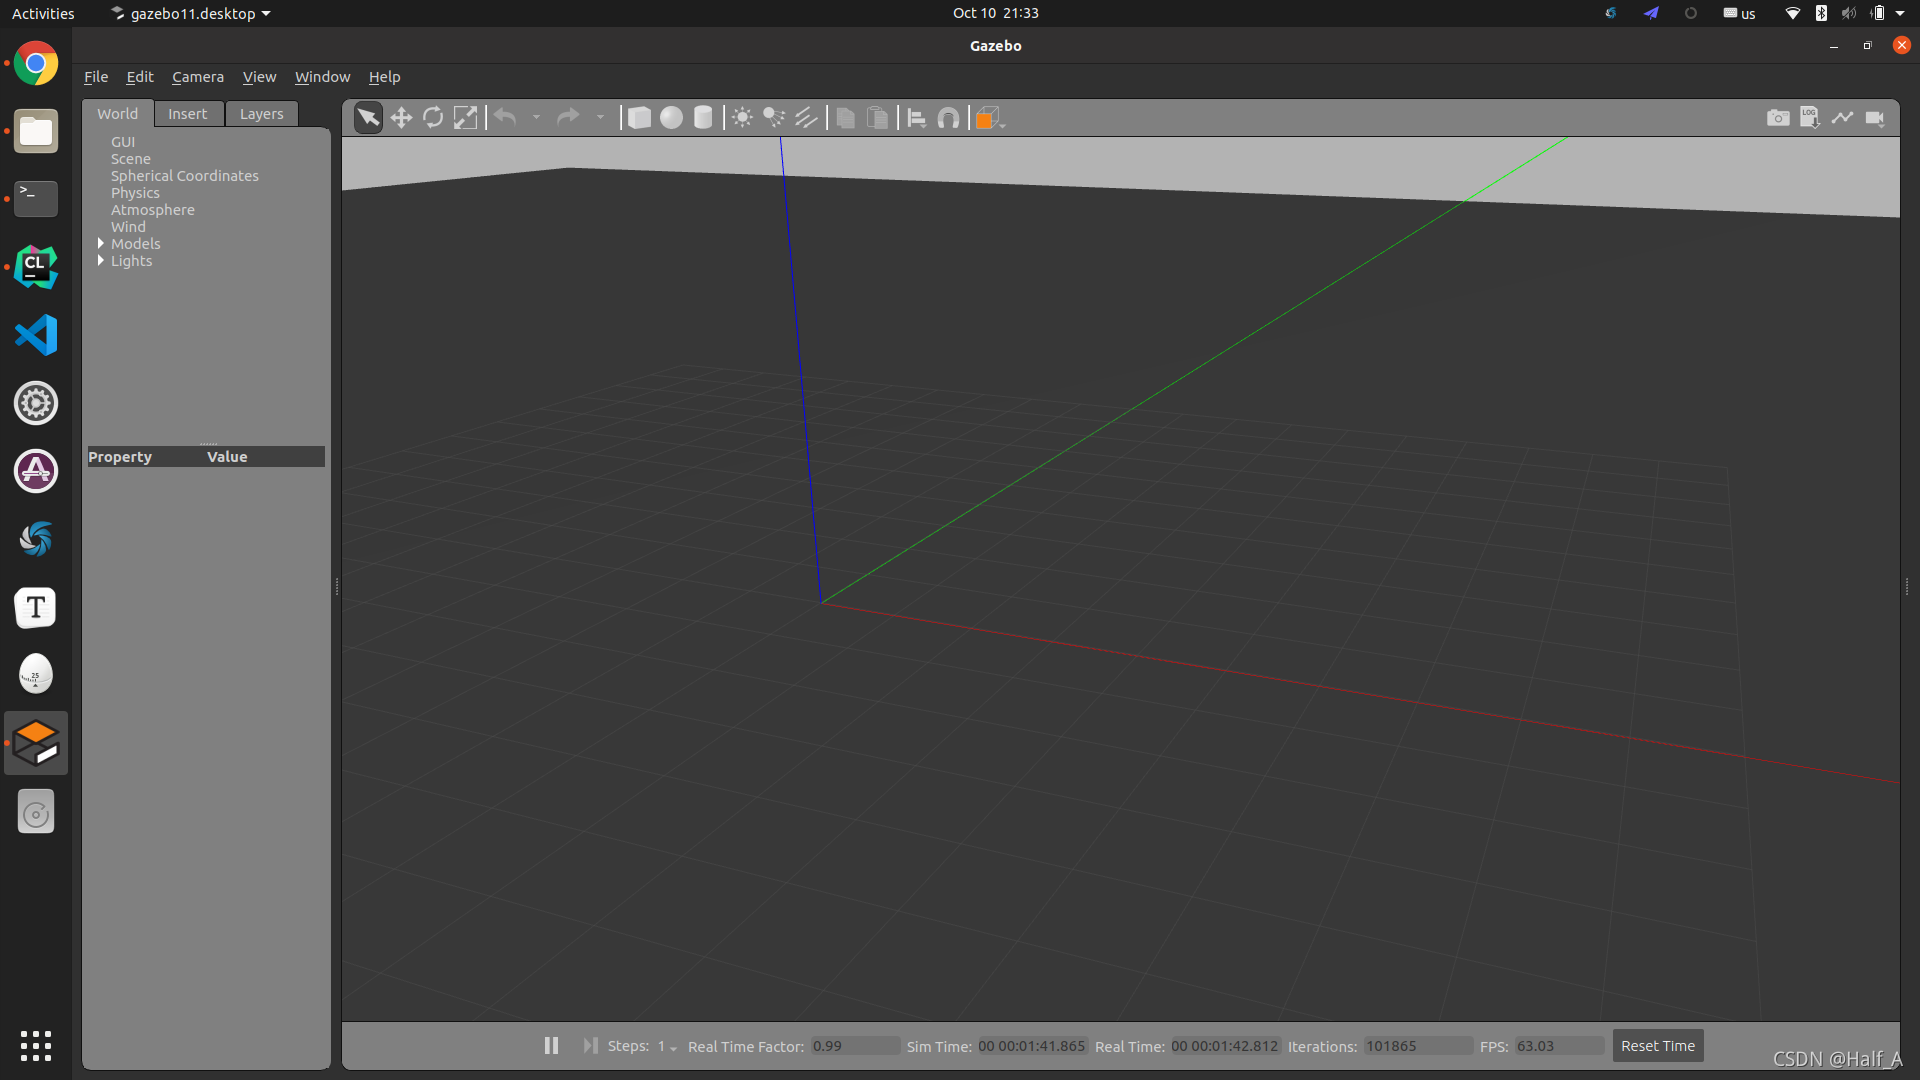
sudo apt install ros-noetic-gazebo-ros-pkgs ros-noetic-gazebo-ros ros-noetic-gazebo-msgs ros-noetic-gazebo-plugins ros-noetic-gazebo-ros-controlAfter installation, run the gazebo command in the terminal to check whether it was installed correctly. If you see the interface below, the installation is working properly.
Then run the following command in the terminal to check whether Gazebo’s ROS interface is working properly:
roscore & rosrun gazebo_ros gazeboThis command runs roscore and starts Gazebo at the same time. If the Gazebo interface appears, everything is working properly.
I. Create the Robot Model
1. First, Create a Package
catkin_create_pkg diff_wheeled_robot_gazebo roscpp tf geometry_msgs urdf rviz xacroIf you have not created a ROS workspace before, run the following commands first to create one:
mkdir -p ~/catkin_ws/src
cd ~/catkin_ws/src
catkin_init_workspace
catkin_make
source devel/setup.bash
echo "source /opt/ros/noetic/setup.bash" >> ~/.bashrc
2. Create the Basic Folders
cd diff_wheeled_robot_gazebo/
mkdir urdf meshes launch world
3. Copy the Model Files
From the urdf folder in the provided Gazebo project package, copy the diff_wheeled_robot.xacro and wheel.urdf.xacro files to the urdf folder in your own project.
Also copy the caster wheel’s three-dimensional model file, caster_wheel.stl, from the mesh folder to the meshes folder in your own project.
For an explanation of the xacro code, refer to this related article on robotic arms: Using urdf and xacro & Robotic Arm Model Simulation Example
4. Create the launch File
Go back up one level, enter the launch folder, create a diff_wheeled_gazebo.launch file, and add the following code:
vim diff_wheeled_gazebo.launch<launch>
<!-- these are the arguments you can pass this launch file, for example paused:=true -->
<arg name="paused" default="false"/>
<arg name="use_sim_time" default="true"/>
<arg name="gui" default="true"/>
<arg name="headless" default="false"/>
<arg name="debug" default="false"/>
<!-- We resume the logic in empty_world.launch -->
<include file="$(find gazebo_ros)/launch/empty_world.launch">
<arg name="debug" value="$(arg debug)" />
<arg name="gui" value="$(arg gui)" />
<arg name="paused" value="$(arg paused)"/>
<arg name="use_sim_time" value="$(arg use_sim_time)"/>
<arg name="headless" value="$(arg headless)"/>
</include>
<!-- urdf xml robot description loaded on the Parameter Server-->
<param name="robot_description" command="$(find xacro)/xacro $(find diff_wheeled_robot_gazebo)/urdf/diff_wheeled_robot.xacro" />
<!-- Run a python script to the send a service call to gazebo_ros to spawn a URDF robot -->
<node name="urdf_spawner" pkg="gazebo_ros" type="spawn_model" respawn="false" output="screen"
args="-urdf -model diff_wheeled_robot -param robot_description"/>
</launch>5. Build and Launch the Node to Inspect the Robot Model First, build the workspace:
cd ~/catkin_ws
catkin_make
Then launch the node:
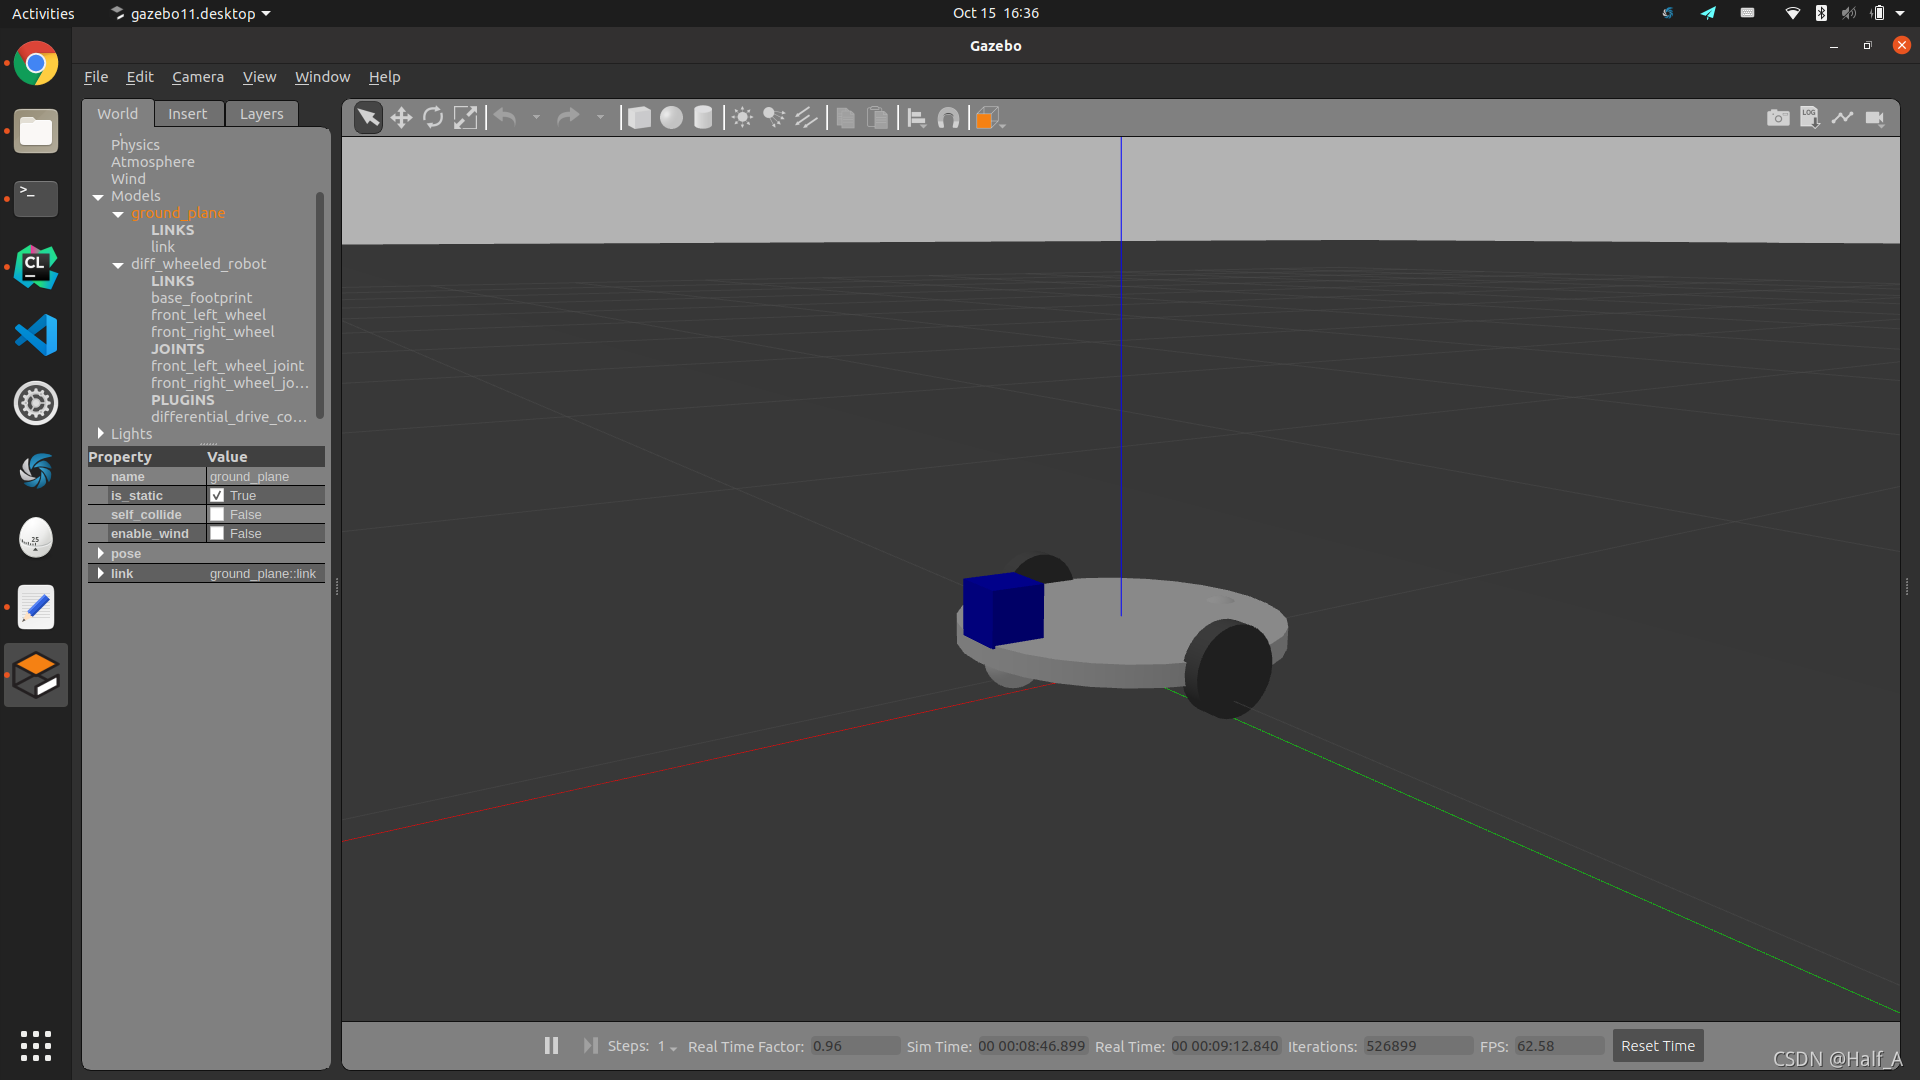
roslaunch diff_wheeled_robot_gazebo diff_wheeled_gazebo.launchYou can see that Gazebo has started normally and the robot model has loaded correctly.
II. Control the Robot’s Motion
1. Plugin Introduction
The plugin used to control the robot’s motion is libgazebo_ros_diff_drive.so. The code for adding this plugin is already included in the xacro file, as shown below:
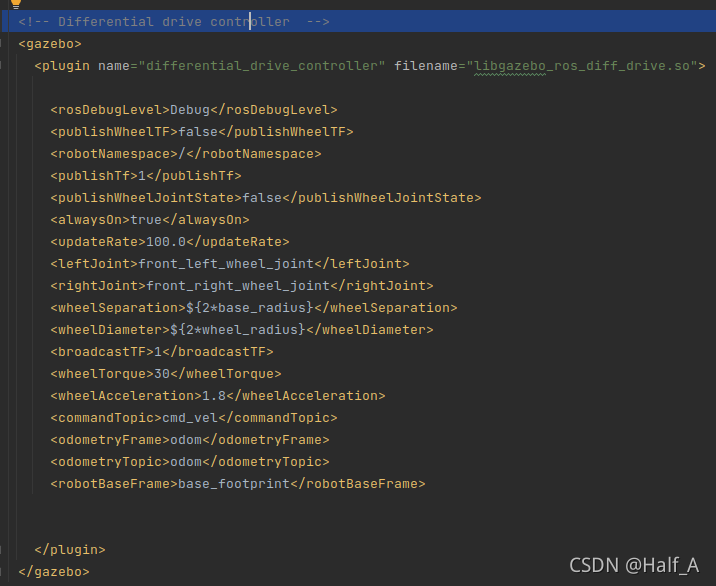
The configurable parameters include the wheel joints, wheel separation, wheel diameter, odometry topic, and more. The most important parameter here is the control command topic, commandTopic, which is used to drive the wheels. Here, we can control the robot’s motion by publishing data to the /cmd_vel topic.
2. Test the Motion With the Gazebo simulation running normally, open a new terminal and enter the following command to make the robot move in a circle:
rostopic pub -r 10 /cmd_vel geometry_msgs/Twist '{linear: {x: 0.5, y: 0, z: 0}, angular: {x: 0, y: 0, z: 0.5}}'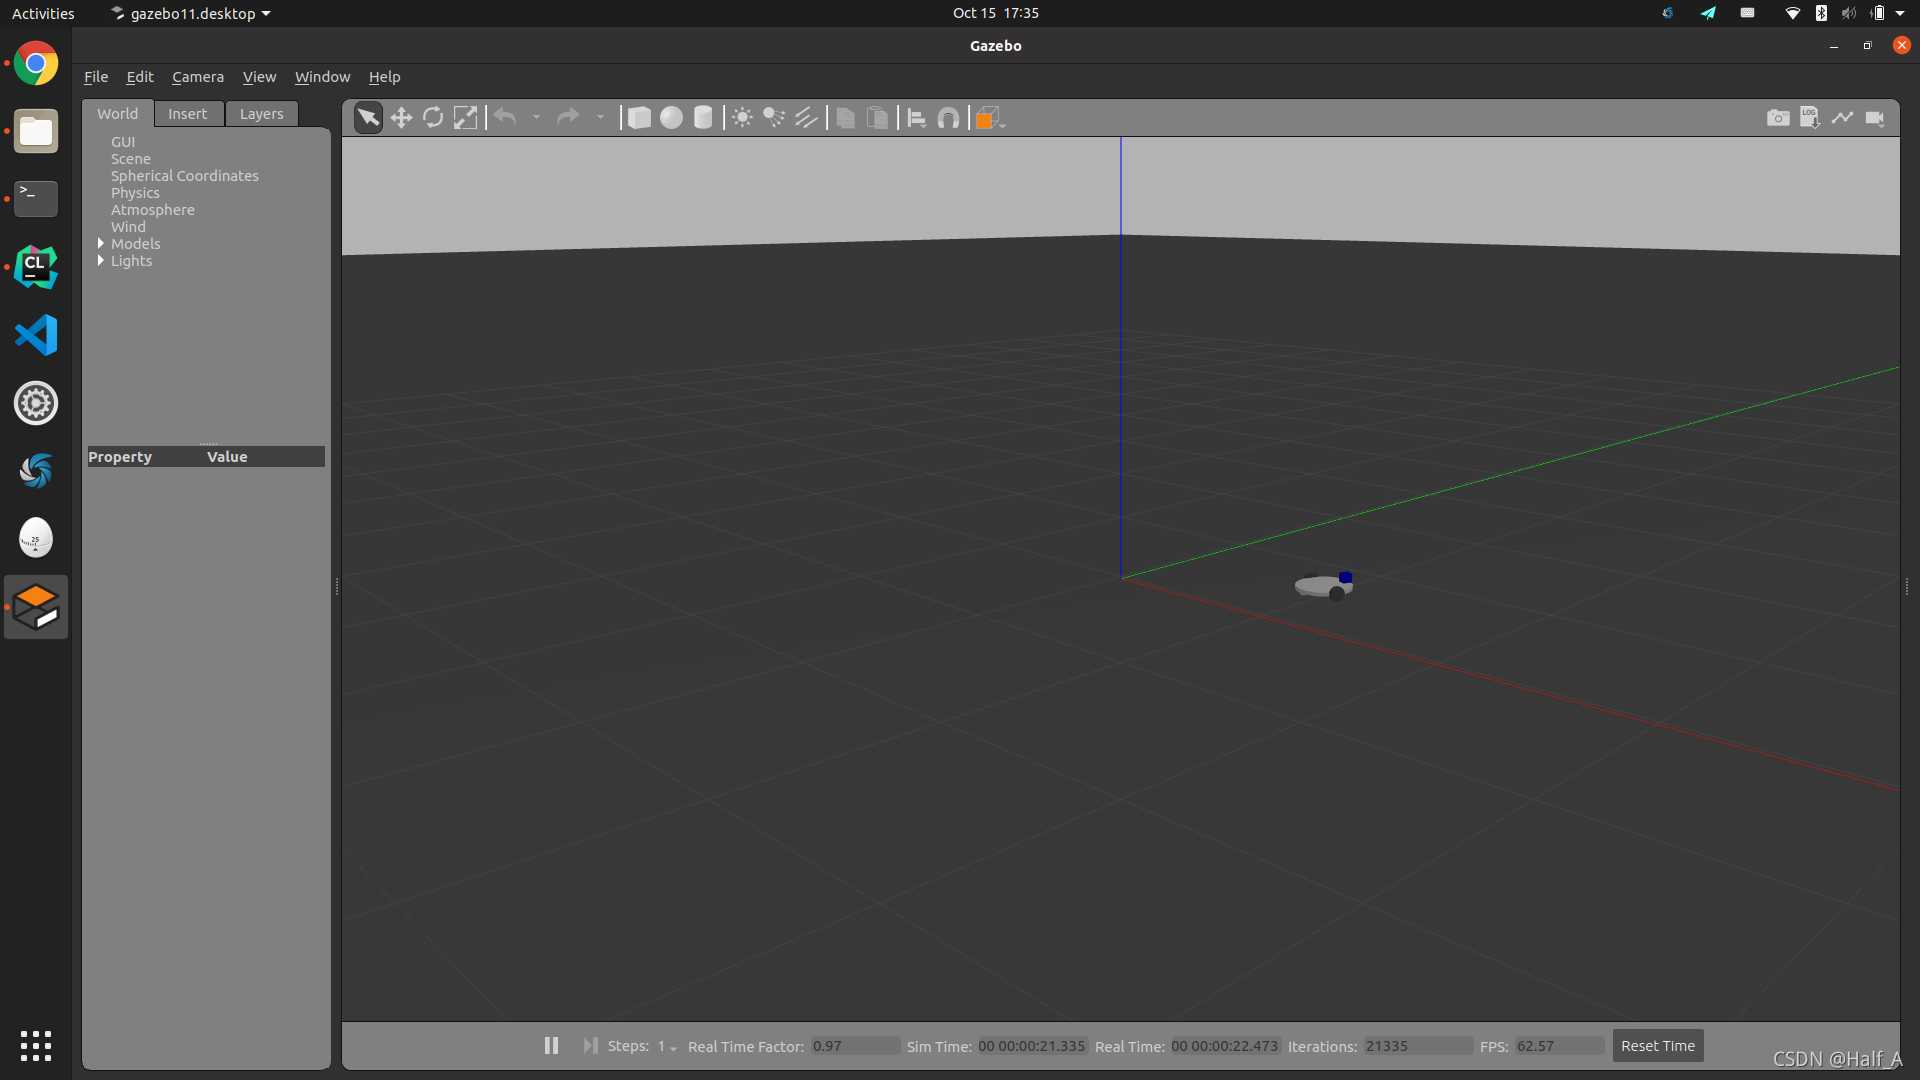
III. Control the Robot’s Motion with the Keyboard
1. Create a Package Create a package for driving the robot:
cd ~/catkin/src
catkin_create_pkg diff_wheeled_robot_control rospy tf geometry_msgs urdf rviz xacro
From the control project package, copy the launch and scripts folders to the newly created package.
2. Build and Start the Simulation
Return to the workspace directory and build it:
catkin_makeStart the simulation program.
First, as before, start the robot simulation program:
roslaunch diff_wheeled_robot_gazebo diff_wheeled_gazebo.launchThen open a new terminal and start the keyboard control program:
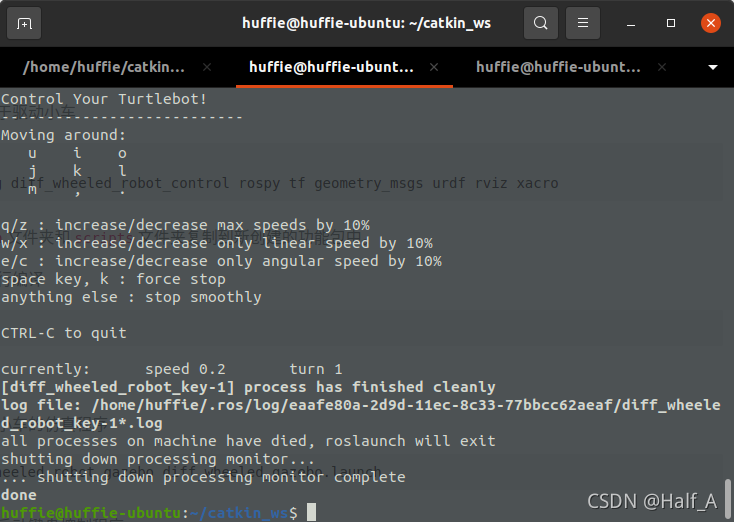
roslaunch diff_wheeled_robot_control keyboard_teleop.launchA prompt will now appear in the terminal window. Press the keys in the terminal to control the robot.

Comments