Contents
Official usb_cam documentation: http://wiki.ros.org/camera_calibration Official camera_calibrate documentation: http://wiki.ros.org/camera_calibration/Tutorials/MonocularCalibration The checkerboard can also be downloaded from the link above.
The purpose of camera calibration is to eliminate camera distortion. For details on how distortion occurs, see the previous article, A Detailed Explanation of Camera Models and Undistortion Methods. The process of calibrating a USB camera in ROS can be broadly divided into several steps. ① Install the usb_camera driver package; ② run usb_cam to capture images from the USB camera; ③ download and print a checkerboard, then calibrate the camera.
1. Install the usb_camera Driver Package
- Go to the src directory in your workspace (your workspace path may be different, so adjust it accordingly)
- Download the usb_cam source code
- Build and install it
cd ~/catkin_ws/src
git clone https://github.com/ros-drivers/usb_cam.git
cd ..
catkin_make
2. Run usb_cam to Capture Camera Images
First, open a terminal and run roscore.
Then open another terminal and run the usb_cam-test.launch launch file (the source code downloaded earlier includes a test file, so you can launch it directly).
cd ~/catkin_ws/src/usb_cam/launch
roslaunch usb_cam-test.launch
By default, this starts the computer’s built-in camera. To start an external camera, edit the launch file and change the value on the first parameter line to value="/dev/video1", then rebuild.
If an error occurs after this change, run
ls /dev/video*to see which device corresponds to the external camera, then change the launch file to the corresponding video2 or video3. For example, my USB camera is /dev/video2
<param name="video_device" value="/dev/video1" />If the following error occurs ERROR: cannot launch node of type [usb_cam/usb_cam_node]: usb_cam ROS path [0]=/opt/ros/kinetic/share/ros ROS path [1]=/opt/ros/kinetic/share First, go to the workspace directory
3. Calibrate the Camera
Open another terminal again (the first two are running roscore and usb_cam-test, respectively).
① Check the Topic Names
Enter rostopic list to view the topics in ROS, and check whether the /usb_cam/camera_info and /usb_cam/image_raw topics are present. (The topic names may be different, possibly using /usb_cam_node. Remember the names of these two topics on your system.)
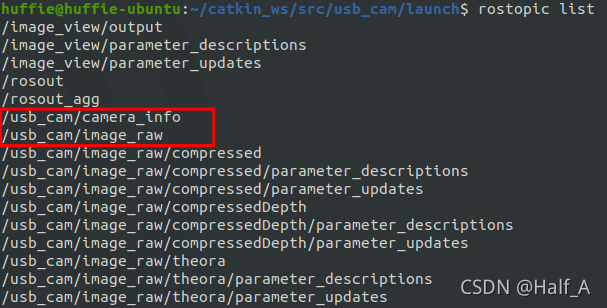
If you encounter the ImportError: No module named cv2 issue, see the following article Article link: How to Fix ImportError: No module named cv2 (Change the Default Python Version)
② Run the Command to Start the Calibration Program
rosrun camera_calibration cameracalibrator.py --size 8x6 --square 0.03 image:=/usb_cam/image_raw camera:=/usb_camHere, 8x6 is the number of internal corners on the checkerboard. As shown below, the checkerboard I downloaded has 8x6 internal corners. If your checkerboard has 11x8 corners, simply replace 8x6 in the command with 11x8.
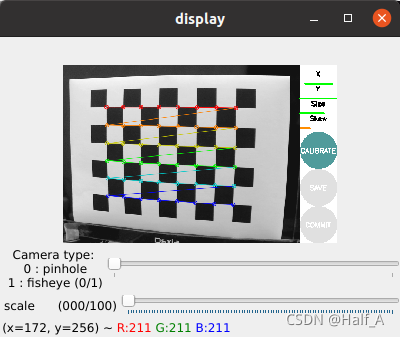
③ Change the Angle So the Program Can Record Samples
Hold the checkerboard sheet at several different angles, moving it farther away and closer and collecting samples around the edges and corners. When sample approaches 50 in the command line, the calibrate button will become active.
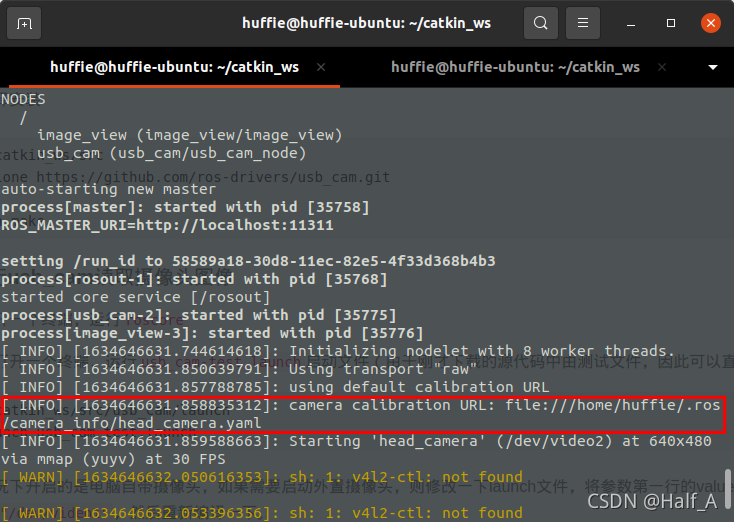
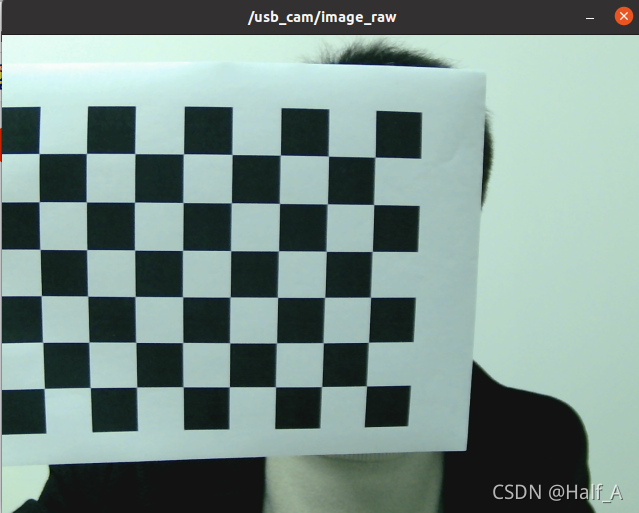
④ Calibrate and Save Click the CALIBRATE button to calibrate, then wait a short while for the calibration results to appear in the command line. If there are no problems with the calibration, click the COMMIT button to save it. After saving, usb_camera will automatically use the calibration parameters the next time it starts, and you can see that the camera image is no longer distorted.
Comments