Contents
ROS package and STM32 project files: Lanzou Cloud: https://huffie.lanzouw.com/iN7w602ti37a
1 Communication Protocol
The STM32 side and the ROS side each have one data transmit function and one data receive function. Data is sent and received in packets.
Packet contents:
Header 55aa + byte count size + data union + CRC8 checksum + footer 0d0a
2 Principles
2.1 Brief overview of send/receive methods
First, UART send/receive transfers data one byte at a time. One byte can represent at most 255, but the sensor data we often need to pass is usually int/float.
The traditional UART communication method is to break int/float data into individual bytes and send them out.
Here, a union is used to convert the data into an array for transmission.
2.2 Using a data union
Union rules:
- A union is a mechanism in which different members of a struct share memory; each member has the same memory address
- Only one member can be accessed at a time
- Different members are accessed according to the type of each member
Creating a union:
#include <stdio.h>
#include <string.h>

union Data
{
	int i;
	float f;
	char str[20];
};

int main()
{
	union Data data;
	data.i = 10;
	data.f = 220.5;
	strcpy( data.str, "C Programming");
	printf( "data.i : %d\n", data.i);
	printf( "data.f : %f\n", data.f);
	printf( "data.str : %s\n", data.str);
	return 0;
}
The value assigned last occupies the memory location, so only one member can be used at a time.
How to use a union
Define a union with the same data structure on both ends of the communication. The union contains a short/int/float variable and an unsigned char array whose size matches the byte size of the variable. When sending and receiving data, only the unsigned char array elements in the union are sent or received.

3 Preparation
3.1 Hardware setup
Use an STM32 UART + TTL-to-USB module (CH340) + Linux device.

Notes:
- The UART baud rates on the STM32 and ROS sides must match
- Connect the STM32 UART and the USB-to-TTL module correctly: RX-TX, TX-RX
- Install the CH340/CH341 driver on the Linux device
- Make sure the serial port has superuser permissions on the Linux system
- Change the serial device name in mbot_linux_serial.cpp in the ROS package to your own device name
3.2 Serial port setup
Check the serial device
After plugging the USB-to-TTL module into the Linux device, open a terminal and enter:
ls -l /dev/ttyUSB*If the terminal shows output similar to the following, the serial device has been recognized
crw-rw---- 1 root dialout 188, 0 3月 25 17:07 /dev/ttyUSB0Set serial port permissions
Enter the following command in the terminal: (use your own serial device name)
sudo chmod 777 /dev/ttyUSB0
source devel/setup.bash
If there is no output, the serial device permissions were set successfully. (You need to do this every time you reboot or reconnect the serial device)
4 Program Design
4.1 STM32 program design
The project files provide code for the STM32F103. You can also modify your board’s UART send/receive example and add mbotLinuxUsart.c and mbotLinuxUsart.h to the project.
The functions are called as follows:
#include "delay.h"
#include "sys.h"
#include "usart.h"
#include "mbotLinuxUsart.h"//引用该头文件是使用,通信协议的前提

//测试发送变量
short testSend1   =5000;
short testSend2   =2000;
short testSend3   =1000;
unsigned char testSend4 = 0x05;

//测试接收变量
int testRece1     =0;
int testRece2     =0;
unsigned char testRece3 = 0x00;

int main(void)
{
/*************** 硬件初始化 ***************/
    delay_init();                                   //延时函数初始化
    NVIC_PriorityGroupConfig(NVIC_PriorityGroup_2); //设置中断优先级分组2
    uart_init(115200);                              //串口初始化为115200

/***************循环程序 ***************/
    while(1)
    {
        //将需要发送到ROS的数据,从该函数发出,前三个数据范围(-32768 - +32767),第四个数据的范围(0 - 255)
        usartSendData(testSend1,testSend2,testSend3,testSend4);
        //必须的延时
        delay_ms(13);
    }
}

/*************** 串口中断服务程序 ***************/
void USART1_IRQHandler()
{
    if(USART_GetITStatus(USART1, USART_IT_RXNE) != RESET)
     {
         USART_ClearITPendingBit(USART1,USART_IT_RXNE);//首先清除中断标志位
         //从ROS接收到的数据,存放到下面三个变量中
         usartReceiveOneData(&testRece1,&testRece2,&testRece3);
     }
}
4.2 ROS program design
ROS installation is not covered here.
First step
First, follow A Detailed Guide to Basic ROS Functionality (Basic Commands/Nodes/Services/Launch Files/Dynamic Parameters) (if you have not already created one)
mkdir -p ~/catkin_ws/src
cd catkin_ws/src
catkin_init_workspace
Second step
Copy the topic_example package into the src directory, then return to the workspace directory and build
cd ..
catkin_make
5 Testing
Add serial device permissions
sudo chmod 777 /dev/ttyUSB0
source devel/setup.bash
Open a new terminal and start `ros master
roscoreOpen a new terminal and start the test package
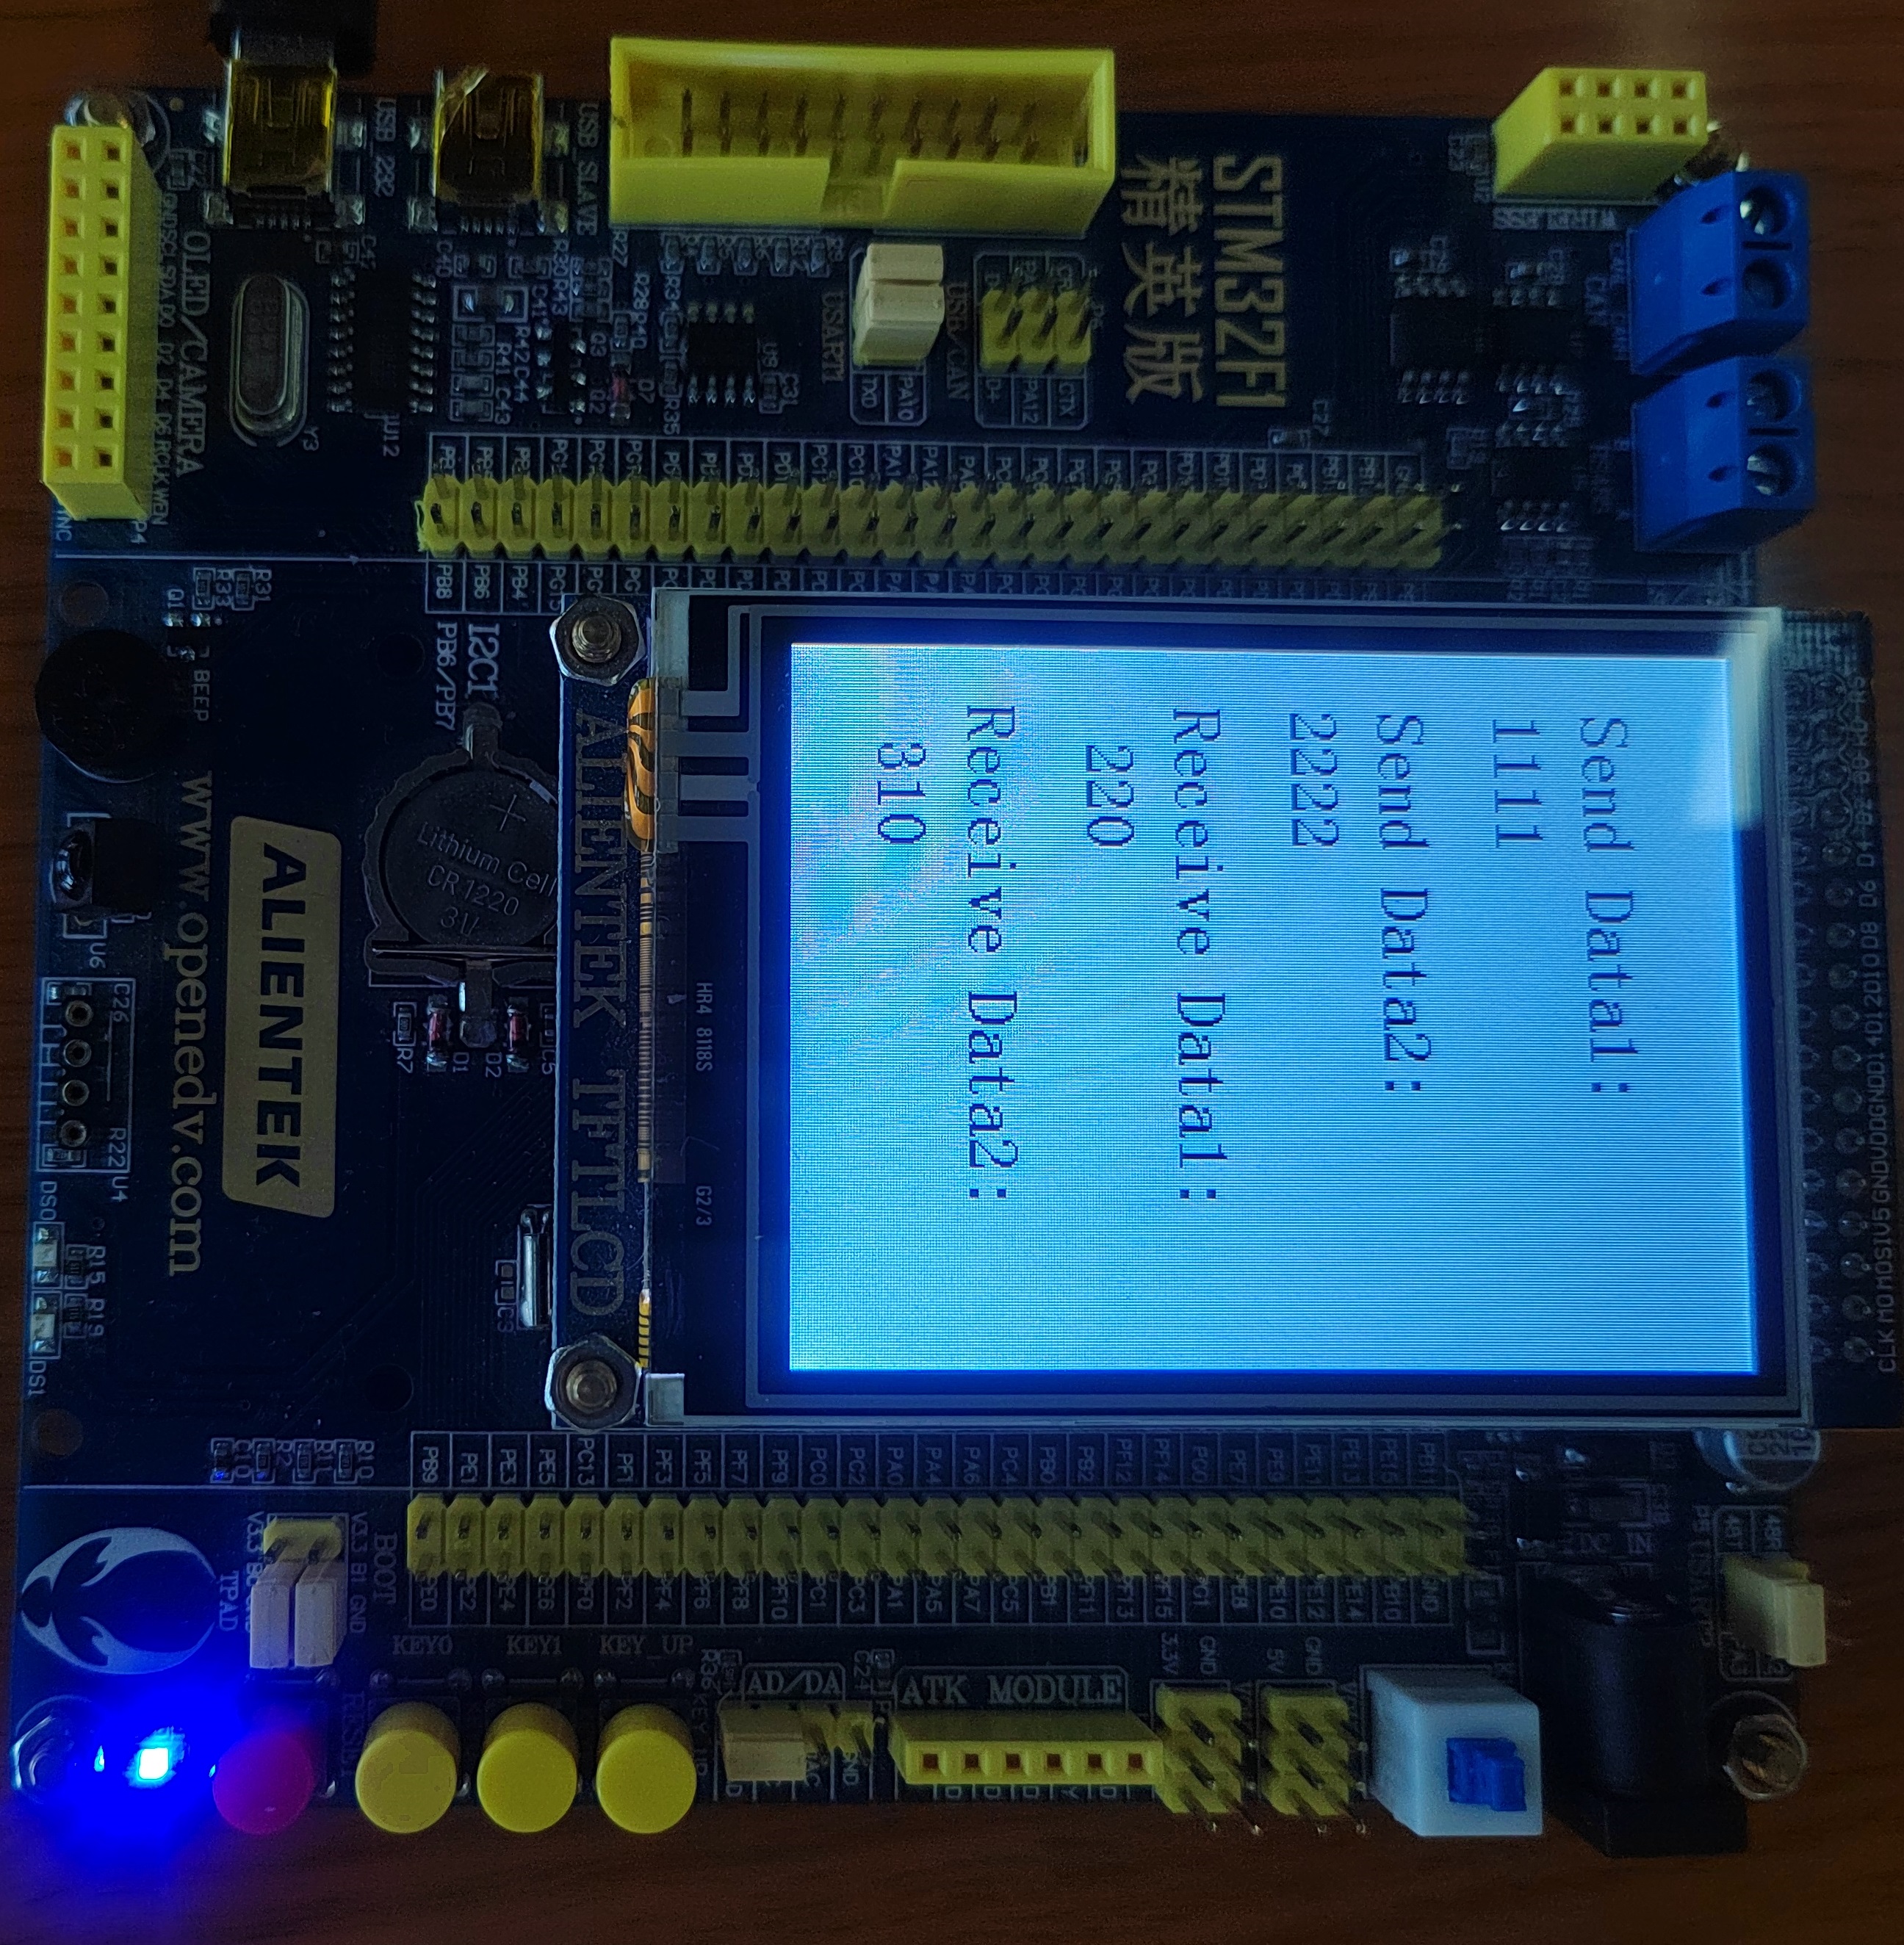
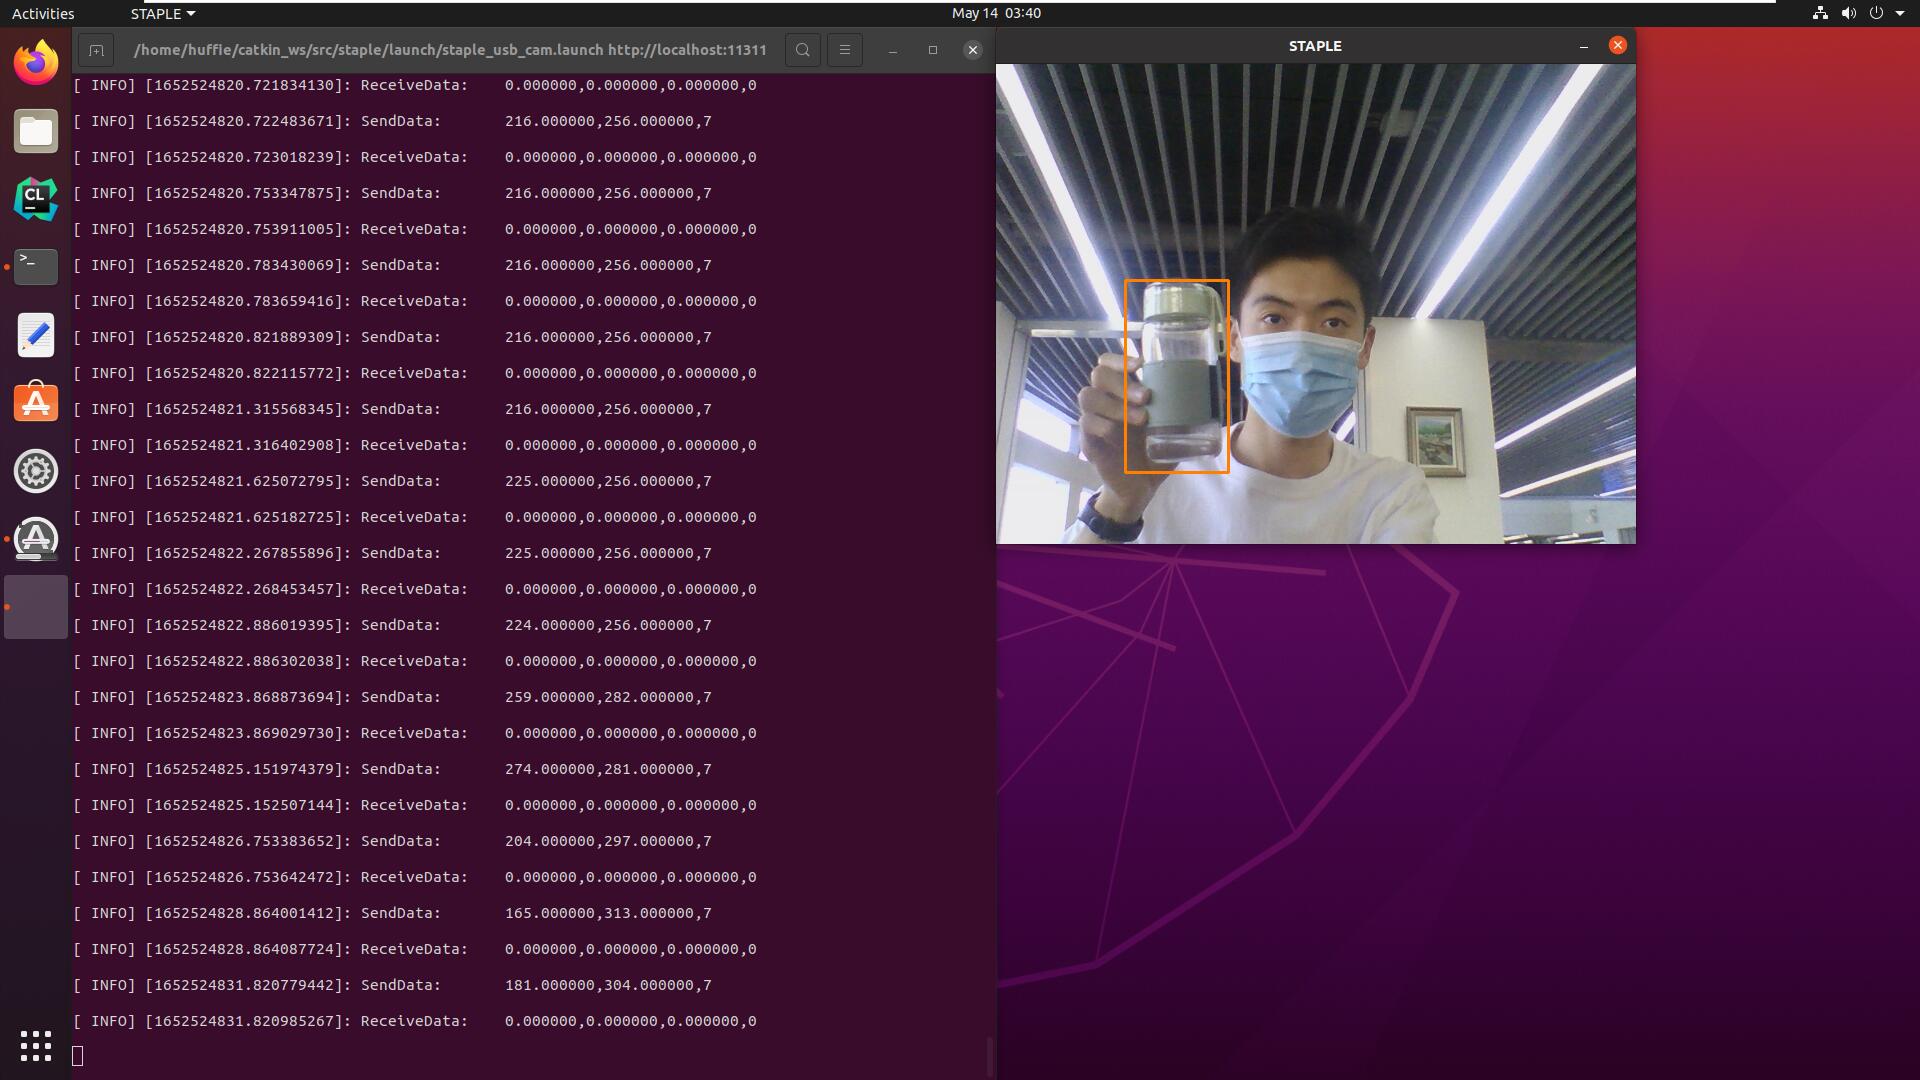
rosrun topic_example publish_nodeYou can see the data received from the STM32.
Comments