Station file: Link: https://pan.baidu.com/s/1kikAGbj-vVAH-IR9AWY1sg Extraction code: robo
Creating the Conveyor Model
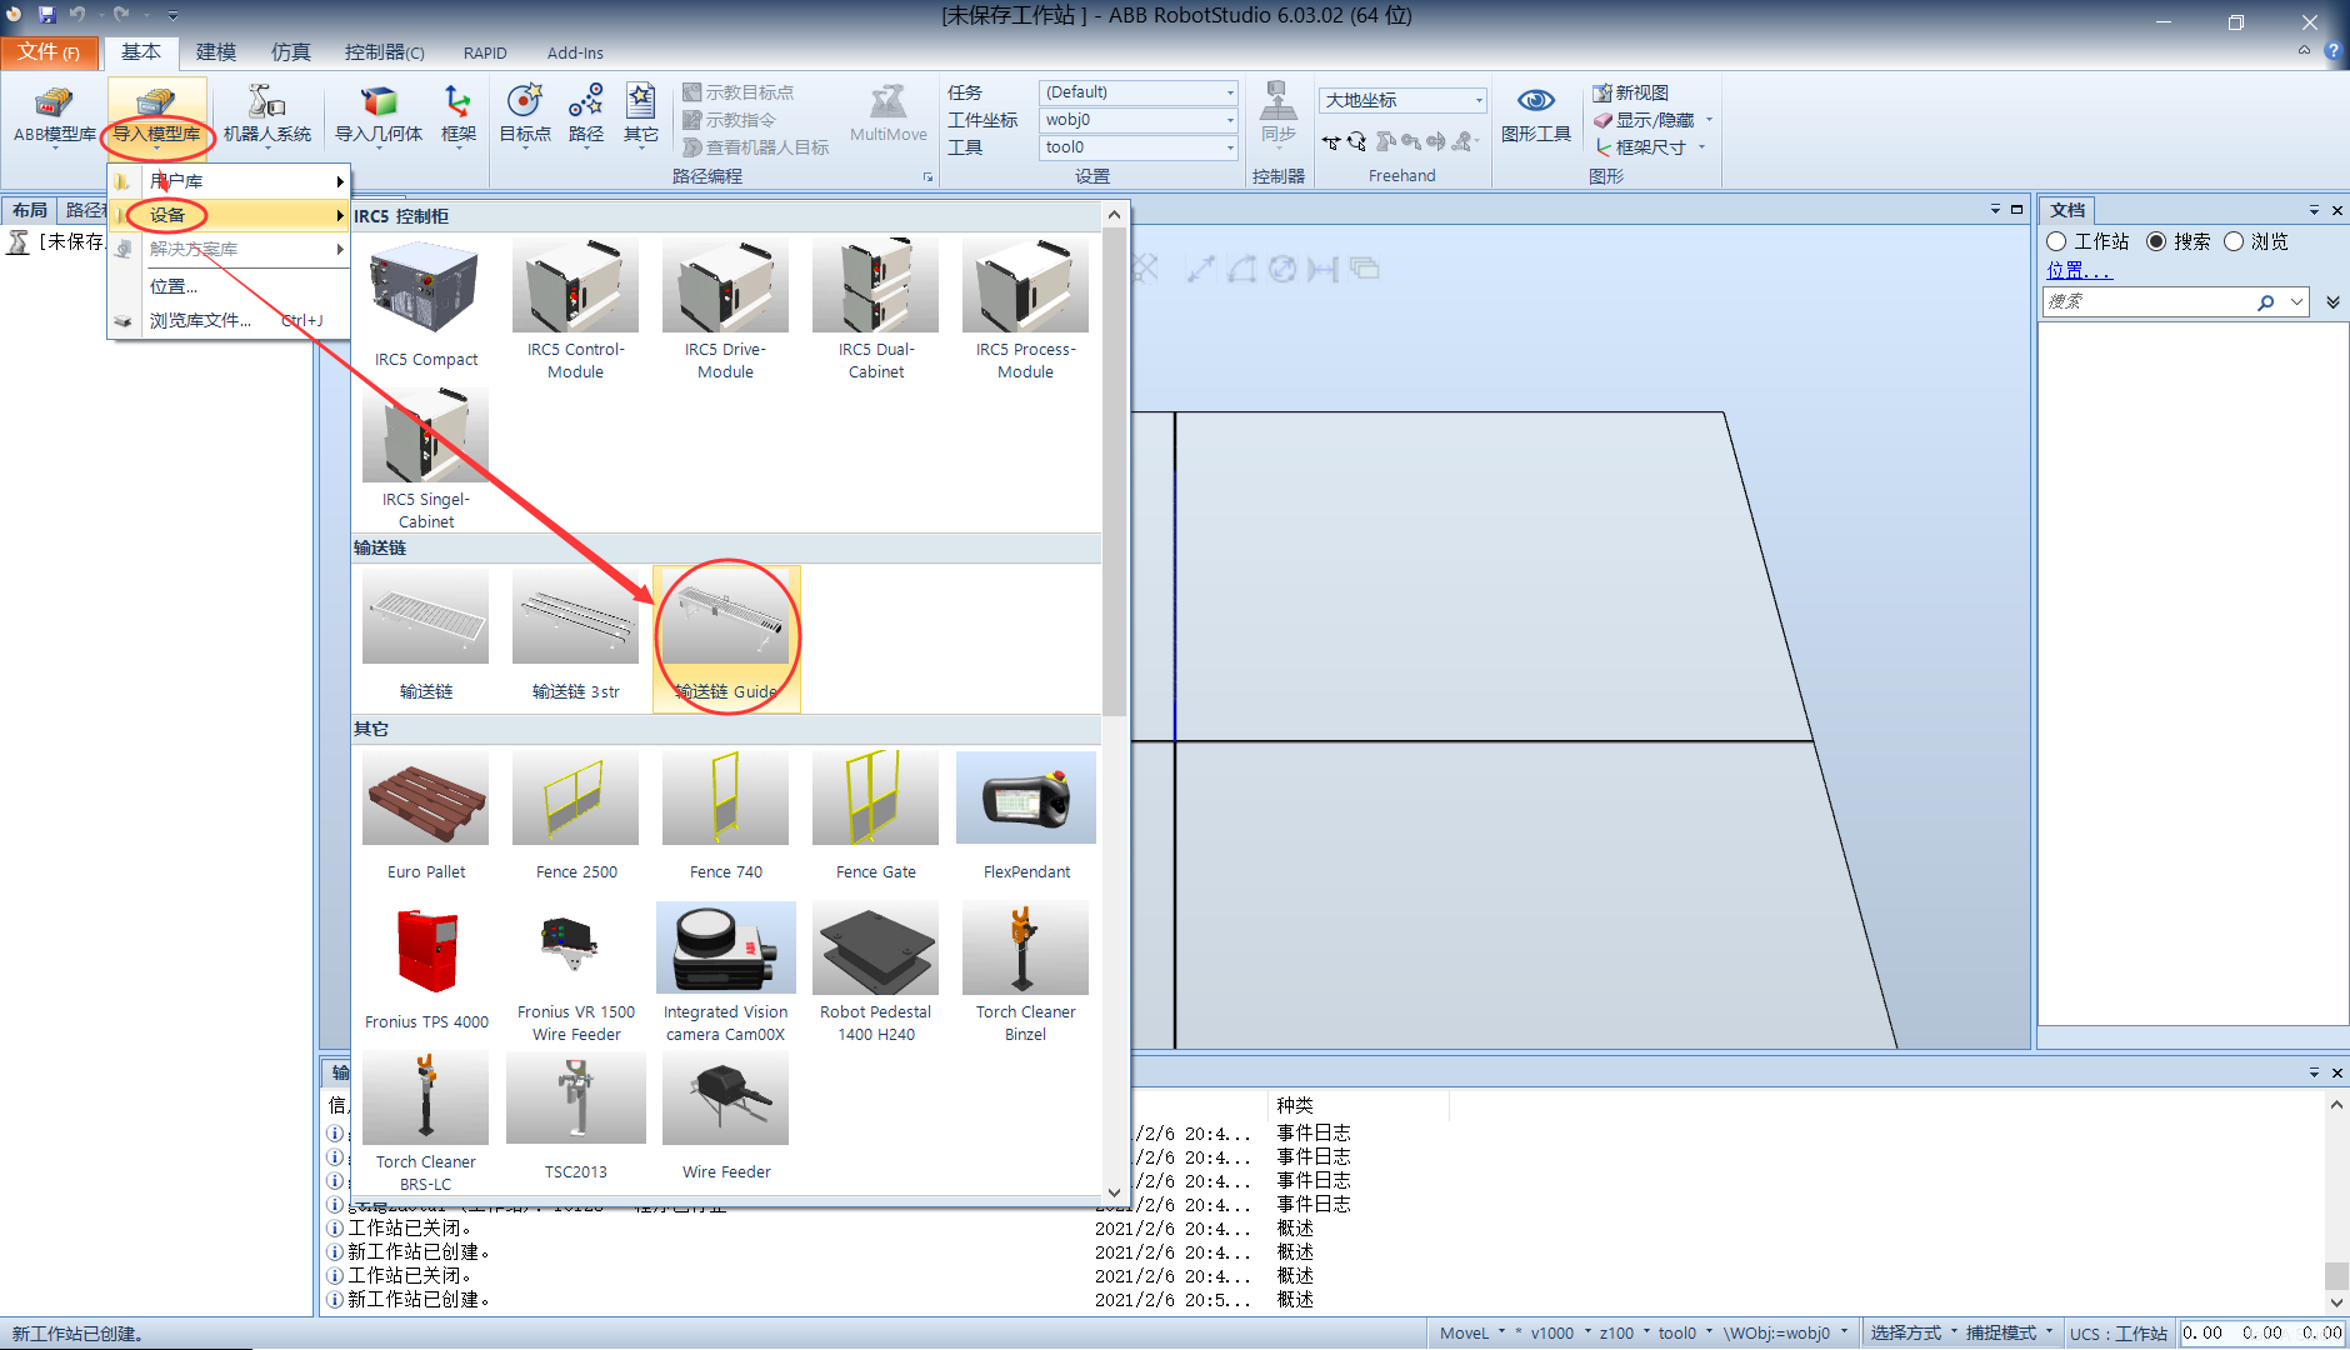
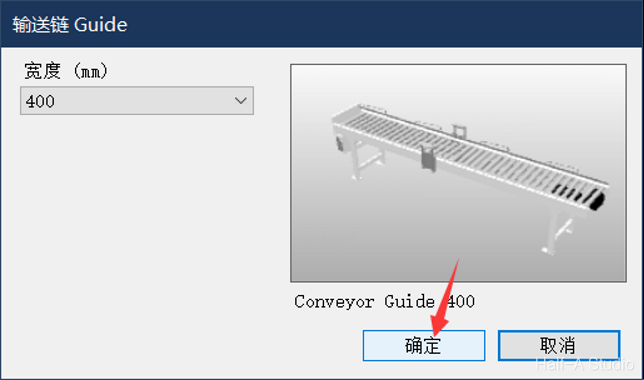
- Create a new station and import a conveyor from Equipment
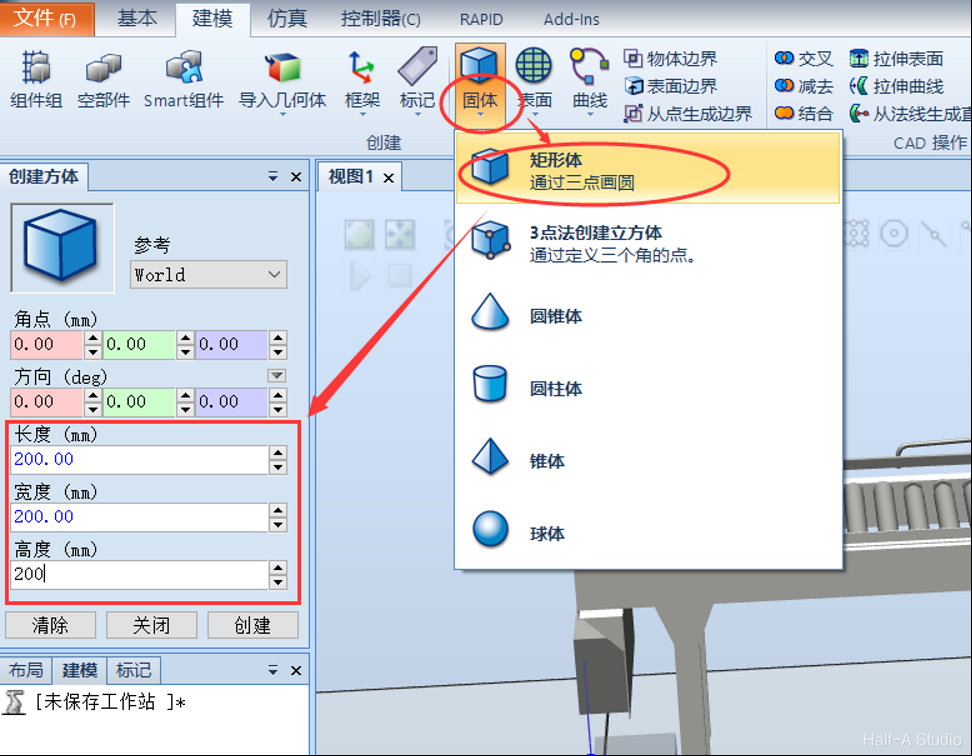
- Create a cube to serve as the object carried by the conveyor
- Drag the small cube onto the conveyor at the desired position
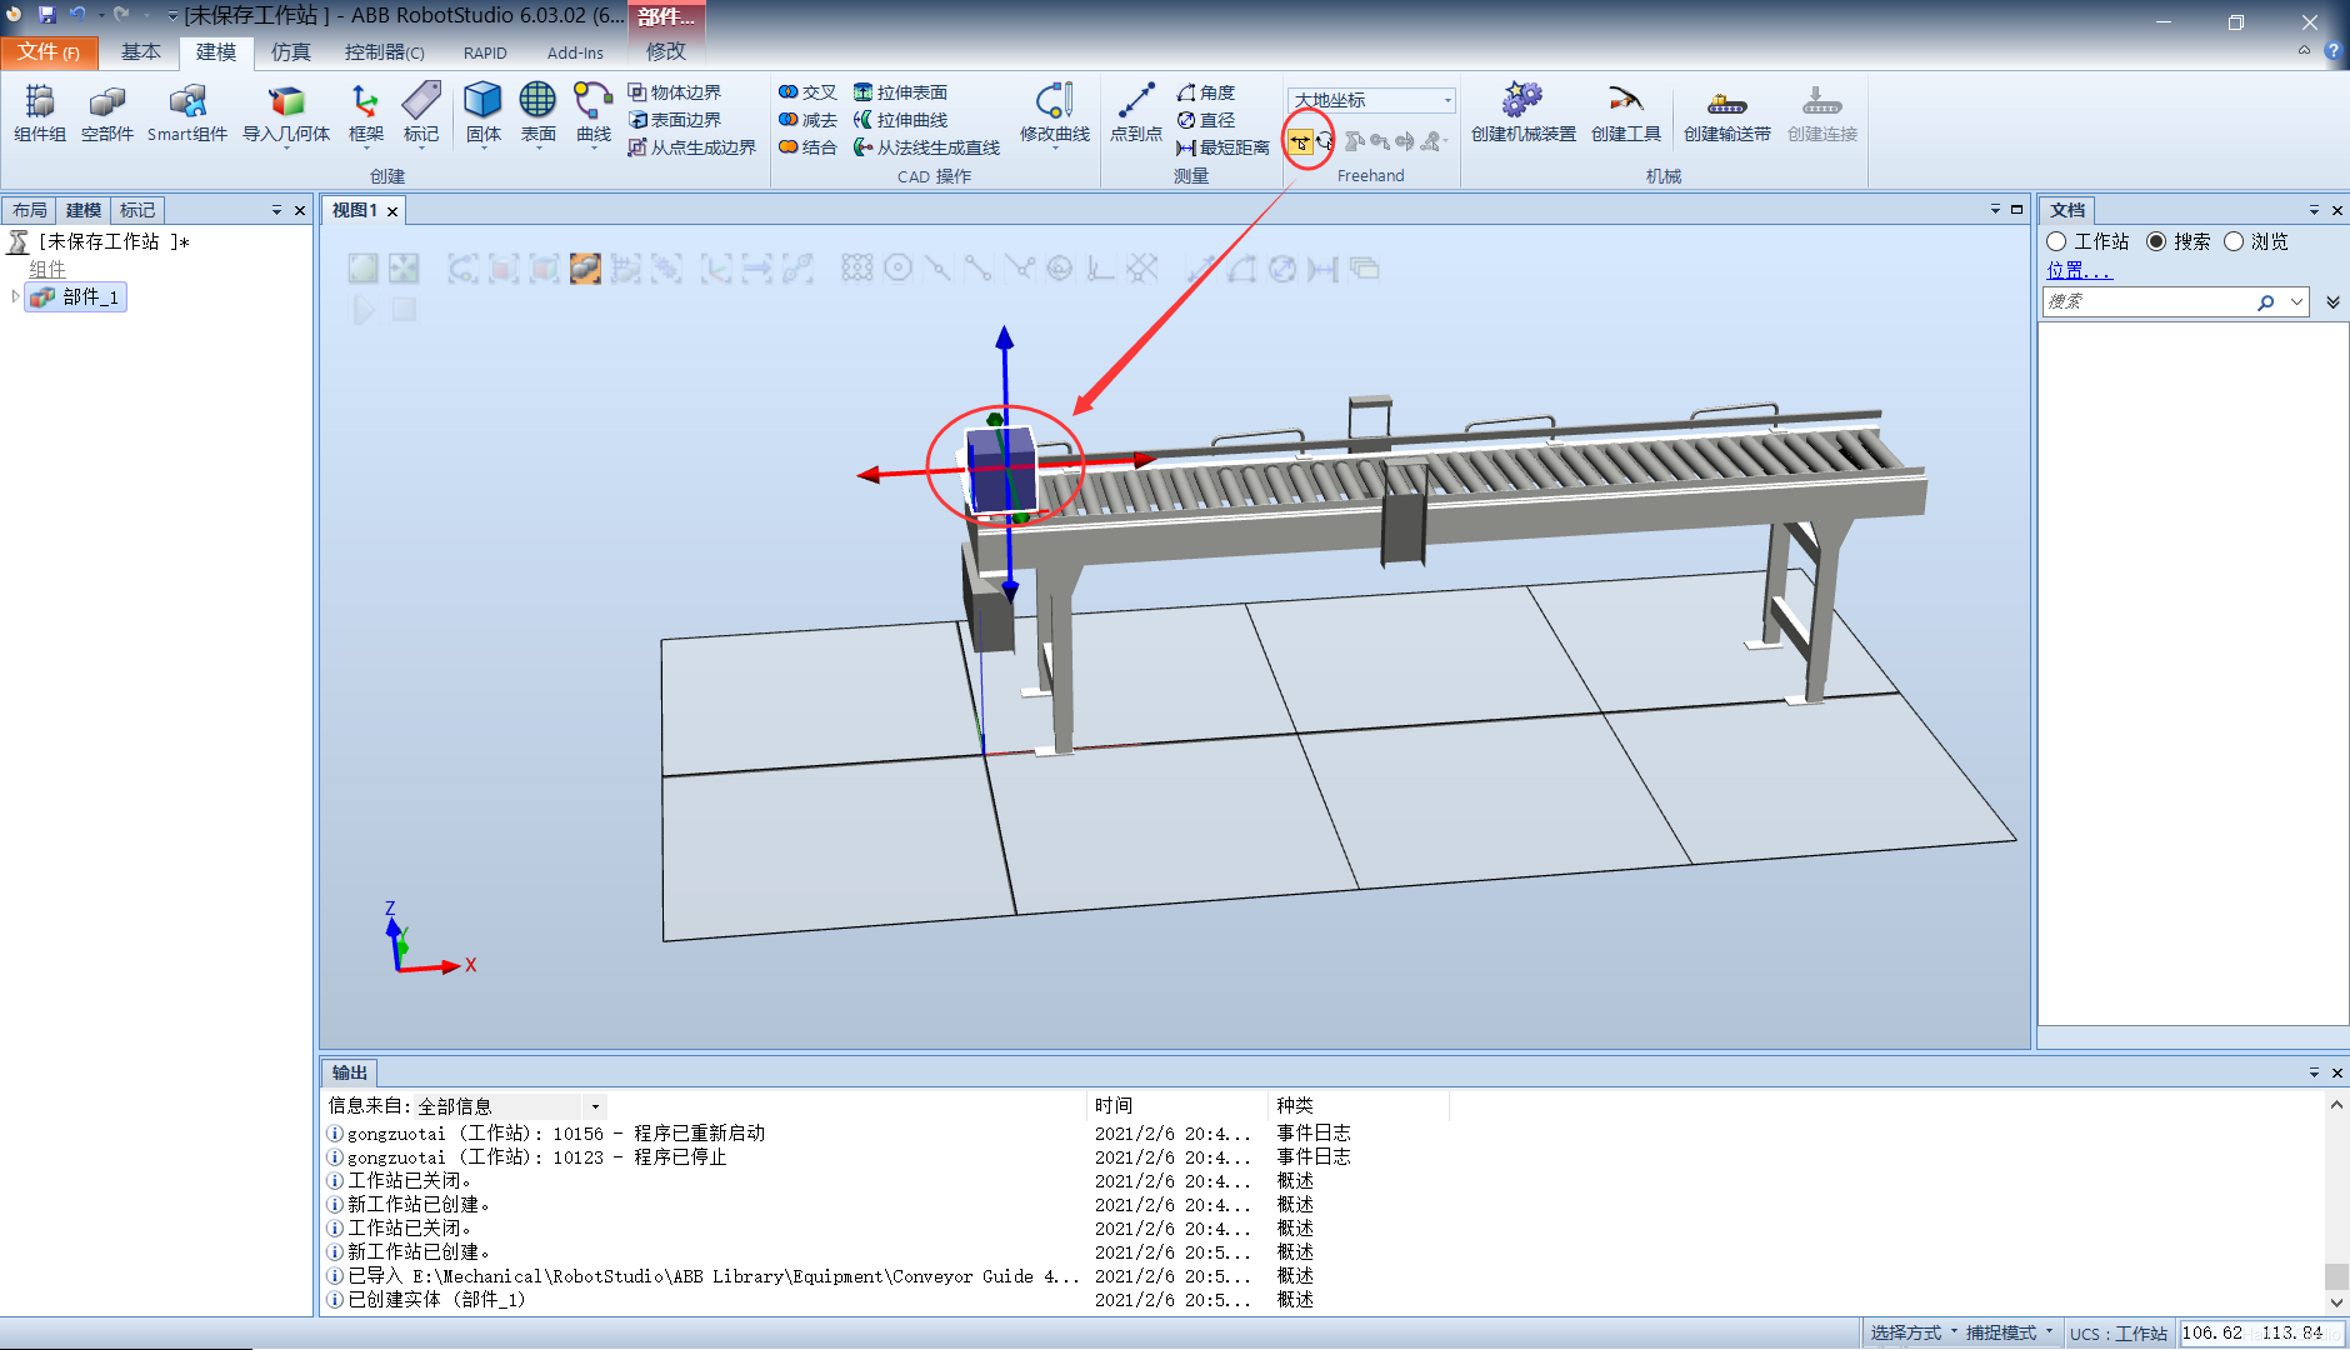
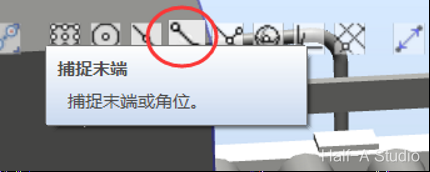
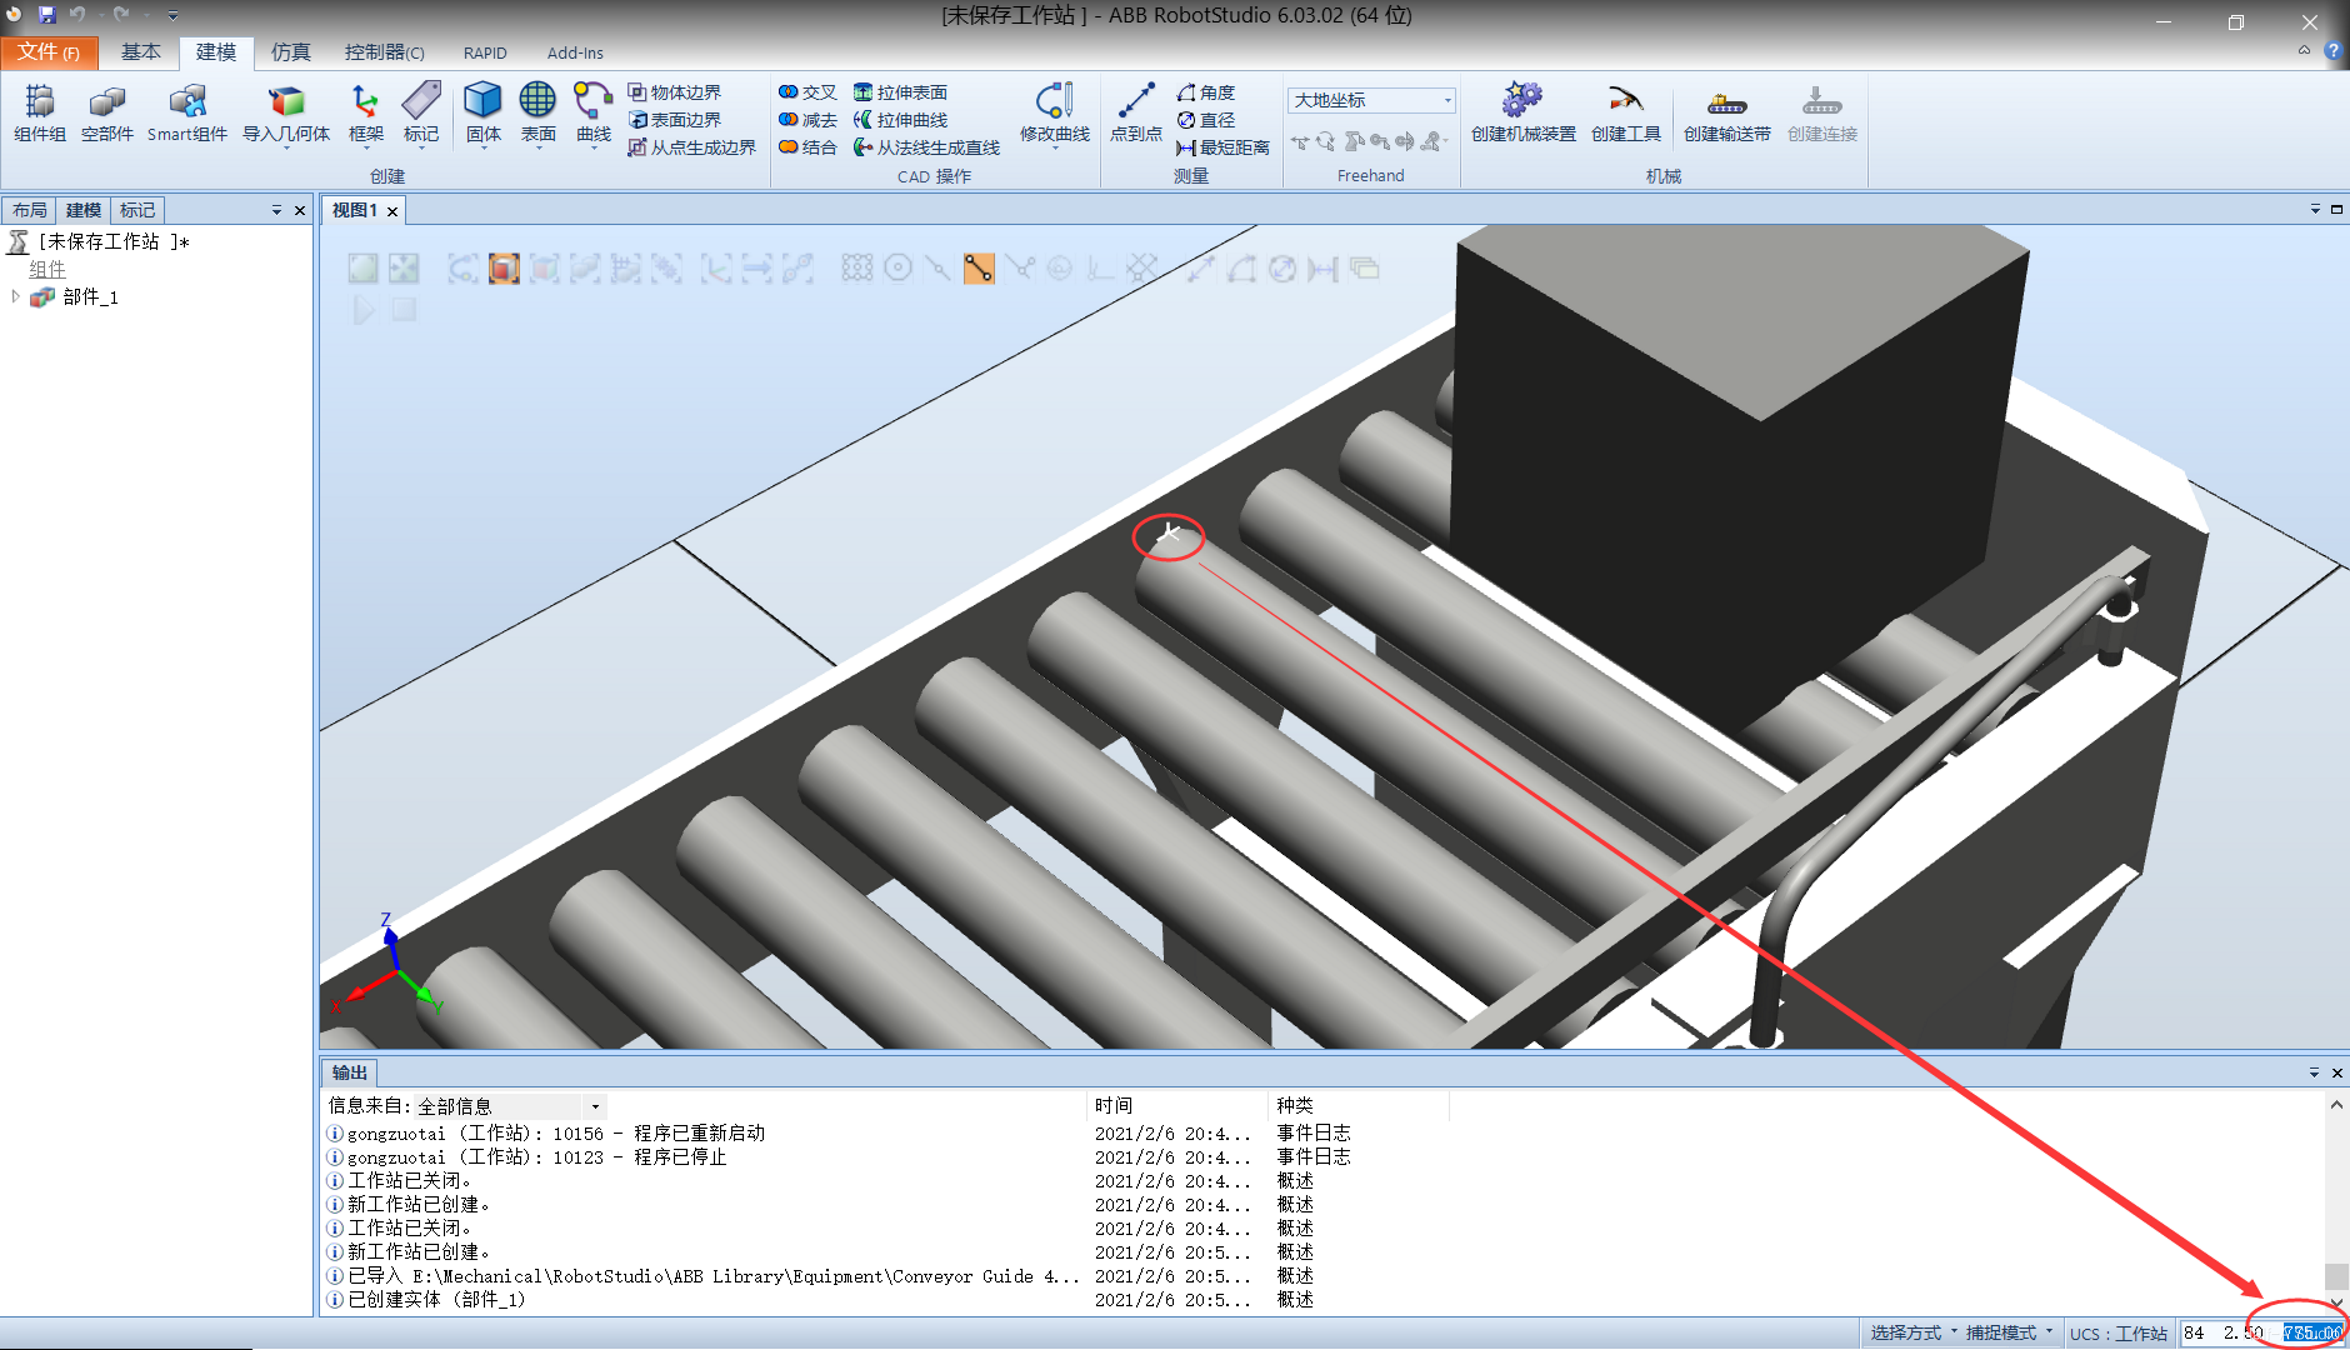
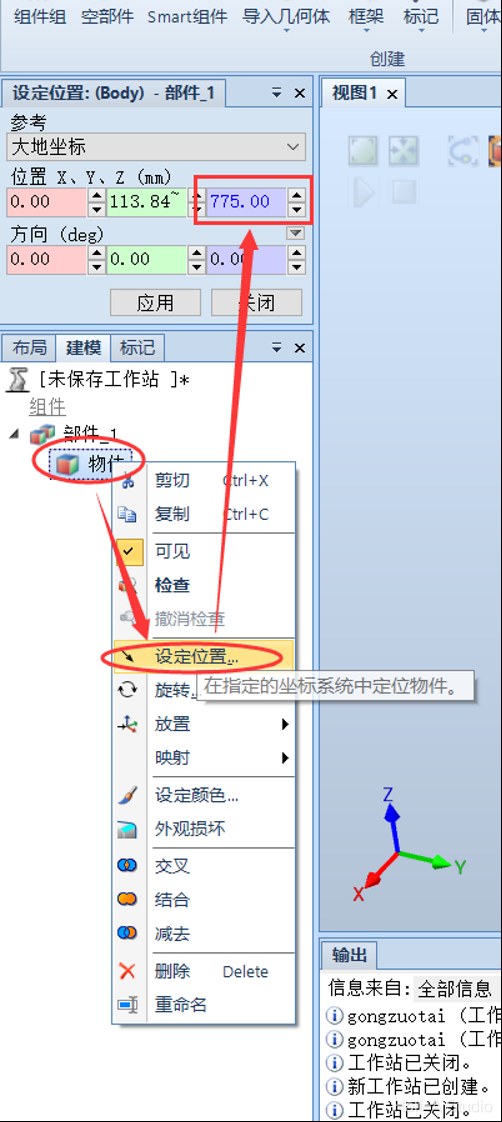
- Use Snap and Set Position to position the small cube precisely
Simple Conveyor Design
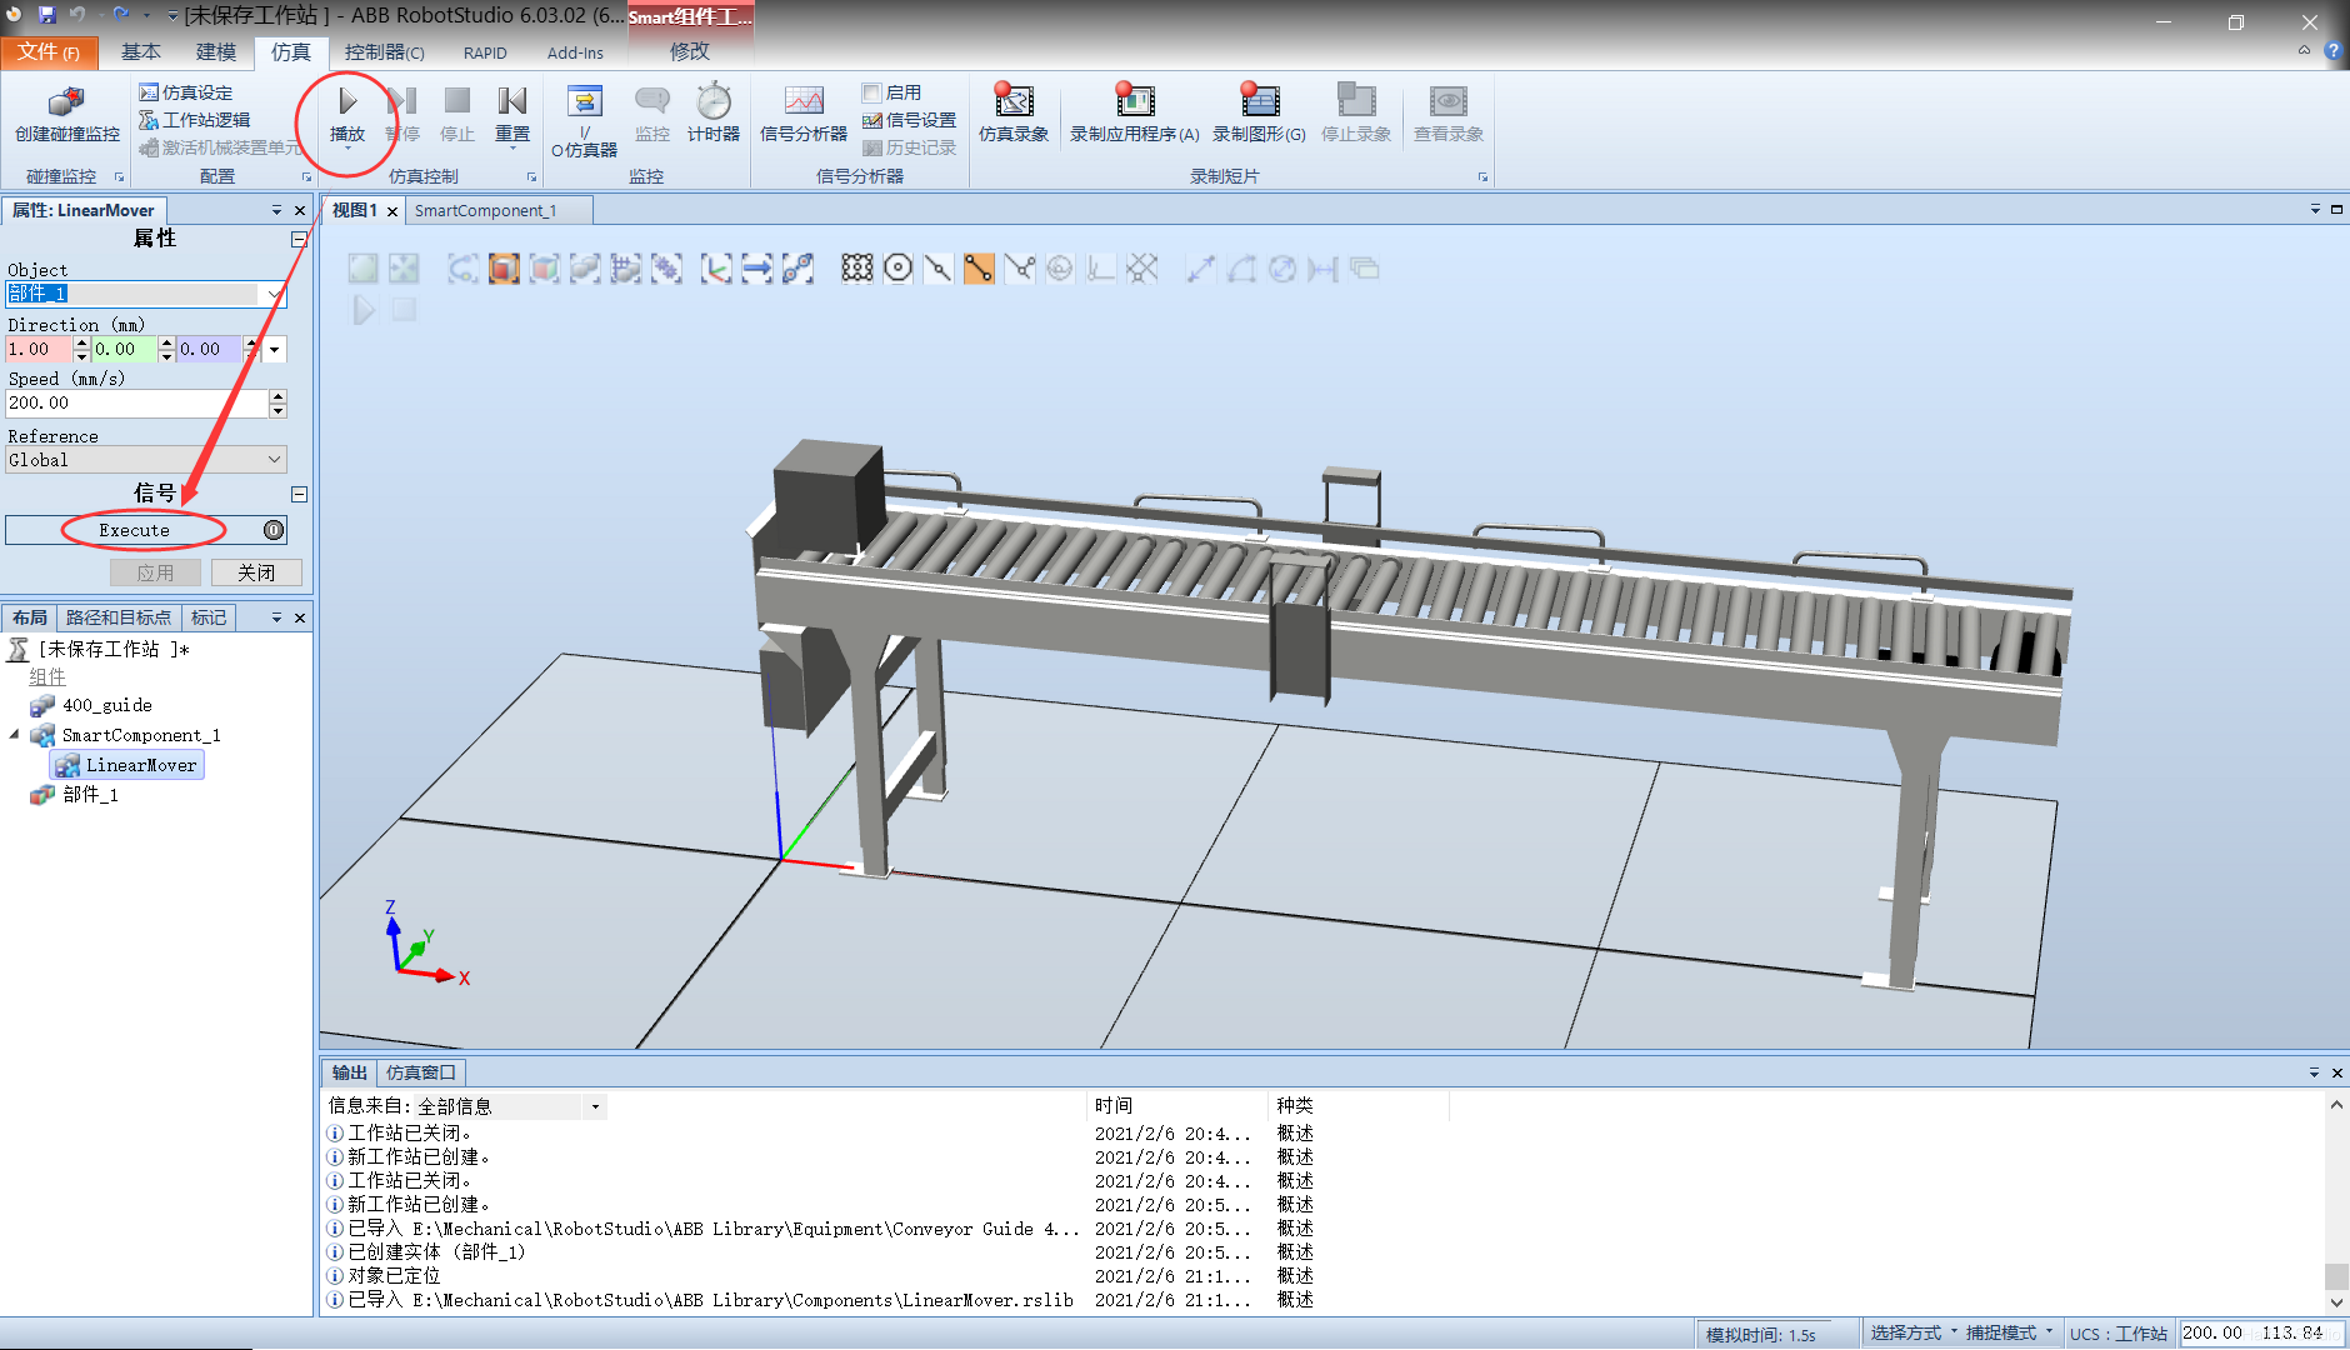
- Create a Smart Component to first implement linear movement of the small cube
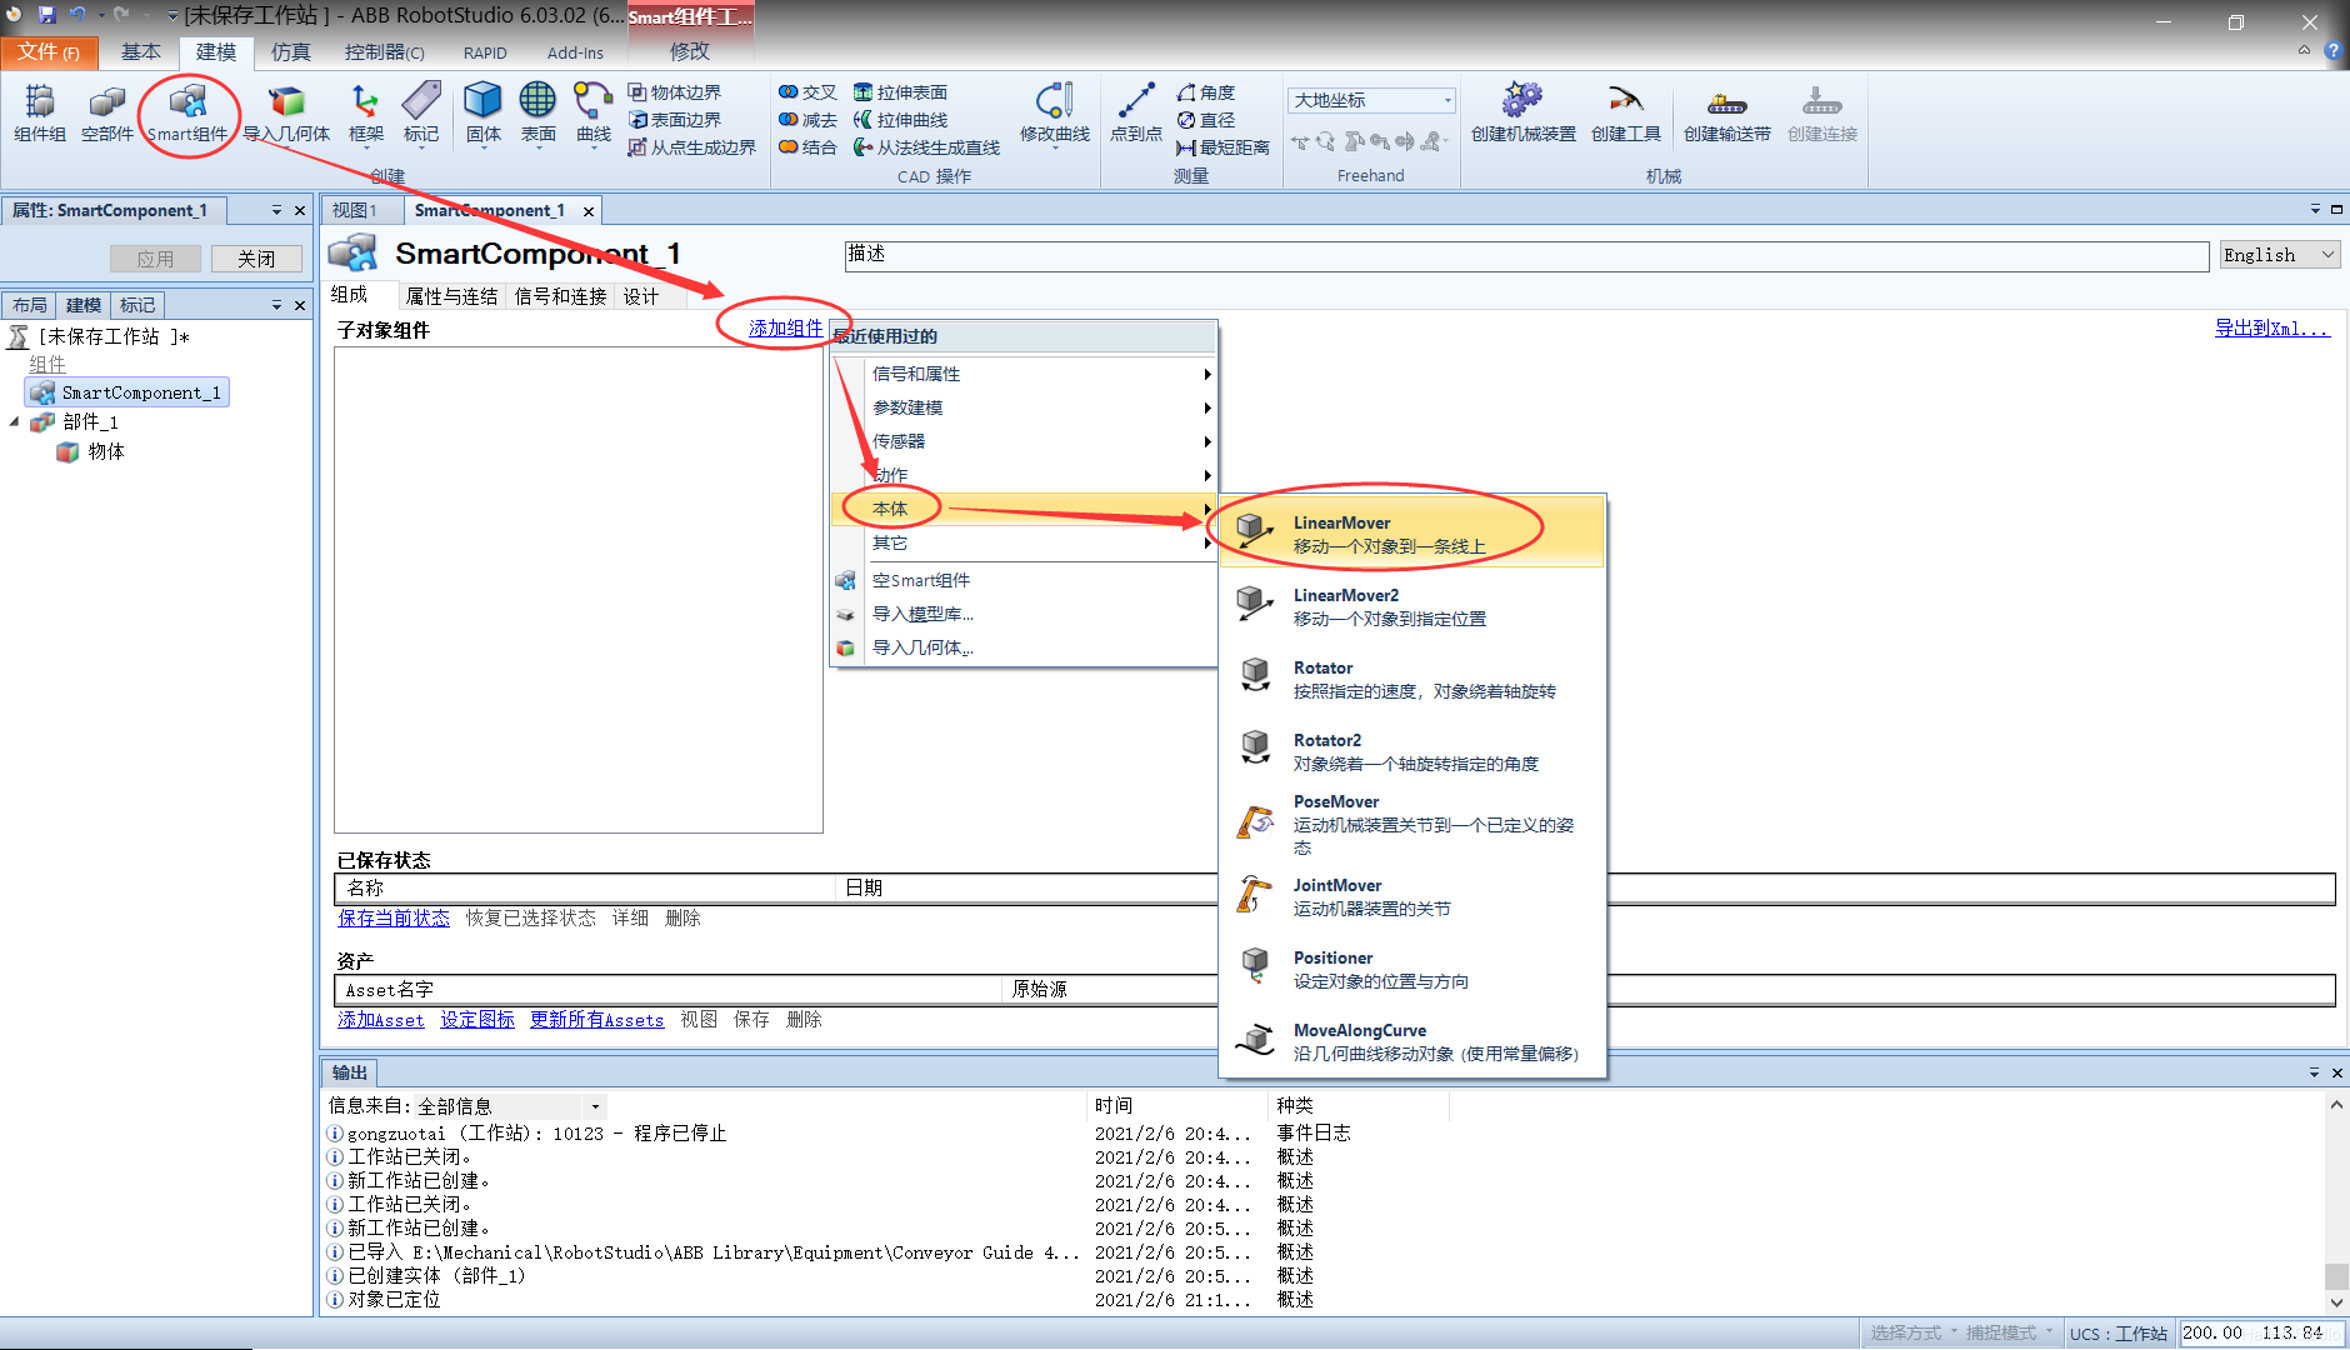

- Click Simulation > Play, then click the Smart Component’s Execute button to observe the small cube moving in a straight line. However, the small cube cannot stop on its own. You need to click Stop and then Reset to return it to its initial state.
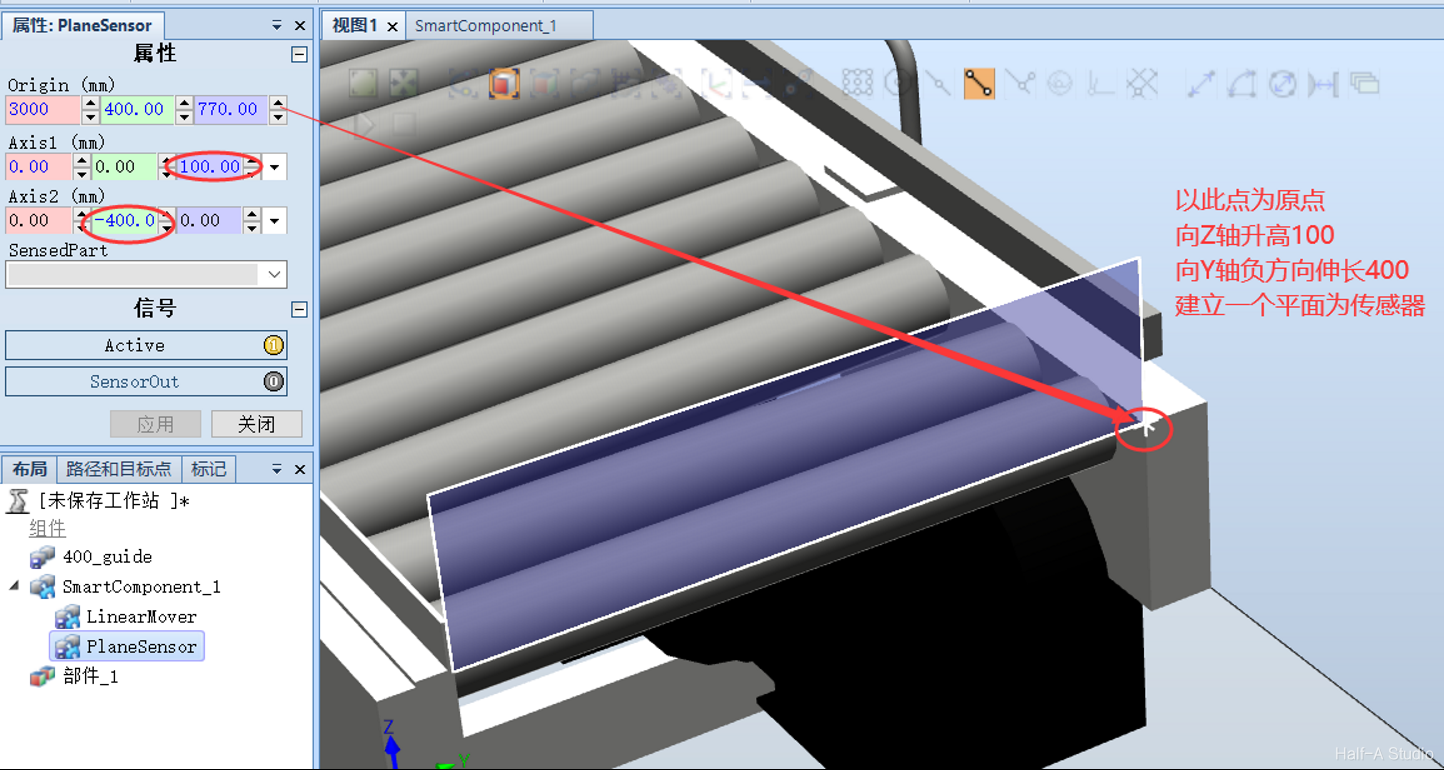
- Add a Plane Sensor to detect the position of the small cube

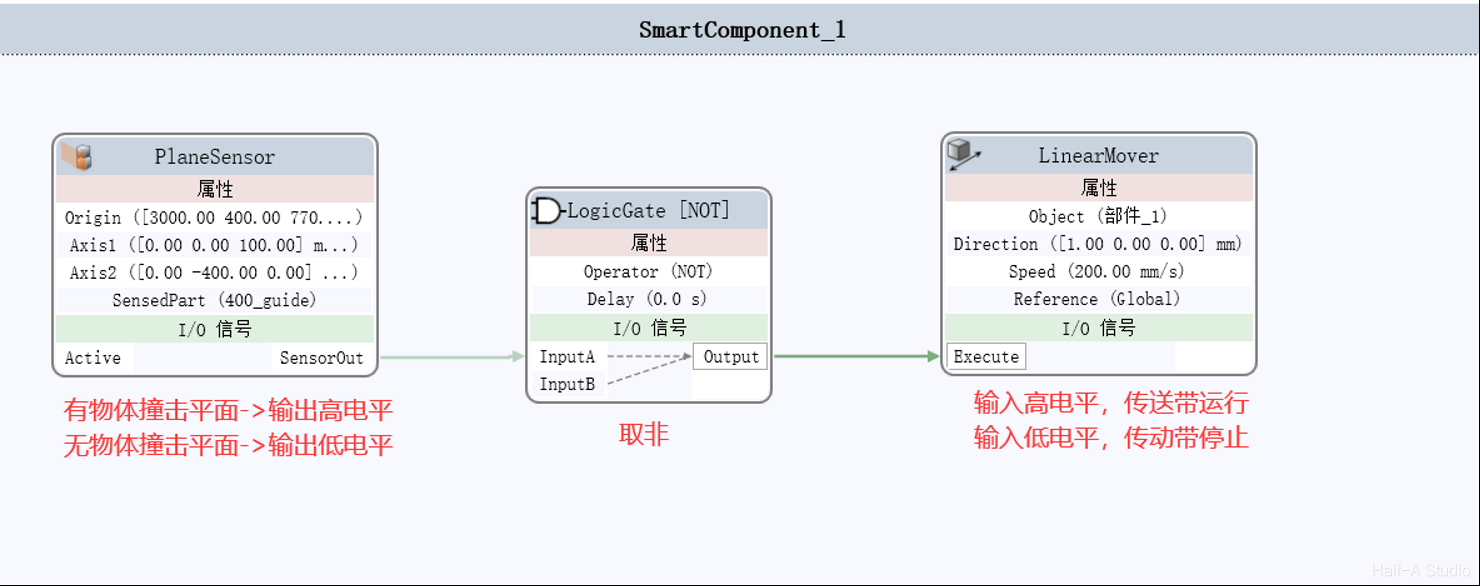
- Return to the Smart Component design page and create the logic program. Because the conveyor runs when its input is high, while the sensor outputs high when an object touches it and low at all other times, you only need to invert the sensor output and pass it to the conveyor to achieve the required conveyor behavior.

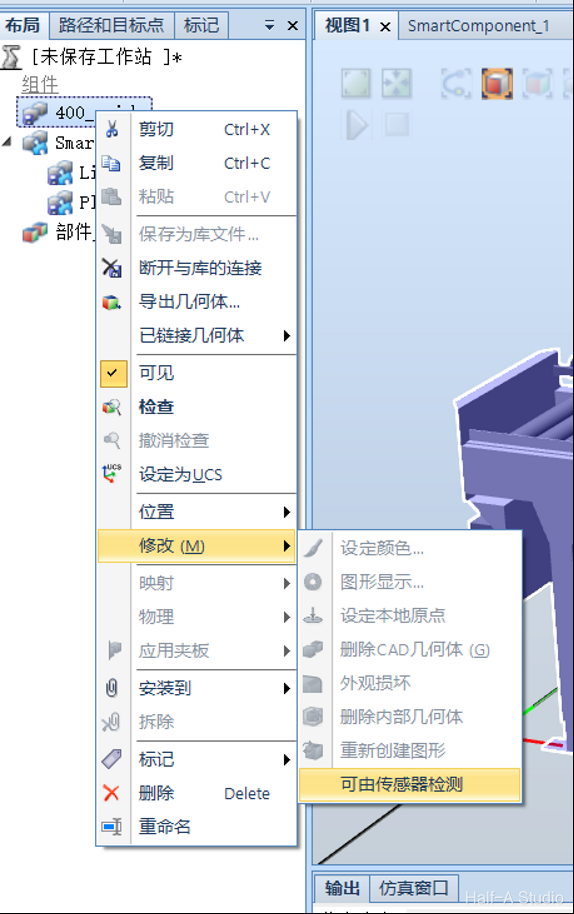
- Run the simulation and verify that the conveyor and the small cube operate as expected. If the small cube does not stop, simply disable the conveyor’s Detectable by Sensors setting
Continuously Conveying Multiple Objects
- Add a Source component to copy the small cube, and edit its properties
 Set Copy Source to the small cube, use Snap Local Origin to select the cube’s origin for the position, and click Apply.
 - Then design the program for copying the small cube. Because the trigger condition of the Source component is a rising edge, copying is triggered only when a low pulse transitions to a high pulse.
 Therefore, consider adding a pulse-signal generator component called Timber, with the signal interval provisionally set to 5s.
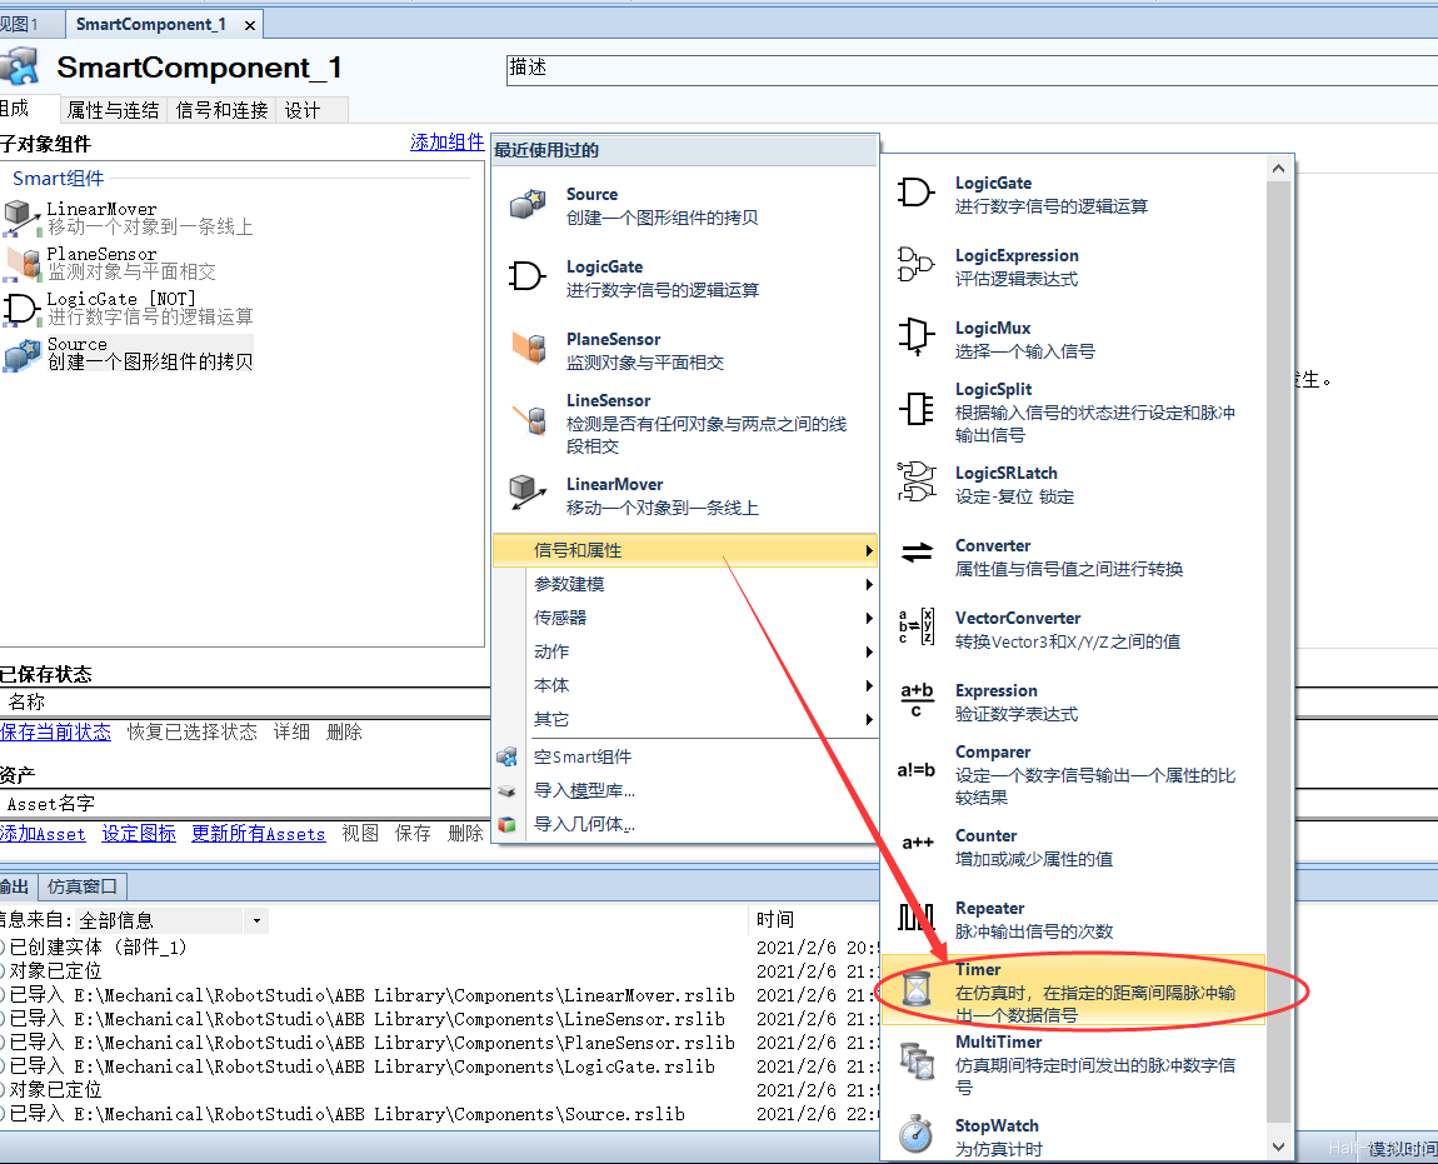
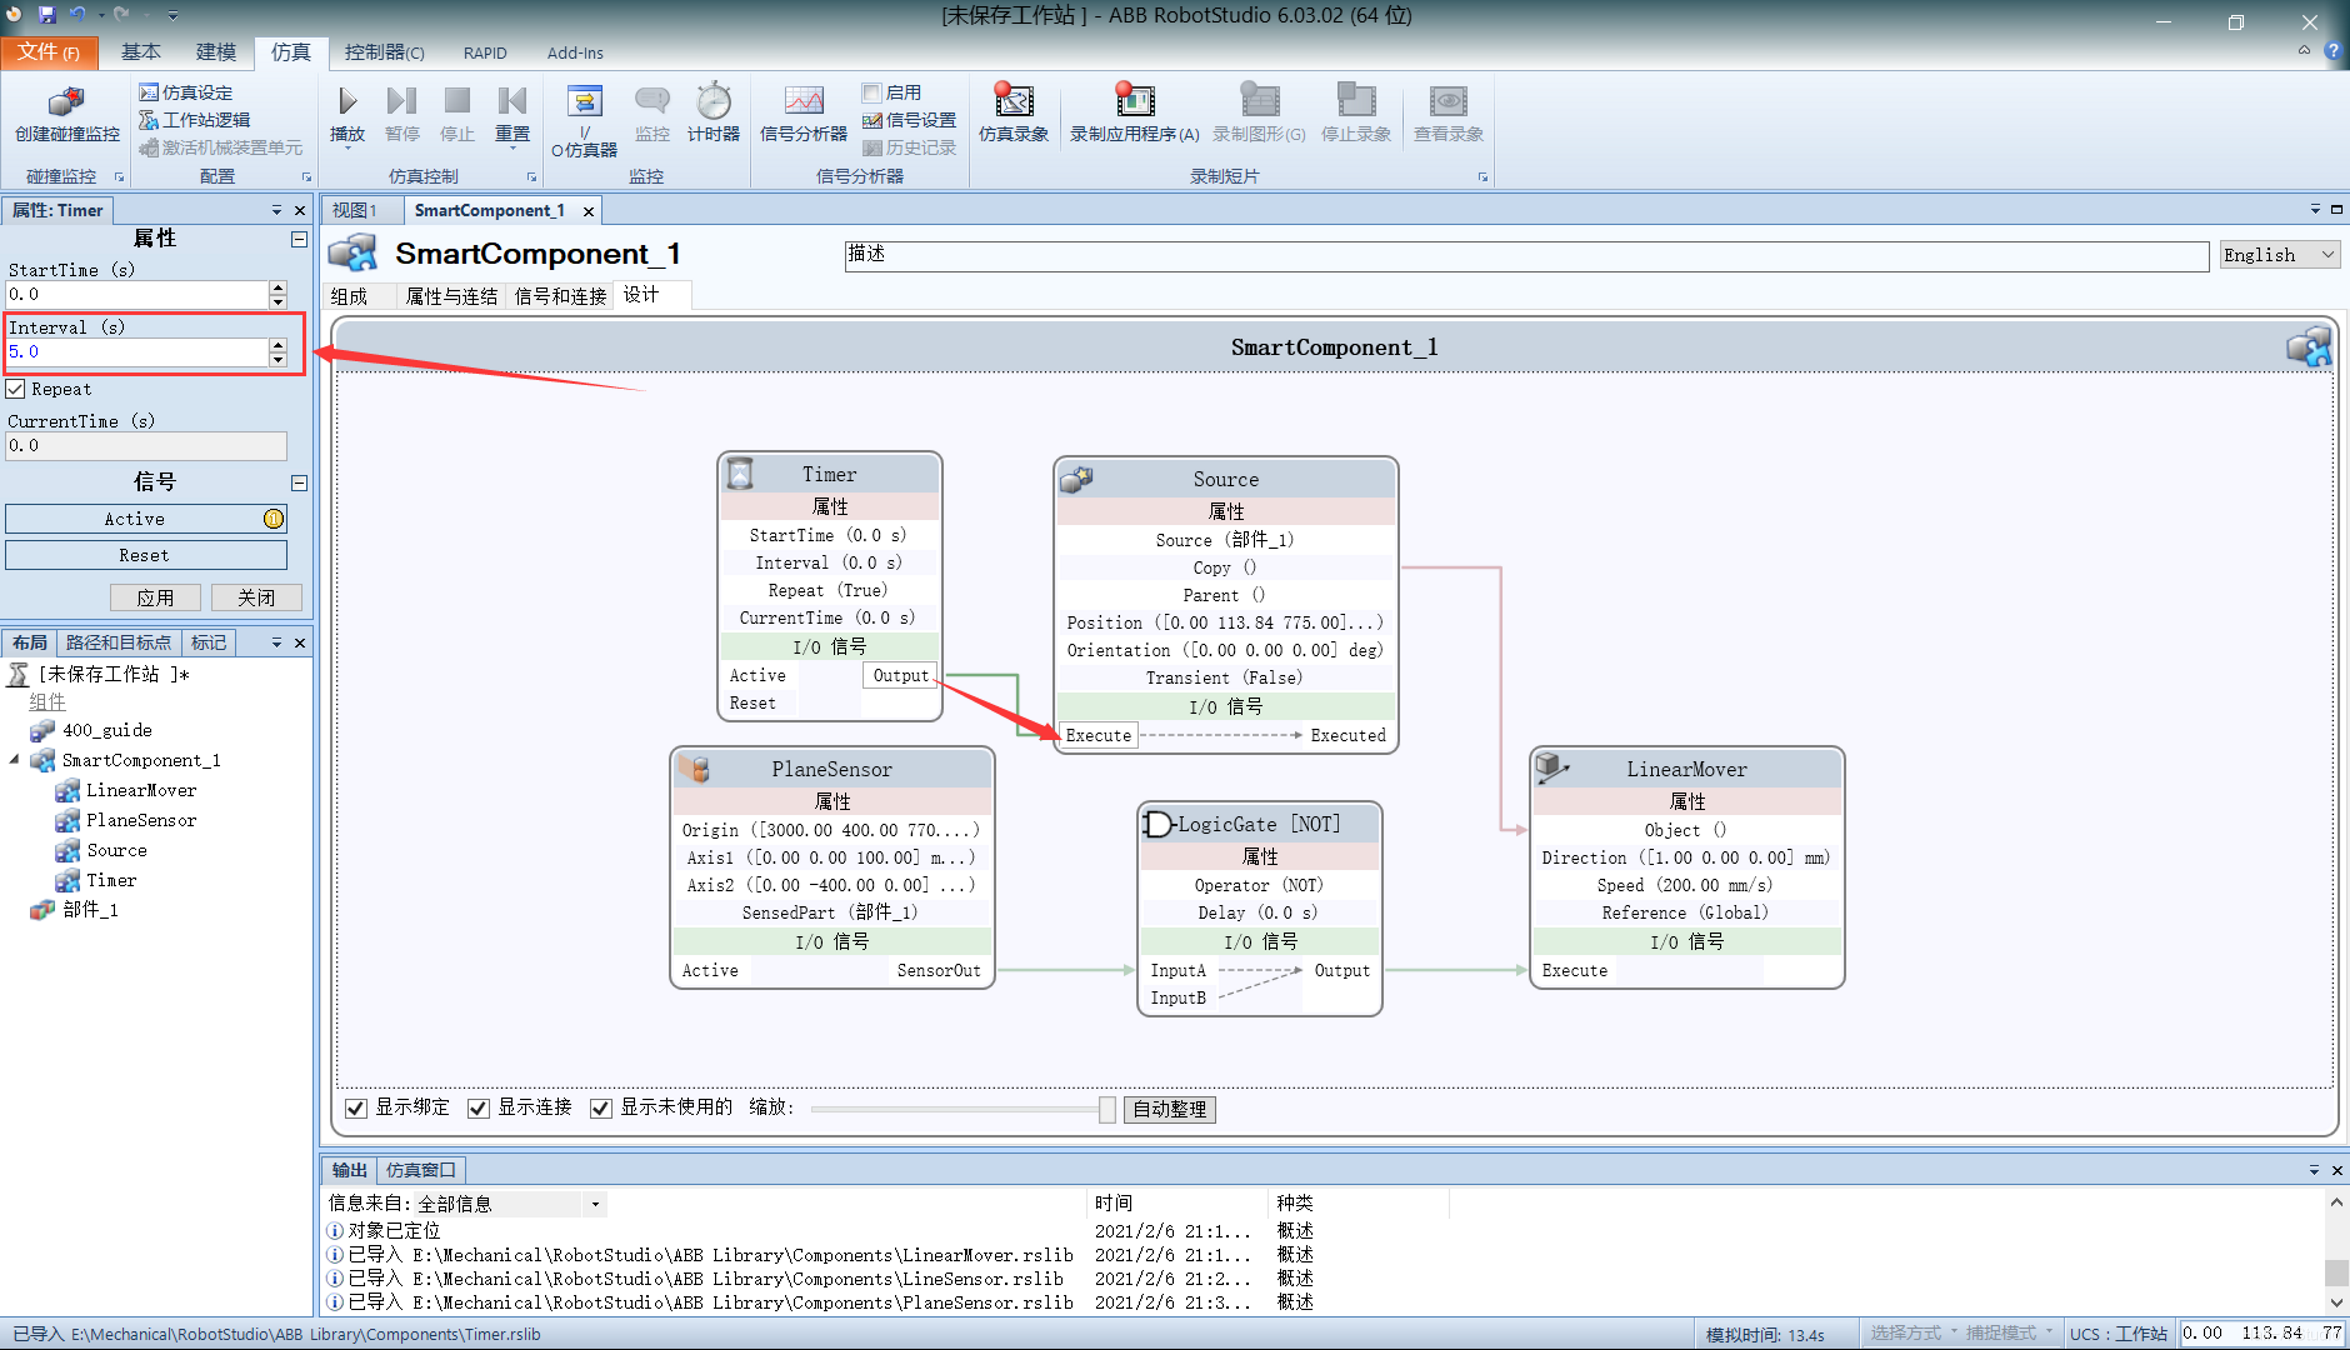
- However, this creates a problem: before the first small cube reaches the end, 5s has already elapsed, so the conveyor starts transporting the next small cube. In the simulation, all small cubes automatically stop after moving for 5s. Therefore, use the Queue component to solve the problem.
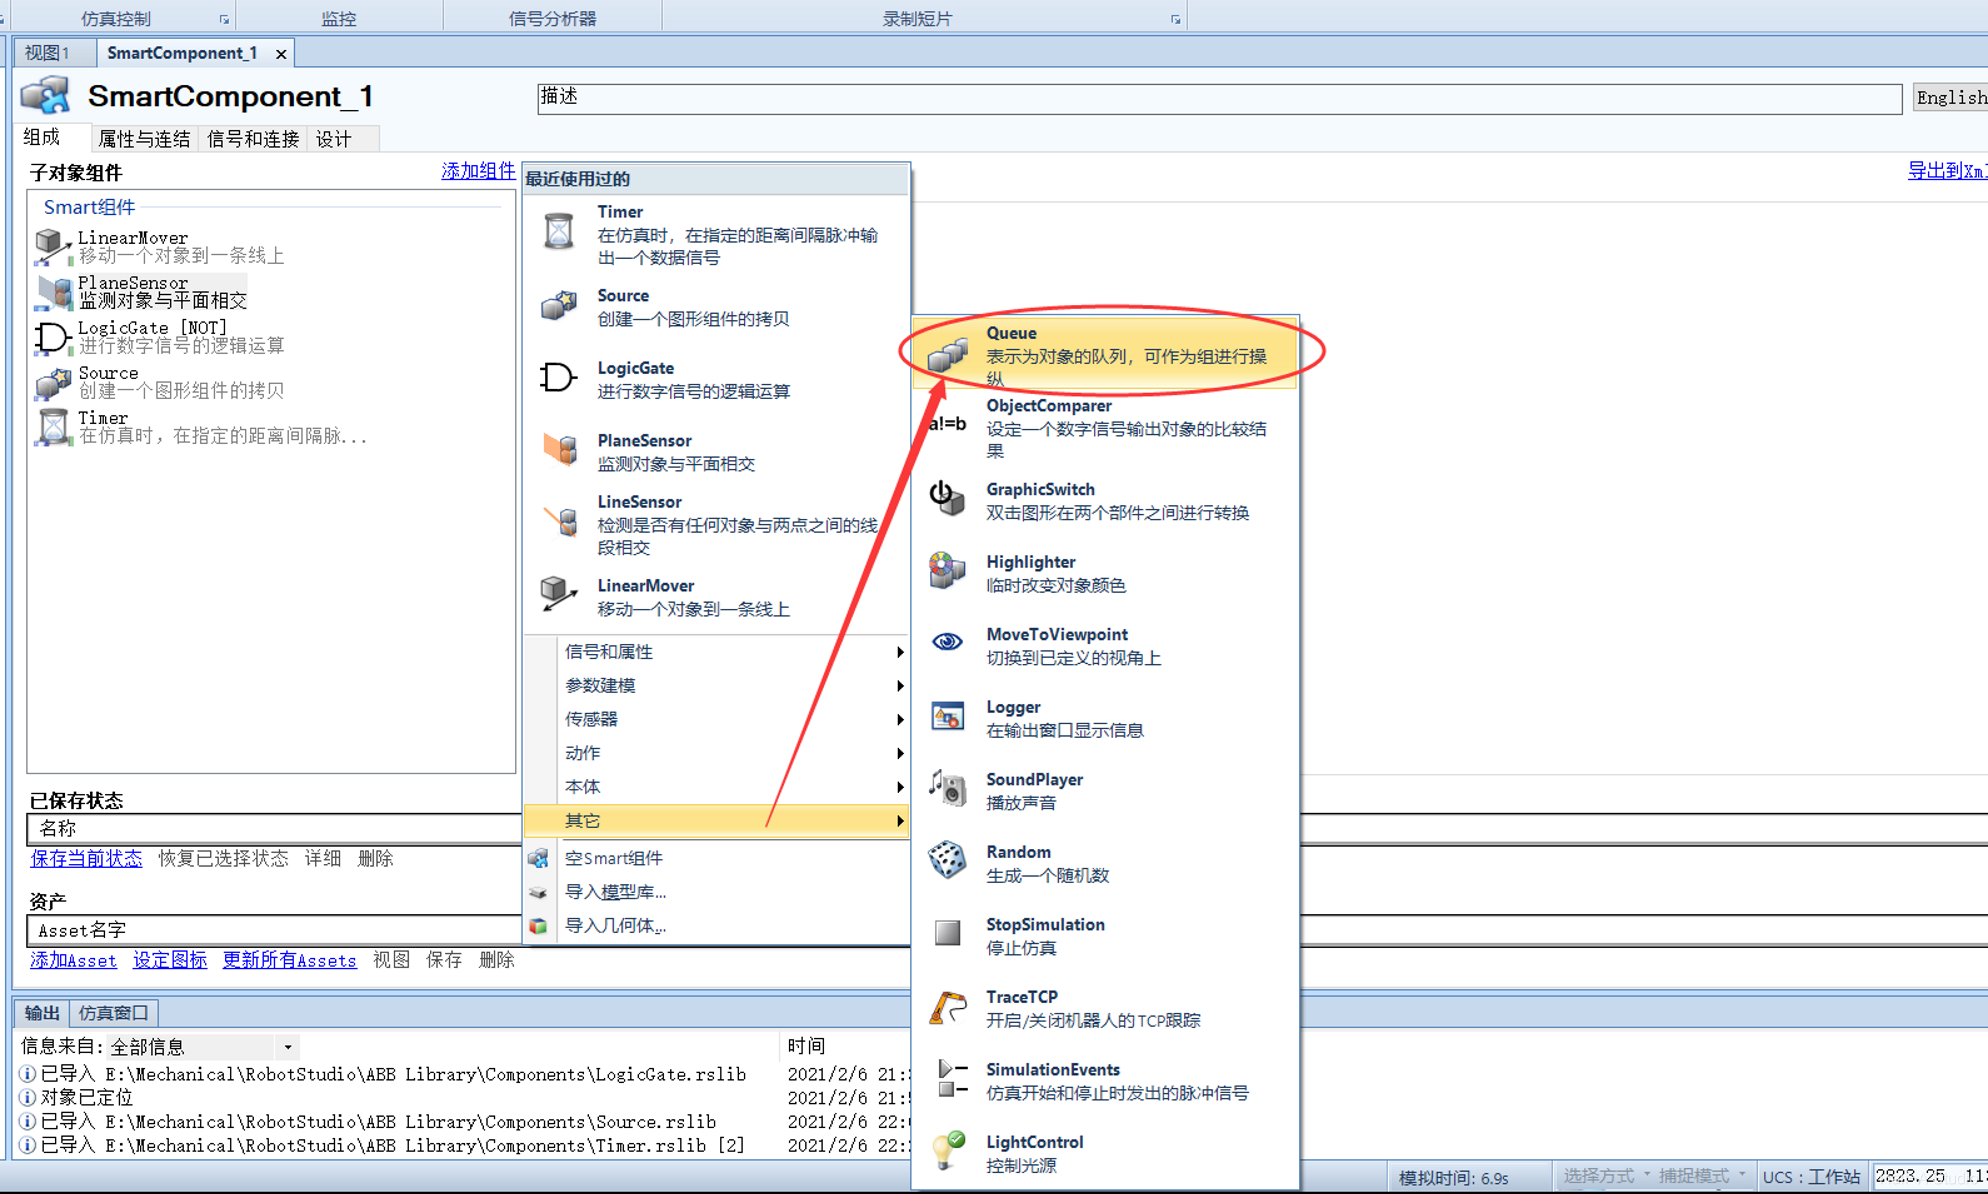

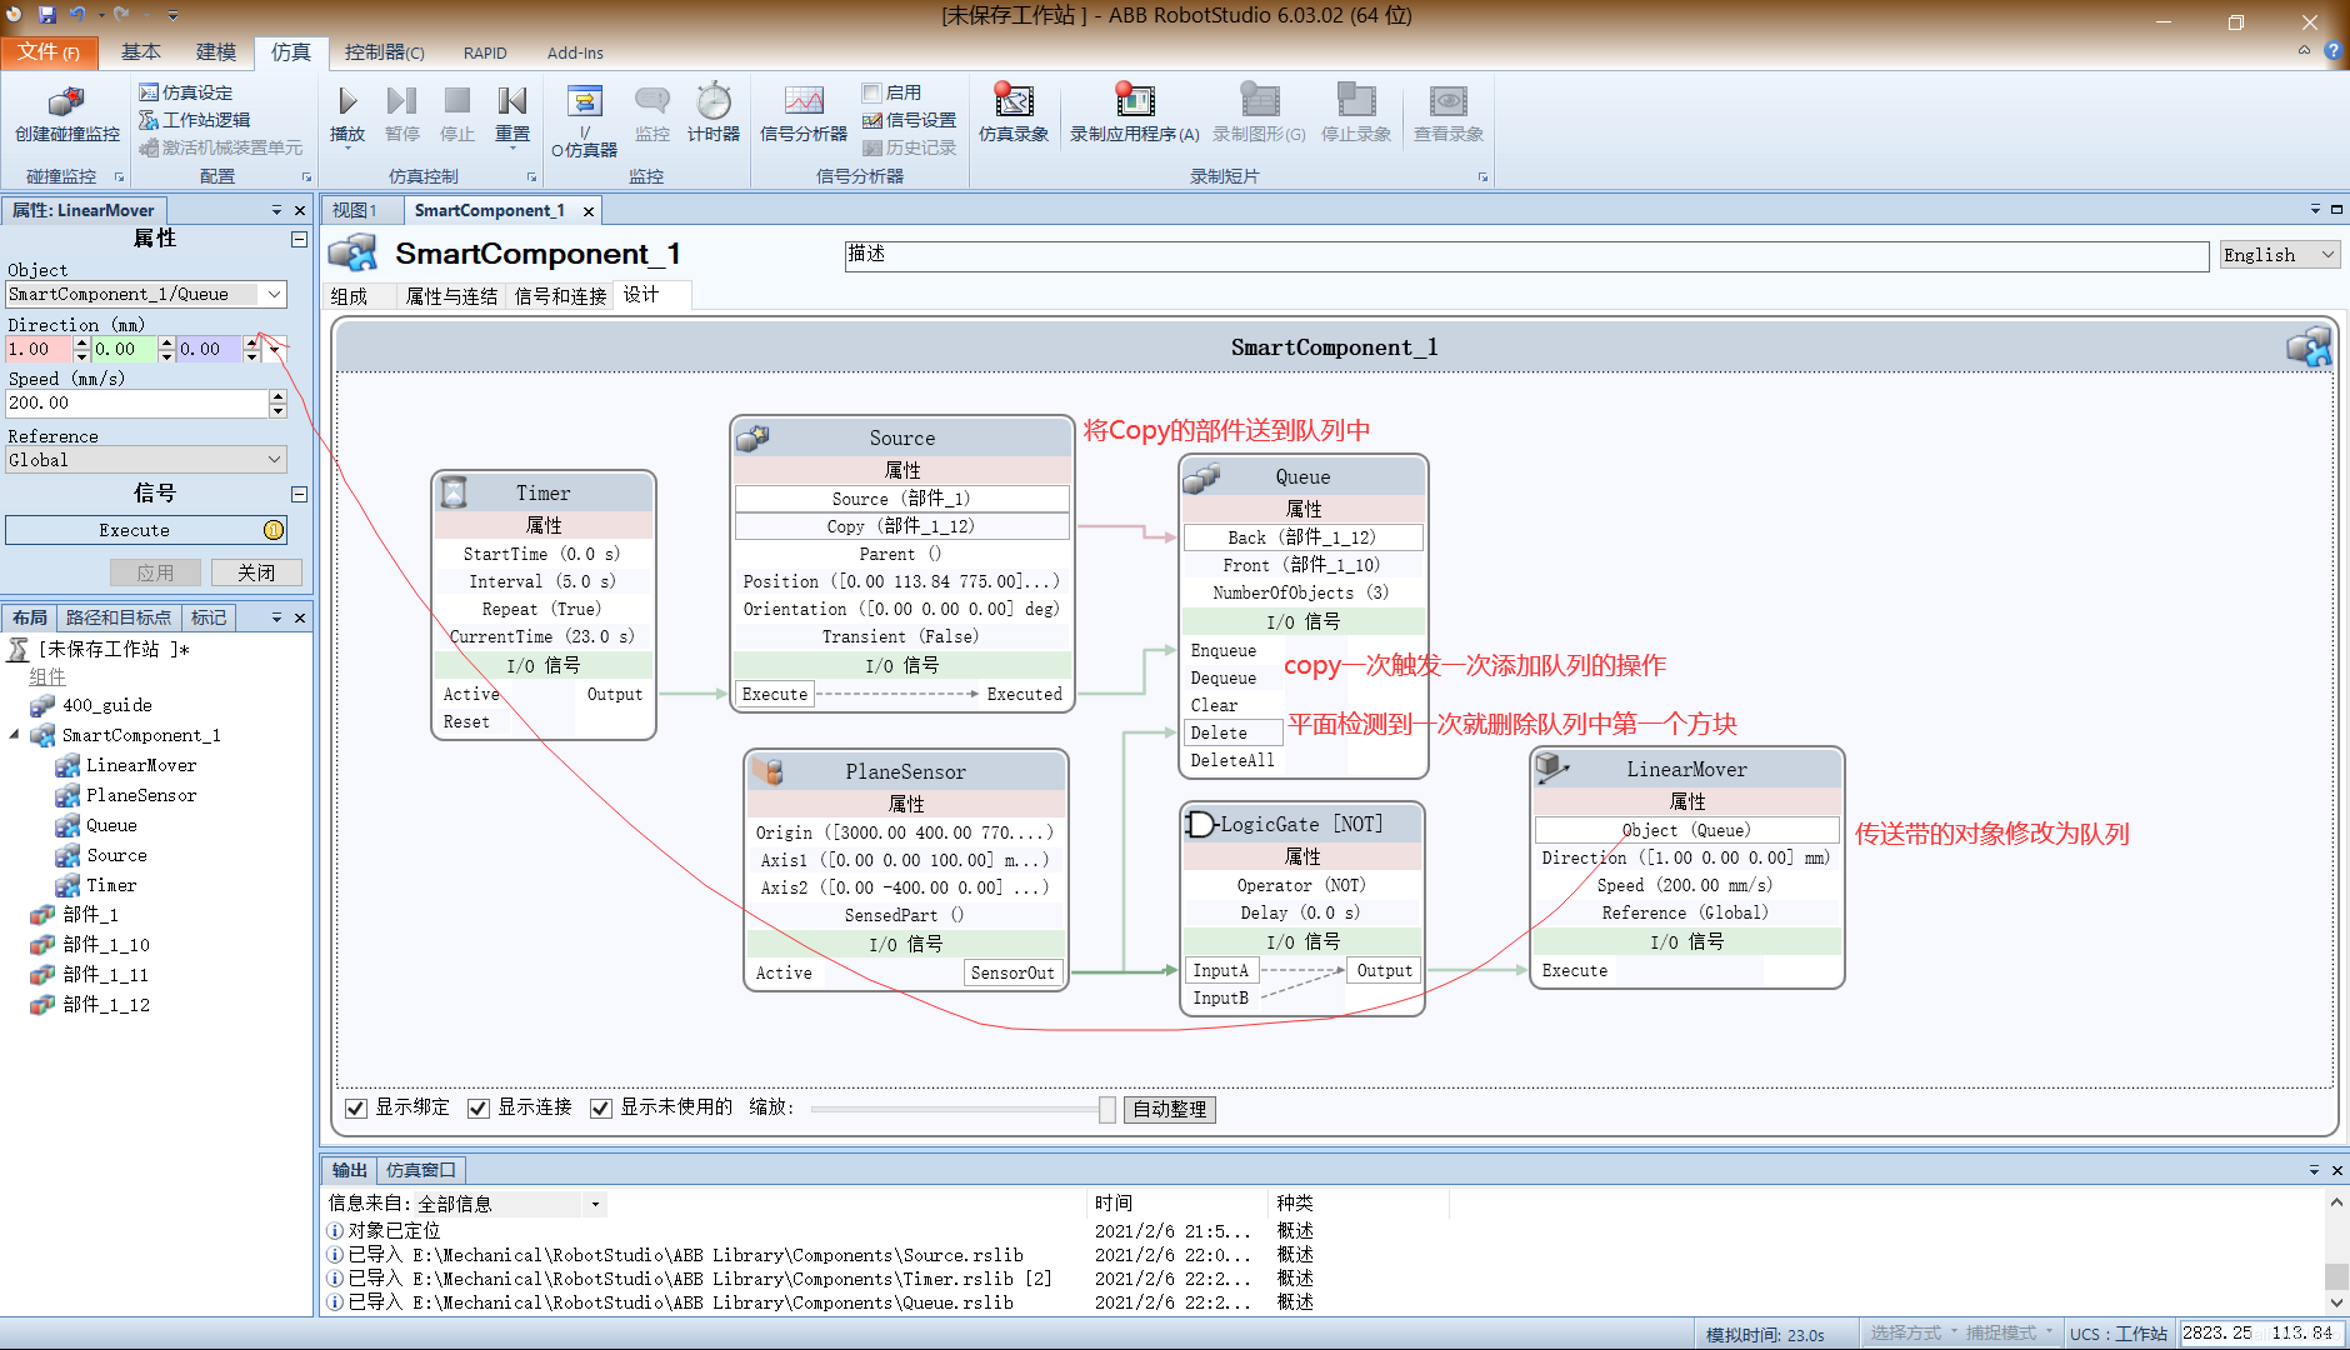
- back: Add the copied small cube to the back of the queue
- delete: Delete the object at the front of the queue
- enqueue: Start adding the object to the queue after receiving the copy-complete signal
- Change the conveyor’s transported object to the entire queue
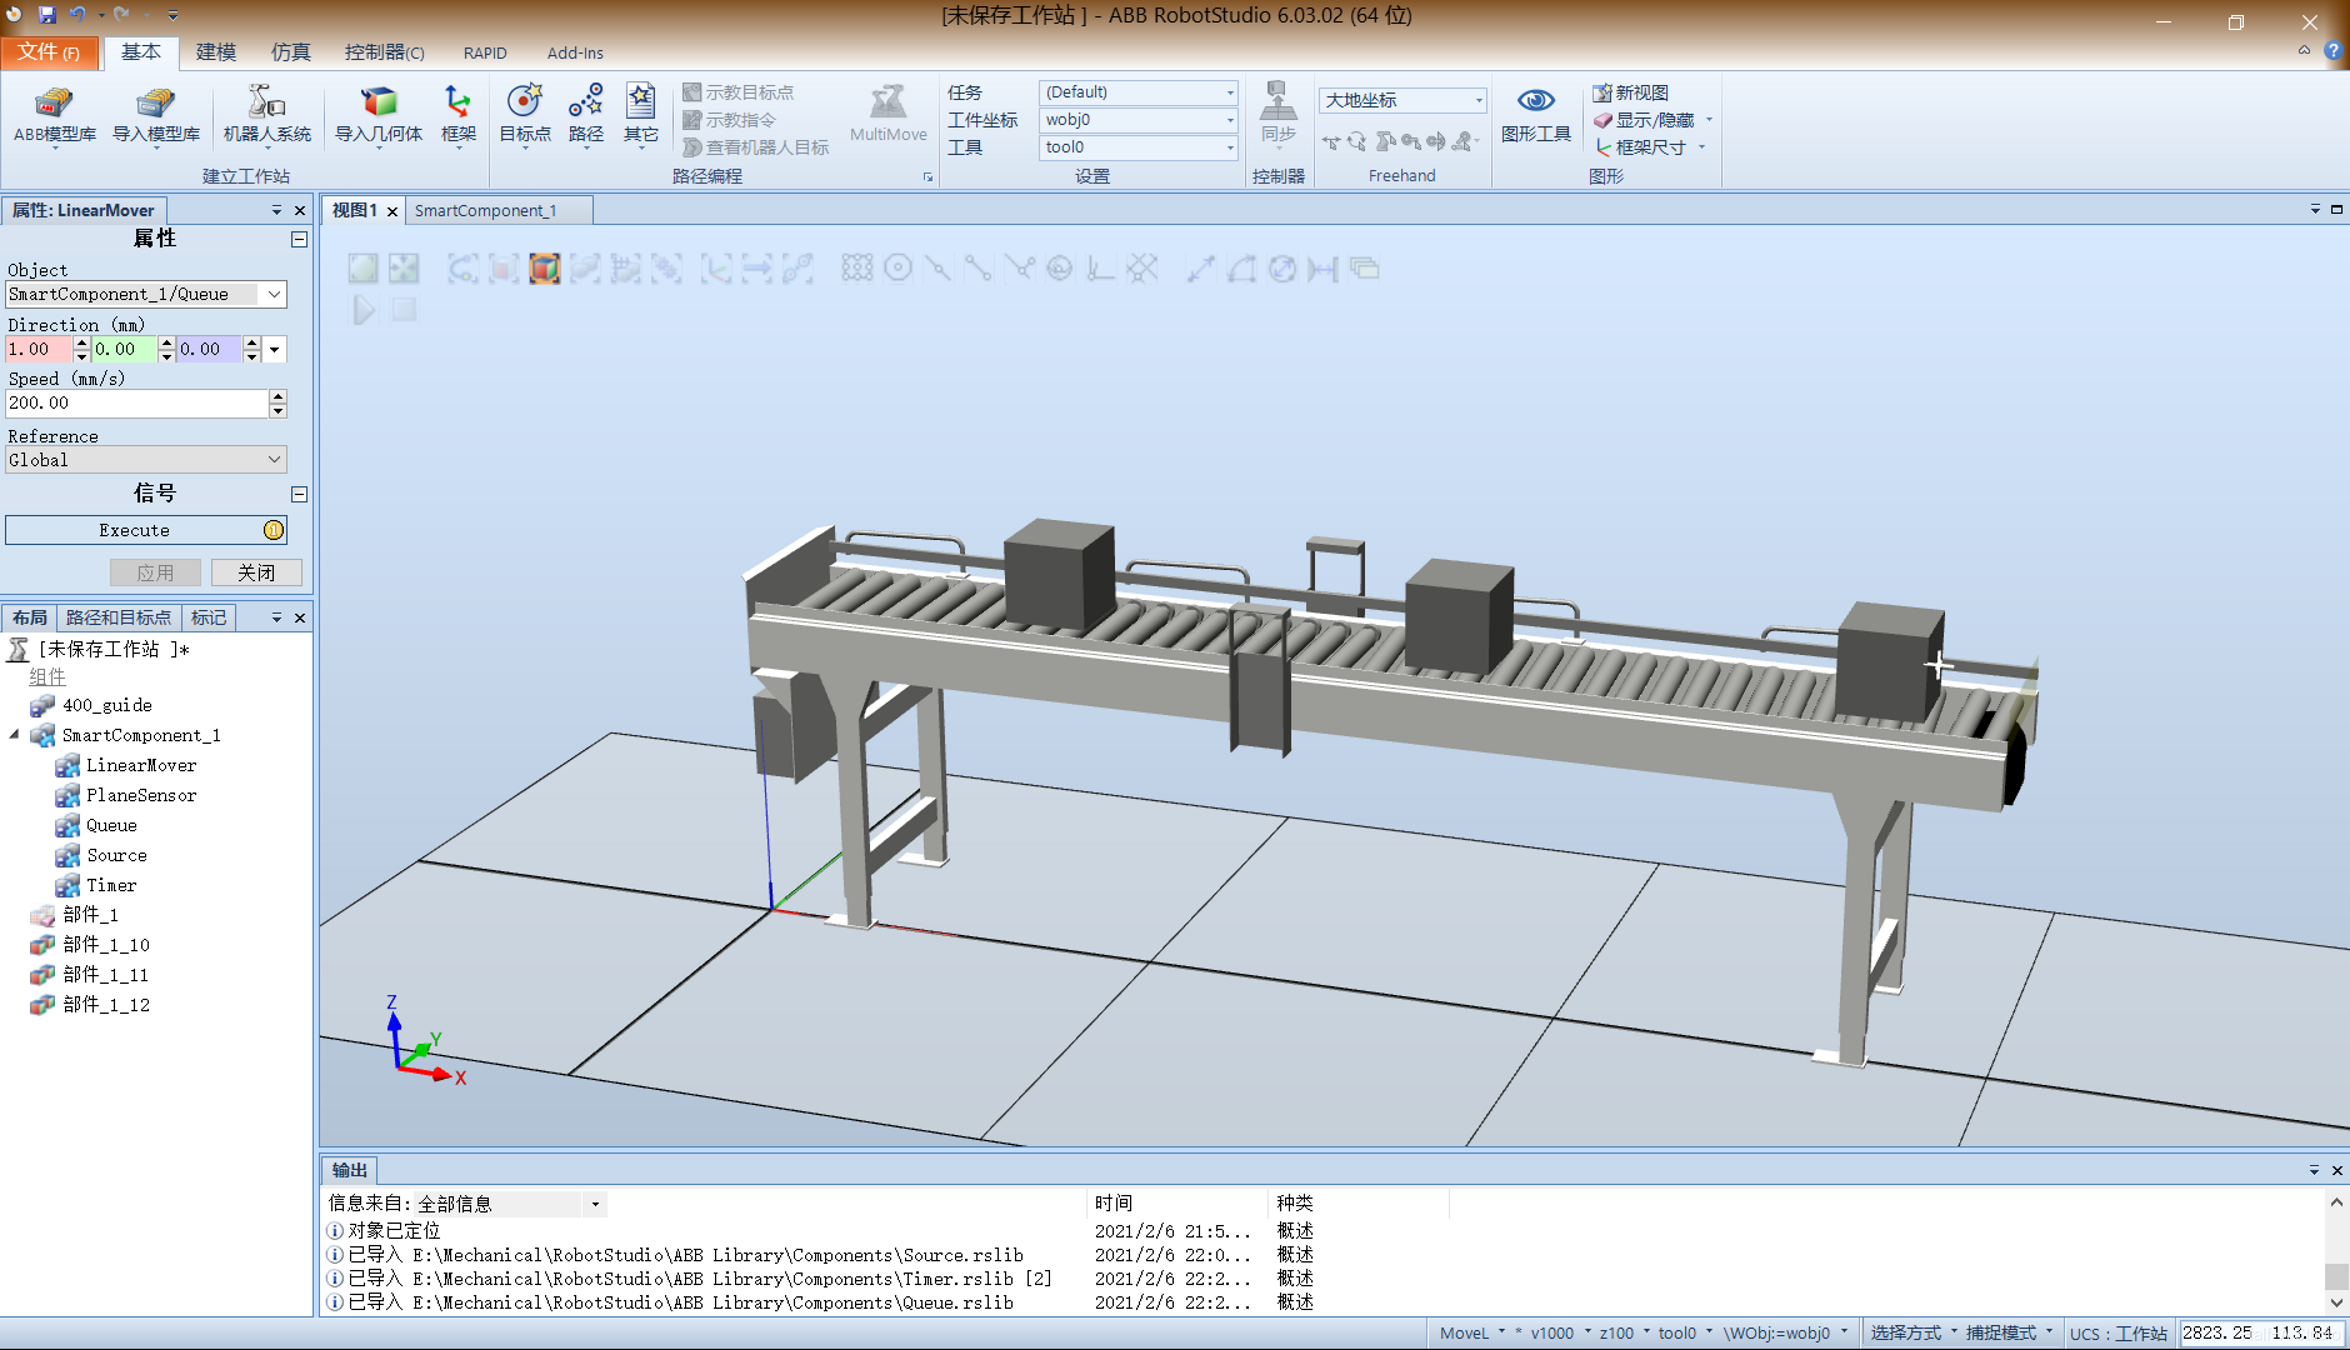
The simulation result is shown below (you can hide the original cube object Part_1 for a better display)
Comments