LabVIEW Series:https://blog.csdn.net/weixin_44543463/category_10714833.html
I. What Is a SubVI
An important concept in programming is modularity, which means dividing a program into several blocks so that modifying one block does not affect the others. In LabVIEW, we use subVIs to implement modular programming.
Any VI can itself be called by another VI as a subVI. A subVI only needs a connector pane and an icon defined in addition to what a normal VI has. When a VI is called by another VI, it is called a subVI. A subVI is equivalent to a subroutine in a programming language.
II. Creating and Calling a SubVI
Here, a function that converts degrees to radians is used as an example to explain how to create and call a subVI.
2.1 Creating a SubVI
The following figure shows a simple program that converts degrees to radians.
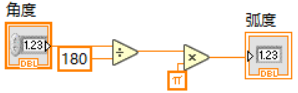

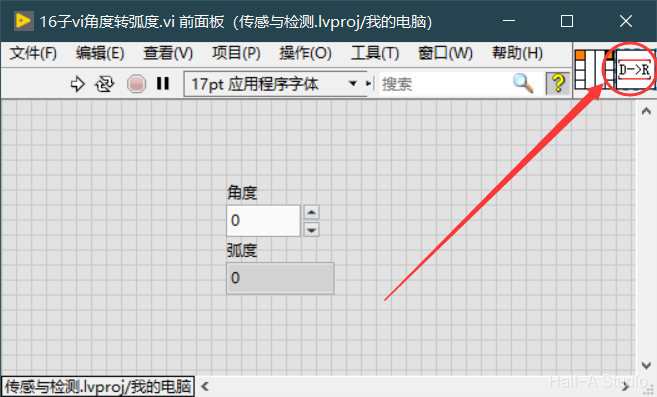
(1) Define the Connector Terminals In the small pane at the upper-right corner of the Front Panel, click to select a terminal position, then click the input or output control corresponding to that terminal. If the square turns red, the terminal has been configured.

For example, first click the small square in the upper-left corner of the pane. The square you clicked turns black. Then click the angle control, and the small square turns orange. This indicates that the terminal in the upper-left corner of the subVI has been set as the angle input. Similarly, the terminal in the upper-right corner can be set as the radian output.

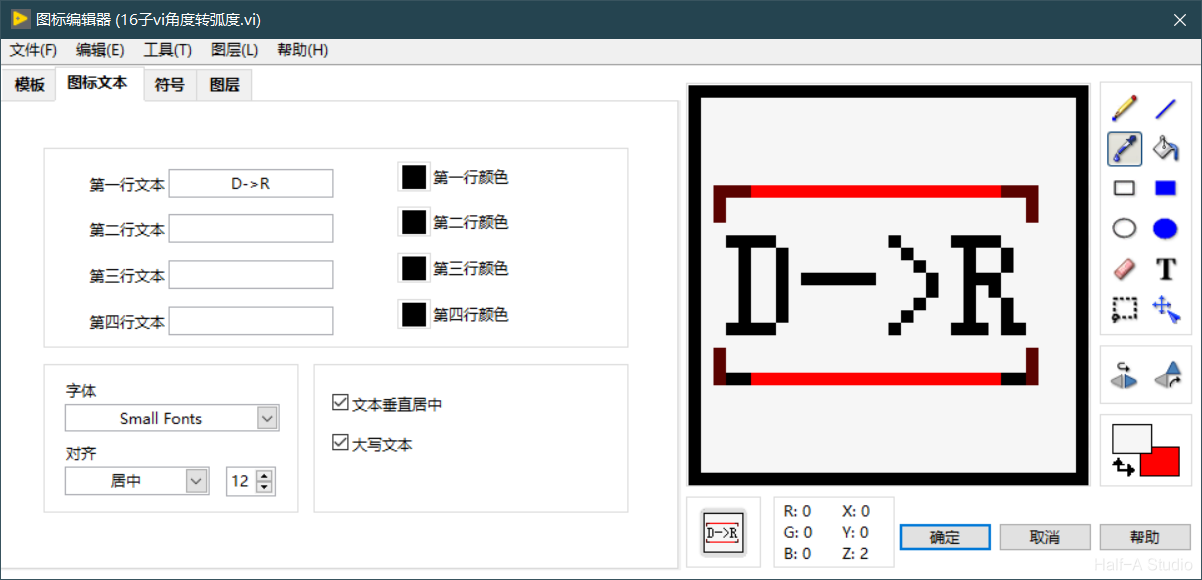
(2) Configure the Icon Double-click the icon in the upper-right corner to open an icon editor. Here, you can use LabVIEW’s template icons or draw your own. Drawing an icon is very similar to using Paint in Windows.
2.2 Calling a SubVI
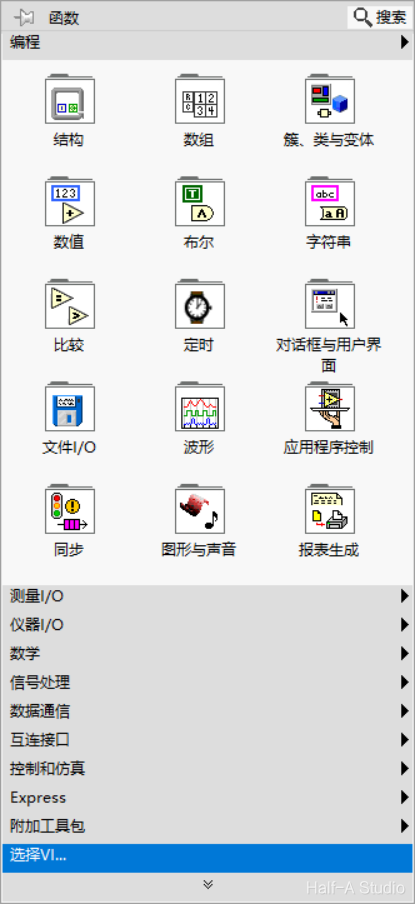
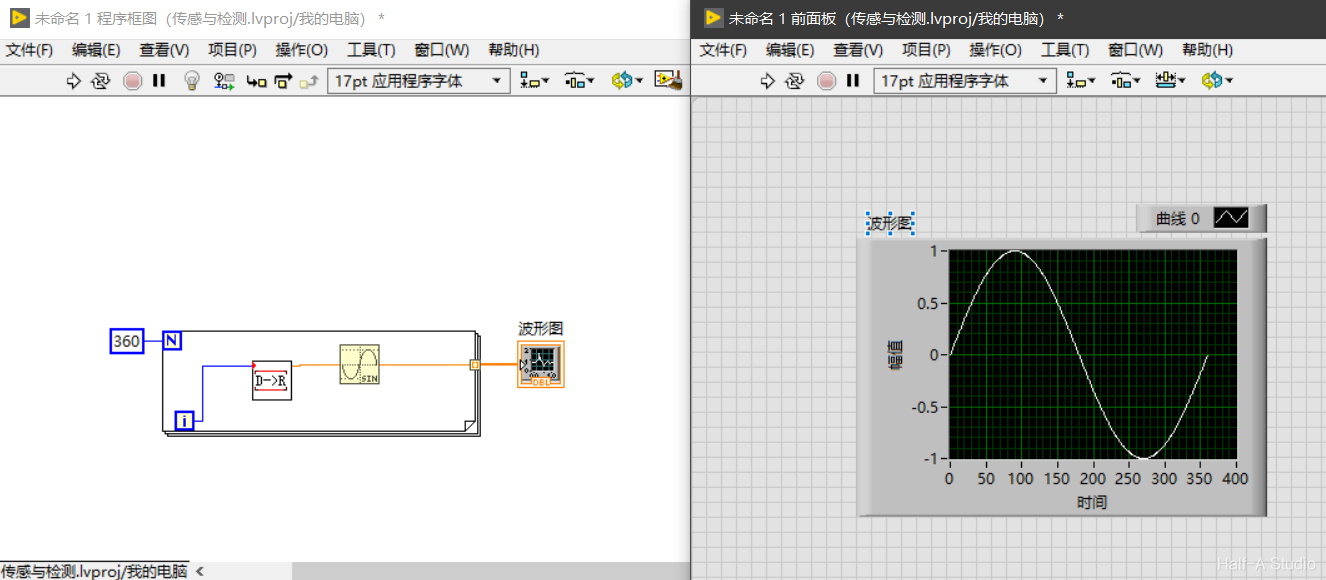
Create a new VI. In an empty area of the Block Diagram, right-click - Select a VI… and open the subVI program saved earlier. You can see that the subVI we just created has been called.

You can use this subVI to create a simple sine curve.
Comments